Skip to product information
1 of 2

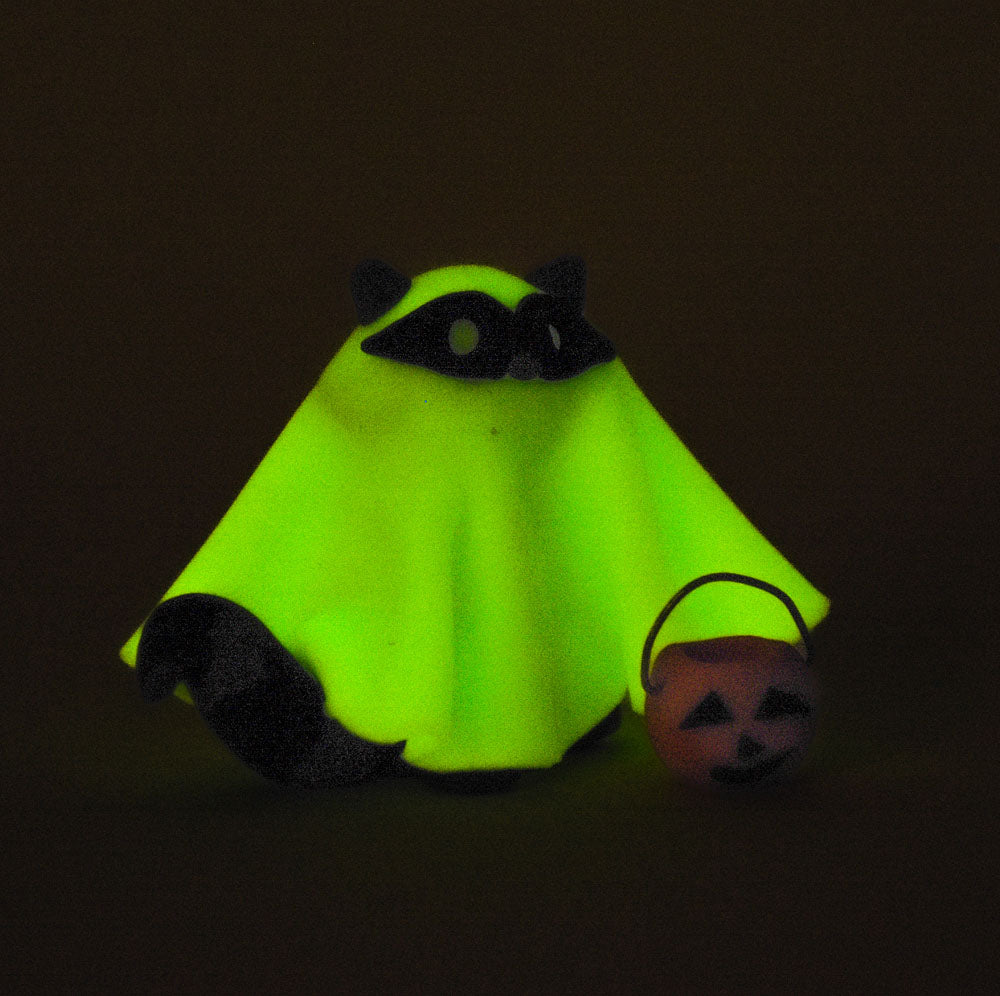
Sculpey III® Glow-in-the-Dark Raccoon Ghost

Sculpey III® Glow-in-the-Dark Raccoon Ghost

Designed by Amy Koranek
Read More
Imagine creating this charming raccoon ghost companion that will gently glow when you turn your lights out for the night! COMPLETION TIME: 60 Minutes to make and bake.
Read Less
ADDITIONAL SUPPLIES
  • Toothpick
  • 4-1/4” Circle cutter
  • 1-1/4” Wire
  • Wire cutters
View full details
Project Instructions

Step 1

Getting Started:

Please make sure your work area is covered and you are not working on an unprotected surface. We recommend working on the Sculpey® Oven Safe Work Mat, wax paper, metal baking sheet, or disposable foil. Uncured clay may damage unprotected furniture or finished surfaces. Be sure to cover your crafting area appropriately.

Start with clean hands, unwrap and knead clay until soft and smooth, or condition by running clay though a Pasta Machine. We recommend using a designated machine for clay purposes only. When working with multiple colors, clean hands with soap and
water or baby wipes (we have found that baby wipes work best) before switching colors. Shape clay, pressing pieces firmly together.  Wash hands after use.

Baking (also called Curing):

Begin by preheating oven to 275 °F (130 °C). After you are done creating; for best results bake clay on an oven-proof surface such as metal, aluminum foil, an index card or the Sculpey® Oven Safe Work Mat at 275°F (130 °C) for 15 minutes per ¼" (6
mm) of thickness according to package directions. Oven safe glass or ceramic
surfaces are also acceptable for baking; however please note that the baking
times may take longer as the glass or ceramic surfaces take longer to heat up. For
best baking results, use an oven thermometer. DO NOT USE MICROWAVE OVEN. DO NOT EXCEED THE ABOVE TEMPERATURE OR RECOMMENDED BAKING TIME.

Step 2

Use 1/4 bar Elephant Gray to shape a cone for the body.

Use 1/8 bar Elephant Gray to make a lemon shape for the head.

1/2” ball of Elephant Gray will be needed for the feet.

Step 2

Step 3

Trim a toothpick so just 1/4” of it sticks out the top of the cone body when the toothpick is pushed all the way in. This will give support for the head.

Step 3

Step 4

Push the head onto the toothpick and make sure the clay connects at the neck.

Step 4

Step 5

Roll the 1/2” ball into a log and slice it in half for two feet.


Step 5

Step 6

Push the feet onto the front of the body.

Step 6

Step 7

Sheet 1/2 bar Glow in the Dark to a very thin sheet. Cut out a 4-1/4” circle using a cutter.


Step 7

Step 8

Stretch the circle slightly so it’s not so perfectly round.

Step 8

Step 9

Drape the circle over the raccoon head.

Step 9

Step 10

Work the clay sheet down around the body and help it drape nicely over the feet.

Step 10

Step 11

Shape 1/16 bar Elephant Gray into a football.

Roll out a thin log of Black and roll it flat.

Step 11

Step 12

Wrap stripes of Black around the tail.

Step 12

Step 13

Roll the tail to help level the Black and the Elephant Gray.

Step 13

Step 14

Drag your fingertip from one color to the next to help blur the stripes.

Step 14

Step 15

Position one end of the tail to the body and out from under the sheet.

Step 15

Step 16

Curl the tip of the tail to look like it’s peeking out from under the sheet.

Step 16

Step 17

Use the rounded tool to push in eye sockets.

Step 17

Step 18

Fill the eye sockets with small Black balls.


Step 18

Step 19

Push the Black balls flat with the rounded tool. Add smaller balls of Glow for the eyeballs.

Step 19

Step 20

Make a little mask from Black. Start with a very thin lemon shaped piece.

Step 20

Step 21

Cut away two divots from the top and bottom of the mask as shown.

Step 21

Step 22

Poke eye holes in the center of each side of the mask.


Step 22

Step 23

Make the holes gradually bigger by pushing the tool in far enough to stretch them.

Step 23

Step 24

Position the mask over the eyes.

Step 24

Step 25

Add a tiny Gray nose and little pointed ears.

Step 25

Step 26

From 1/16 bar Just Orange, make an oval shape. This will be the raccoons candy pail.

Step 26

Step 27

Use the ball shaped tool to make a large hole in the top.


Step 27

Step 28

Make the hole bigger by pushing the tool in and pulling the clay up the sides.

Step 28

Step 29

Add little face details to the pail.

Step 29

Step 30

Make a small wire with bent ends for the pail handle.

Step 30

Step 31

Poke the ends of the handle into the sides of the pail.

Step 31

Step 32

Position the pumpkin up against the sheet (this photo was taken before I added the wire). Bake the raccoon with his pail in place with the wire inserted following the baking instructions for Sculpey III®. Allow to cool completely before handling.

Step 32