Skip to product information
1 of 1

Liquid Sculpey® Iridescent Heart Magnet

Liquid Sculpey® Iridescent Heart Magnet

Designed by Amy Koranek
Read More
Step up your magnet game with this stunning purple heart magnet featuring a swirl of iridescent colors as well. This makes a perfect quick gift as well!
Read Less
ADDITIONAL SUPPLIES
  • Paper towel
  • Silicone heart shaped mold
  • 6” Antique brass craft wire
  • Magnet
  • Round nose pliers
  • Wire cutters
  • Silicone glue
  • Iridescent acrylic glaze
View full details
Project Instructions

Step 1

Getting Started with Liquid Sculpey®:

Please make sure your work area is covered and you are not working on an unprotected surface. We recommend working on the Sculpey® Oven Safe Work Mat, wax paper, metal baking sheet, or disposable foil. Uncured Liquid Polymer Clay may damage unprotected furniture or finished surfaces. Be sure to cover your crafting area appropriately. - Stir Liquid Sculpey® completely. Thin with Sculpey® Liquid Clay Softener as needed - Wash hands after use (we have found that baby wipes work best)

Baking:

-It is important to use oven thermometer when you bake the liquids so that you can ensure your oven is at
the correct temperature.

-Do not microwave the liquids. They must be baked in a Preheated oven at 275 ºF (130 ºC) for liquid colors and 300 ºF (149 ºC) for Clear – Do not exceed baking temperatures.

-If your piece is less than 1/4” bake for 15 minutes. For thicker pieces that are 1/4” or above bake for 30 minutes.

-If your liquid project has become yellowed or discolored in the oven, when you remake it, tent it by placing either – folding an index card in half and placing your project under it by using aluminum foil over your project.

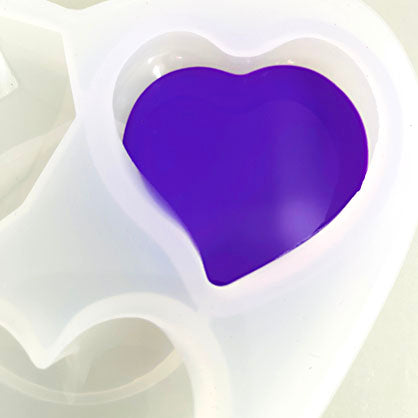
Here’s a tip for baking perfectly in silicone molds. Dampen a dish towel with water and wring out as much of the water as you can. Fold the damp towel so that the molds can sit level on top of it. The damp towel will slow down the curing process so that the LS will cure evenly throughout and avoid warping.

Step 2

Fill a heart mold to halfway with Purple Liquid Sculpey (LS). We are only filling the
mold half way to make sure that when we add the wire in the next half baking,
the wire will not protrude to the front of the mold surface. Tap the mold
vigorously on the work surface to release air bubbles. Bake the mold following
the baking instructions for Liquid Sculpey.

Step 3

While the mold is baking, bend 1/2” of the end of the wire to a sharp angle creating
a hook.

Step 4

Lay the hook end of the wire on top of the pre-baked heart in the mold.

Fill the rest of the mold to level, fully submerging the wire in the fresh layer of
LS.

Step 5

Bake again following the baking instructions for LS.

Allow the mold to cool completely before flexing gently to release the molded heart.

Step 6

Use round nose pliers to create curves and loops in the wire. Wrapping the wire
around the handle of the Blunt Point Tool will help to create a neat loop. Trim
the end of the wire as you like with wire cutters.

Step 7

Coat the top of the heart with iridescent glaze. I used only my finger to apply the
glaze in circles because I found that no matter how I applied it, it would
leave streaks, and I like the circular streaks best.

Step 8

Glue a magnet to the back of the heart with silicone glue and allow to dry completely.