

Sculpey Soufflé™ Succulent Garden Clips
Sculpey Soufflé™ Succulent Garden Clips
Designed by Amy Koranek
Read More
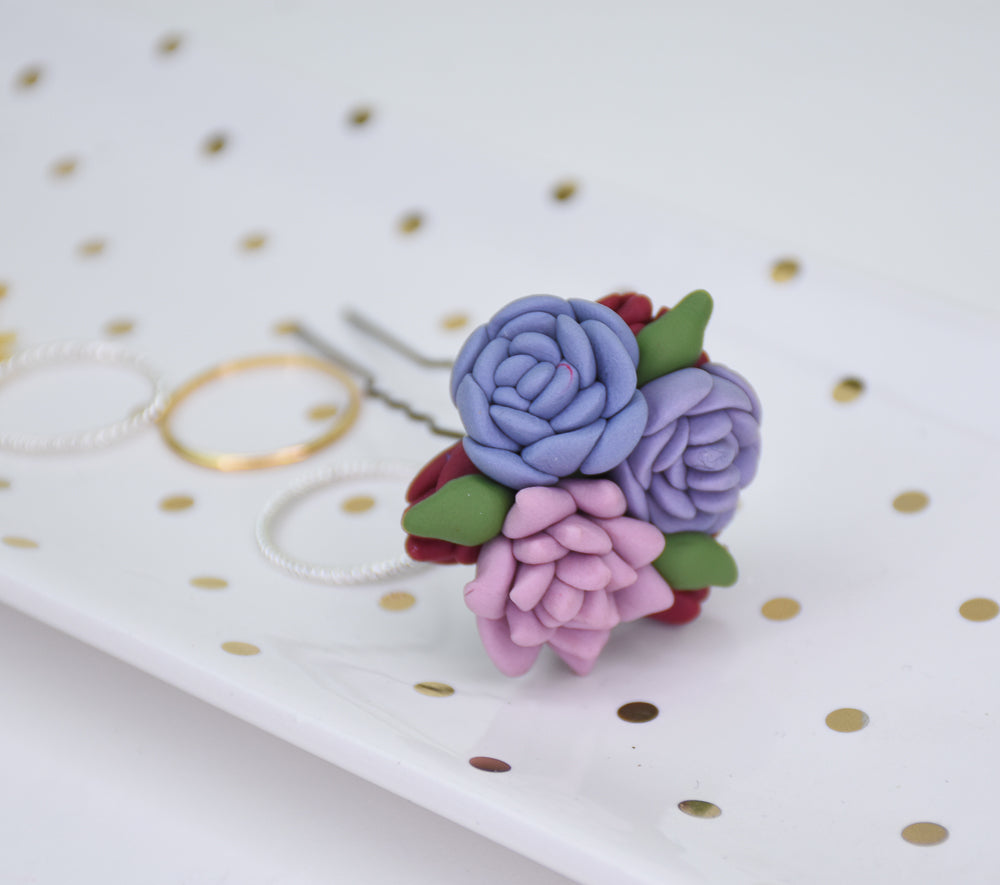
Create your own tiny garden with shades of Sculpey Soufflé™ Lilac Mist. Bonus feature- you never have to water it! COMPLETION TIME:
50 Minutes to make and bake
Read Less
ADDITIONAL SUPPLIES
- Hair pin or hair clip
- Optional - silicone glue or instant drying glue depending on the style of your hair clip
Project Instructions
- Getting Started:
Start with clean hands, unwrap and knead clay until soft and smooth, or condition by running clay though a Pasta Machine. We recommend using a designated machine for clay purposes only. When working with multiple colors, clean hands with soap and water or baby wipes (we have found that baby wipes work best) before switching colors. Shape clay, pressing pieces firmly together. Wash hands after use.
- Baking (also called Curing):
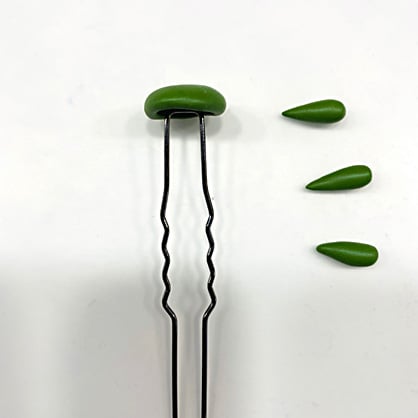
Push just enough Premo™ Spanish Olive to cover the top of the hair pin.

Carefully smooth the clay around the rim of the hair pin enclosing the edges. This style hair pin will not require glue because the metal pin will be enclosed in the baked clay.

Make three little proportionate sized Spanish Olive leaves - teardrop in shape.
Press the thick end of the leaves to the base.

Bend the tips of the leaves to the base.

Make six proportional little petals from Soufflé™ Cabernet.

Start in the center by pushing two petals together with the tips facing up. Then surround the center petals with the four remaining as shown. Gently pinch all six petals together at the base.

As in Steps 7-8, make two more of these little buds and place all three of them on the base between the leaves.

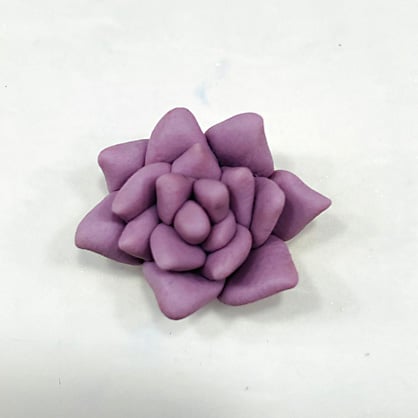
Make 18 flat little teardrop Lilac Mist shapes for succulent petals. These will be very similar to the petals from Step 7, but flat.

To make the succulent, start with four flat petals in the center; next, surrounded by six petals; and finally, surrounded by eight petals.
Gently pinch them together at their base. Push the succulent to the garden base. Use fingertips to push the petals into a natural configuration.
Gently pinch them together at their base. Push the succulent to the garden base. Use fingertips to push the petals into a natural configuration.
Create two more succulents. You can make them look varied by making the petal shapes more rounded, and/or, by varying the colors. For my remaining two succulents I mixed some custom colors:
1/8 bar of Lilac Mist + 1/16 bar of Bluestone
1/8 bar of Lilac Mist + 1/32 bar of Bluestone
Add these to the pin base. Inspect to make sure all the parts are sticking together.
When you are happy with your little garden, bake/cure following the baking instructions for Sculpey Soufflé™ and allow to cool completely before handling. Baking tip, you can prop the hair pin up on a folded dish cloth during baking so that the succulents will keep their delicate shapes.

- Choosing a selection results in a full page refresh.
- Opens in a new window.