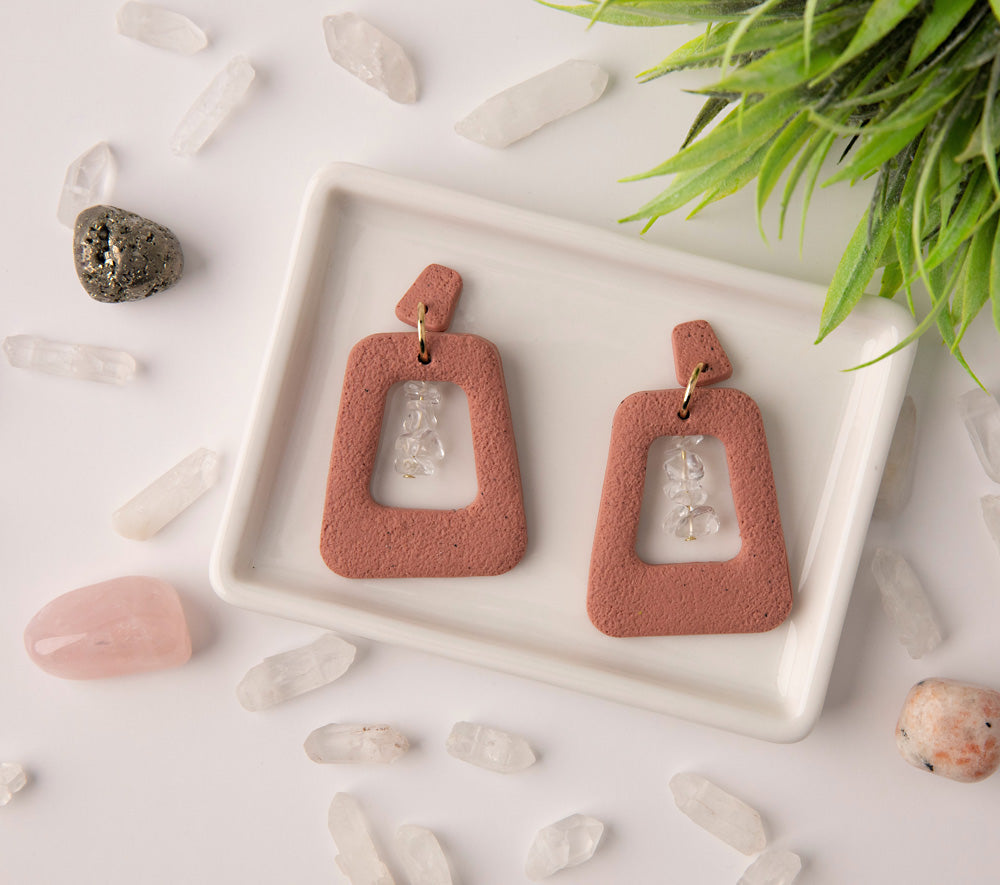
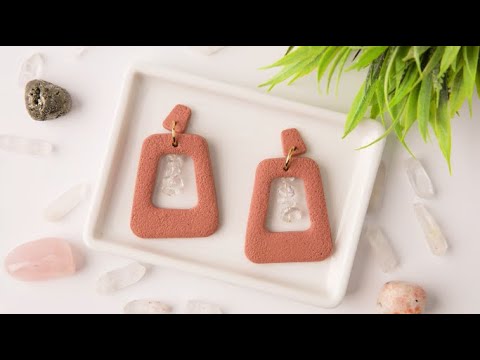
Sculpey Soufflé™ Sedona and Earth Crystal Earrings
Sculpey Soufflé™ Sedona and Earth Crystal Earrings
Designed by Amy Koranek
Read More
These earrings are created with crystal bead chips to sparkle against the earthen Soufflé™ Sedona color.
COMPLETION TIME:
60 Minutes to make, bake, and assemble; some additional time for glue drying
Read Less
ADDITIONAL SUPPLIES
- Mottled texture like coarse sandpaper or stair tread
- Trapezoid shaped cutters (mine are from Etsy- search “rounded trapezoid”)
- Crystal bead chips (mine are from Etsy- search “natural gemstone chip beads”)
- 2” Gold tone head pins (2)
- 8mm Gold tone jump rings (2)
- Ear posts with backs (2)
- Silicone glue or instant drying glue
- Round nose pliers
- Wire cutters
- Flat nose pliers

Project Instructions
- Getting Started:
Start with clean hands, unwrap and knead clay until soft and smooth, or condition by running clay though a Pasta Machine. We recommend using a designated machine for clay purposes only. When working with multiple colors, clean hands with soap and water or baby wipes (we have found that baby wipes work best) before switching colors. Shape clay, pressing pieces firmly together. Wash hands after use.
- Baking (also called Curing):
Sheet 1/2 bar Sedona to 1/8” thick with the Clay Roller.

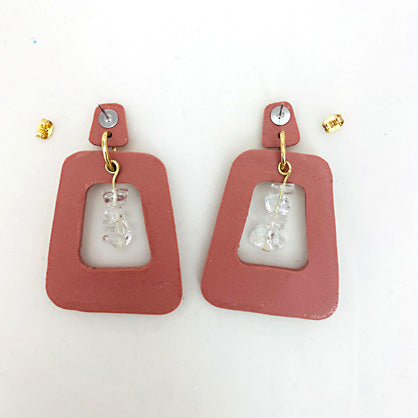
Cut out two large trapezoid shapes and two small trapezoid shapes.

Texture the pieces with coarse sandpaper, or stair tread, or something similar that gives a rough, non-patterned appearance.

Cut out the middles of the large shapes with a medium sized trapezoid cutter.

Now we will fashion the dangle elements for the center of the earrings.
String several crystal beads on a head pin. The stacked crystals should be slightly shorter than the hole in the large clay pieces so that the crystals will dangle in the empty space.
String several crystal beads on a head pin. The stacked crystals should be slightly shorter than the hole in the large clay pieces so that the crystals will dangle in the empty space.

Trim the tail of the head pin above the crystals to 3/8” with wire cutters.
Use round nose pliers to curl an eye in the tail.
Make a second strand of crystals.
Use round nose pliers to curl an eye in the tail.
Make a second strand of crystals.

Line up the crystal elements with the center of each earring.
Poke a hole with the Blunt Point Tool in the top of the large clay piece in line with the eye of the crystal strand.
Poke a hole with the Blunt Point Tool in the top of the large clay piece in line with the eye of the crystal strand.

Here is the layout for the earrings.
Poke holes in the bottom of each of the smaller shapes as well where they will attach to the large shapes after baking.
Bake/cure the clay pieces following the baking instructions for Sculpey Soufflé™.
Allow the pieces to cool completely before handling.
Poke holes in the bottom of each of the smaller shapes as well where they will attach to the large shapes after baking.
Bake/cure the clay pieces following the baking instructions for Sculpey Soufflé™.
Allow the pieces to cool completely before handling.

Use flat nose pliers to open the jump rings connecting the large and small trapezoids together.
String a strand of crystals onto the jump ring so that the eye in the strand is concealed on the back side of the earring.
Then close the jump ring with flat nose pliers.
Repeat all for the second earring.
String a strand of crystals onto the jump ring so that the eye in the strand is concealed on the back side of the earring.
Then close the jump ring with flat nose pliers.
Repeat all for the second earring.

Flip the earrings over and glue the posts to the backs.
Allow the glue to dry completely before handling.
Allow the glue to dry completely before handling.
- Choosing a selection results in a full page refresh.
- Opens in a new window.