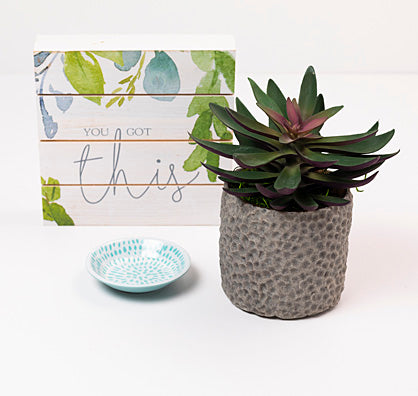
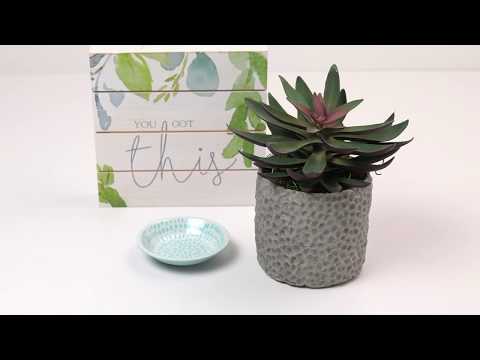
Sculpey Premo™ Textured Vase
Sculpey Premo™ Textured Vase
Designed by Amy Koranek
Read More
Read Less
This super simple technique requires very few tools but creates a complex finish.
COMPLETION TIME:2 Hours to make and bake.
ADDITIONAL SUPPLIES
- Clean and dry glass vase - approximately 4” high by 3” in diameter

Project Instructions
Getting Started:
Start with clean hands, unwrap and knead clay until soft and smooth, or condition by running clay though a Pasta Machine. We recommend using a designated machine for clay purposes only. When working with multiple colors, clean hands with soap and water or baby wipes (we have found that baby wipes work best) before switching colors. Shape clay, pressing pieces firmly together. Wash hands after use.
- Getting Started:
Start with clean hands, unwrap and knead clay until soft and smooth, or condition by running clay though a Pasta Machine. We recommend using a designated machine for clay purposes only. When working with multiple colors, clean hands with soap and water or baby wipes (we have found that baby wipes work best) before switching colors. Shape clay, pressing pieces firmly together. Wash hands after use.
- Baking:
Make sure the glass vase is clean and dry.

Divide each bar into four pieces. Condition and shape each 1/4 section into a thick rope.

Divide each thick rope into 7-8 pieces by slicing them with the Super Slicer.

Press each piece flat to the glass vase using thumbprint pressure. The piece should flatten out and spread a bit as you apply it to the vase

Keep adding more pieces making sure they all touch each other side to side.

Cover the entire vase with the thumbprint pieces of clay. I needed 2.5 bars of the Premo Gray Granite to cover my entire vase.

To fill in the little gaps around the top and bottom edges, you can cut some slices in half. Press these all around the edges to make sure all the little gaps are filled in.

Use the 12 mm ball tool to push divots in the clay pieces.

Keep stippling the entire vase with the 12 mm ball tool making sure all the divots are side by side with no gaps

Trim the top and bottom edges with the super slicer to make a nice neat edge. Bake the vase following the baking instructions for Premo. Allow to cool completely before handling.
