Sculpey Premo™ Floral Trinket Dish
Sculpey Premo™ Floral Trinket Dish
Designed by Precious Nunez
Read More
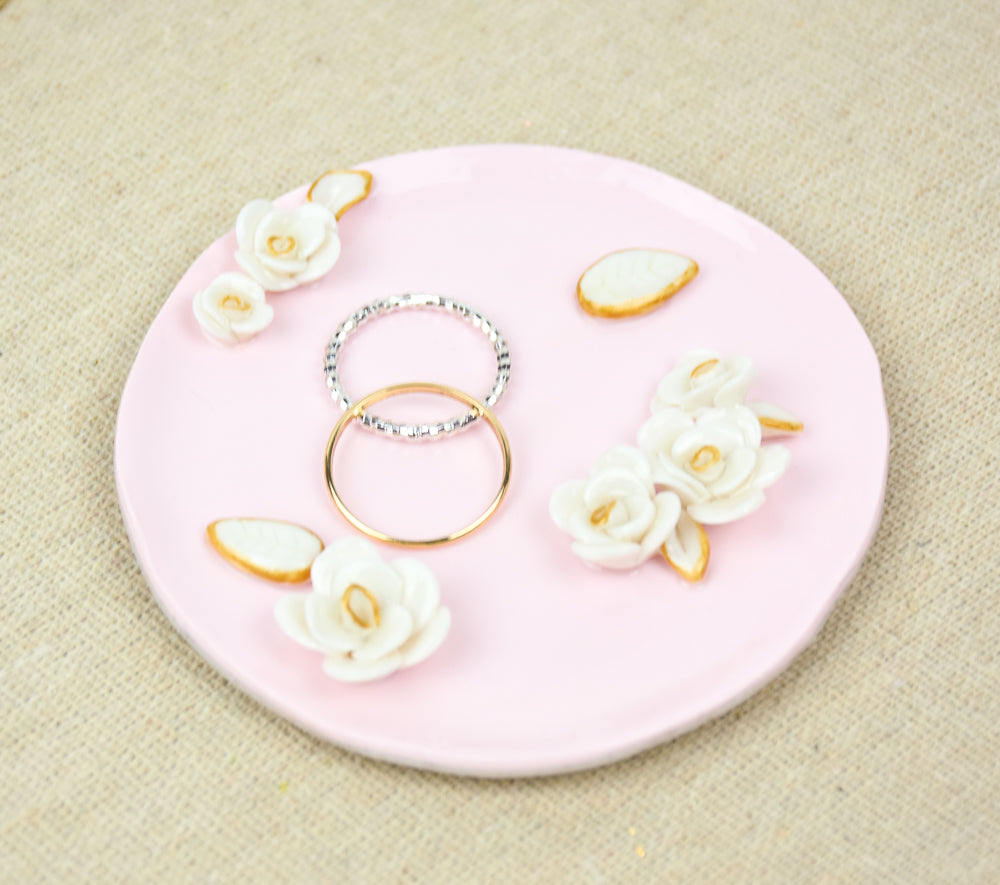
Make this super cute and simple floral trinket dish to hold your favorite jewelry pieces. Add this dish to your vanity for a classy clean look!
Time to complete: Sculpting time approximately 40 minutes 30 minutes to Bake (Resin coating is optional)
Read Less
ADDITIONAL SUPPLIES
- X-Acto Knife
- Small Dish
- Gold Acrylic Paint
- Fine Paint brush
- Old flat paint brush
- UV Resin and UV Light (optional)
- Ceramic Tile or bakeable work surface

Project Instructions
- Getting Started:
Start with clean hands, unwrap and knead clay until soft and smooth, or condition by running clay though a Pasta Machine. We recommend using a designated machine for clay purposes only. When working with multiple colors, clean hands with soap and water or baby wipes (we have found that baby wipes work best) before switching colors. Shape clay, pressing pieces firmly together. Wash hands after use.
- Baking (also called Curing):
Roll out a large portion of conditioned Premo Light Pink clay on the third thinnest setting on the clay conditioning machine. Make sure the clay is wide enough to fit the rim of your small dish.

Mix small amounts of White clay into a large ball of Gray Granite clay to make a lighter shade of gray, this should be the same amount as the pink clay. Repeat Step 2 to make a thin sheet.

Place both colored sheets together to for a double shaded sheet, trim off any excess clay. Roll through a thicker setting on the machine to tightly combine, try not to over-roll the clay.
Place the sheet on your work surface and place the rim of the dish on the sheet and cut any excess clay.

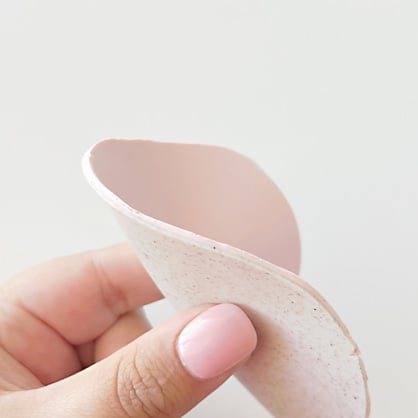
Gently curl the edges of the clay to make a lip to mimic a trinket dish.

Mix equal parts of White and Pearl clay to create a white pearlescent effect. Roll a small ball of clay and flatten it, roll the flattened clay to meet each end to form the center of the flower.
Continue to roll/flatten the clay to create petals and stack them along each other as shown. Stack the petals to your liking and fullness of the flower.
Continue to roll/flatten the clay to create petals and stack them along each other as shown. Stack the petals to your liking and fullness of the flower.

Slice the bottom of the flower to make it flat and place on the dish to your liking. Use a drop of Translucent Liquid Sculpey to bond them even stronger.

Bake/cure your dish according to the directions in Step 1.

Paint the floral details with gold acrylic paint, I painted the leaf lining and the center petal of each flower for reference.

If you choose to do so, you can glaze the dish with UV Resin using an old flat paint brush. Glaze one side and cure under the lamp. Once cured, glaze the other side and the edges, cure again.
