
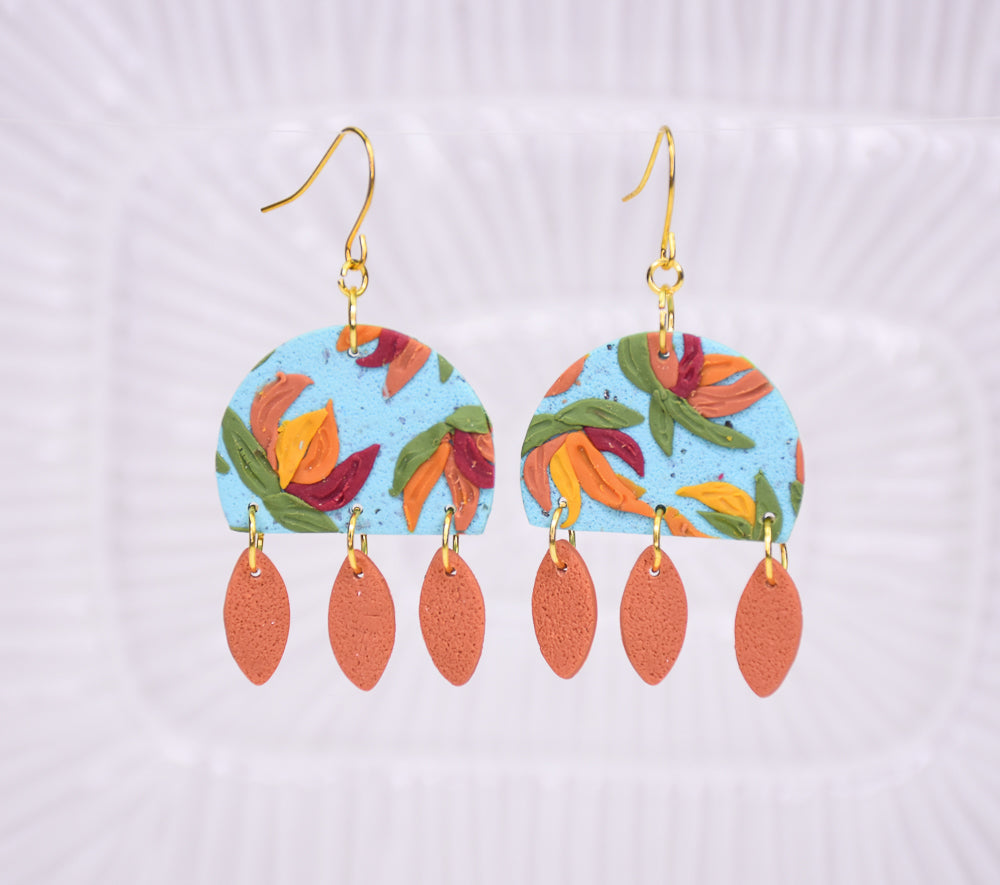
Sculpey Premo™ Floral Slab Terra Cotta Earrings
Sculpey Premo™ Floral Slab Terra Cotta Earrings
Designed by Cindi McGee
Read More
Sculpey Premo™ flowers in vibrant colors dance across a background of Turquoise Granite in these terrific earrings. Better make an extra pair for your bestie!
TIME TO COMPLETION: 45 minutes to make, 30 minutes to bake
Read Less
ADDITIONAL SUPPLIES
- Fine sandpaper
- Round cutter for top of earrings
- Small cutter or template for small drop pieces of earrings
- Parchment paper
- Gold tone earring wires
- Gold tone jump rings (8 Medium, 2 Small)
- Jewelry pliers
Project Instructions
- Getting Started:
Start with clean hands, unwrap and knead clay until soft and smooth, or condition by running clay though a Pasta Machine. We recommend using a designated machine for clay purposes only. When working with multiple colors, clean hands with soap and water or baby wipes (we have found that baby wipes work best) before switching colors. Shape clay, pressing pieces firmly together. Wash hands after use.
- Baking (also called Curing):
Roll Turquoise Granite clay to make a sheet.
Place fine sandpaper over the surface and press/roll with roller to transfer texture to the sheet.
Place fine sandpaper over the surface and press/roll with roller to transfer texture to the sheet.

Roll small strands of Cabernet, Spanish Olive, Terra Cotta, Mustard and Pumpkin clay.

To make the petals, cut small sections (about 1/8”) from the strands and roll to form a shape similar to a grain of rice.
Gently curve the pieces.
Place parchment paper over the curved piece and gently press to flatten the petals.
Gently curve the pieces.
Place parchment paper over the curved piece and gently press to flatten the petals.

Carefully lift each petal and arrange them as desired on the textured sheet of Turquoise Granite clay. Continue until the sheet is covered.

Use the pointed end of an Etch ‘n Pearl (or needle tool) to gently create a line through each petal as shown.

Use round cutter to cut 2 discs from the clay sheet.

Cut away the bottom portion from each disc.

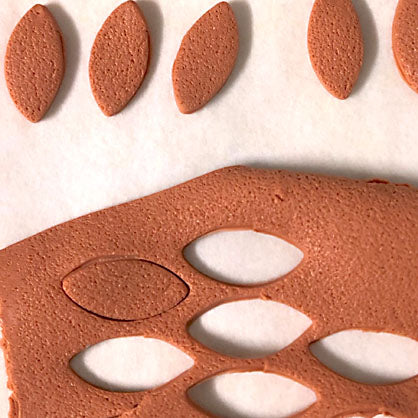
Roll Terra Cotta clay to create a sheet. Place fine sandpaper over the surface and press/roll to transfer texture to the clay.

Use small cutter (or template) to cut 3 pieces to hang from the bottom of each earring.
If you are NOT drilling after baking, use a needle tool and follow the directions in the next step before baking for hole placement.
Bake as directed above.
If you are NOT drilling after baking, use a needle tool and follow the directions in the next step before baking for hole placement.
Bake as directed above.
Drill 1 hole at the top, centered, of each disc.
Drill 3 holes evenly spaced along the flat bottom edge of each disc.
Drill a hole in the top of each of the small dangle pieces.
Attach dangles to flat edge of discs with medium jump rings.
Add medium jump ring in top hole of discs.
Use small jump rings to connect earring wires to medium jump rings at top of each earring.
