Sculpey III® Tasseled Dream Catcher
Sculpey III® Tasseled Dream Catcher
Designed by Amy Koranek
Read More
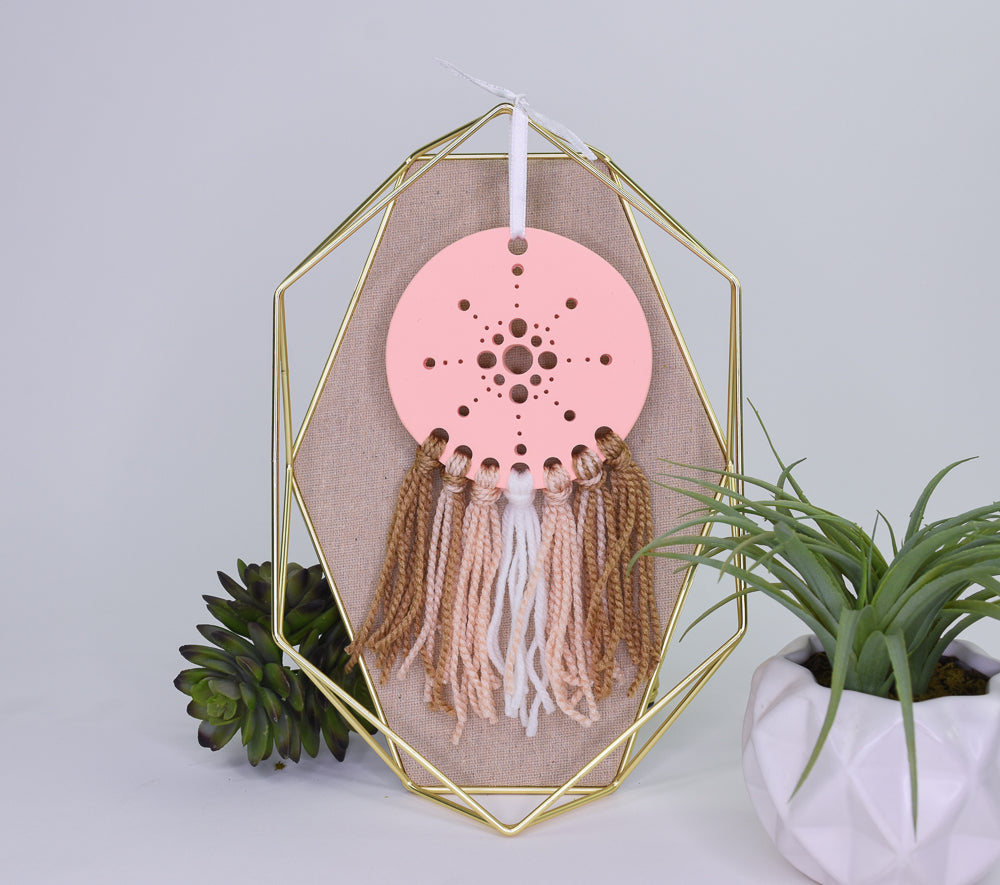
Create a tasseled Dream Catcher in just about an hour featuring the earthy tones of Sculpey III® Peach and several colors of yarn.
COMPLETION TIME: 45 Minutes to make, bake, and assemble
Read Less
ADDITIONAL SUPPLIES
- 4-3/8” Round circle cutter
- Tiny circle cutters in 3/16” and 1/4” - if you don’t have mini clay punches or circle cutters, you can substitute with household items like plastic drinking straws and round coffee stir sticks
- 12” Coordinating ribbon
- 10” Brown yarn (18)
- 10” Tan yarn (18)
- 10” White yarn (6)
- Scissors
- Ruler

Project Instructions
- Getting Started:
Start with clean hands, unwrap and knead clay until soft and smooth, or condition by running clay though a Pasta Machine. We recommend using a designated machine for clay purposes only. When working with multiple colors, clean hands with soap and water or baby wipes (we have found that baby wipes work best) before switching colors. Shape clay, pressing pieces firmly together. Wash hands after use.
- Baking (also called Curing):
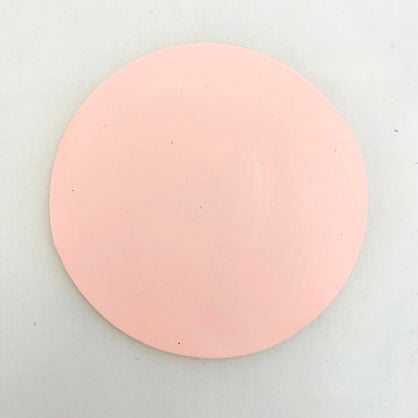
Flatten Peach Sculpey III® to a sheet 1/8” thick.
Cut out a circle using a 4-3/8” cutter.
Cut out a circle using a 4-3/8” cutter.
Cut out a 1/2” hole from the center.

Cut out two 1/4” holes along the edges, one directly above and one directly below the center hole.
Cut out four 1/4” holes around the center hole.
Cut out four 1/4” holes around the center hole.

Make four more 3/16” holes in between the medium sized holes in the center.

Use the Blunt Point Tool to make a series of radiating holes out from the center design as shown.

Place a 3/16” hole at the tips of the previous pattern.

Make three more 1/4” holes alongside the bottom and on each side of the center hole.
Bake following the baking instructions for Sculpey III®.
Allow to cool completely before handling.
Bake following the baking instructions for Sculpey III®.
Allow to cool completely before handling.

Add the ribbon for a hanger through the top hole.
Bundle six brown yarns together for each of the outer most holes. Half the bundle of six yarns and push the loop through the hole. Pull the tails through the loop and secure.
The next two bundles working toward the middle are each three brown and three tan yarns.
The next two bundles working toward the middle are each six tan yarns.
The center bundle is six white yarns.
Trim the ribbon and the yarns as desired.

- Choosing a selection results in a full page refresh.
- Opens in a new window.