

Sculpey III® Peach Bunny Figurine
Sculpey III® Peach Bunny Figurine
Designed by Amy Koranek
Read More
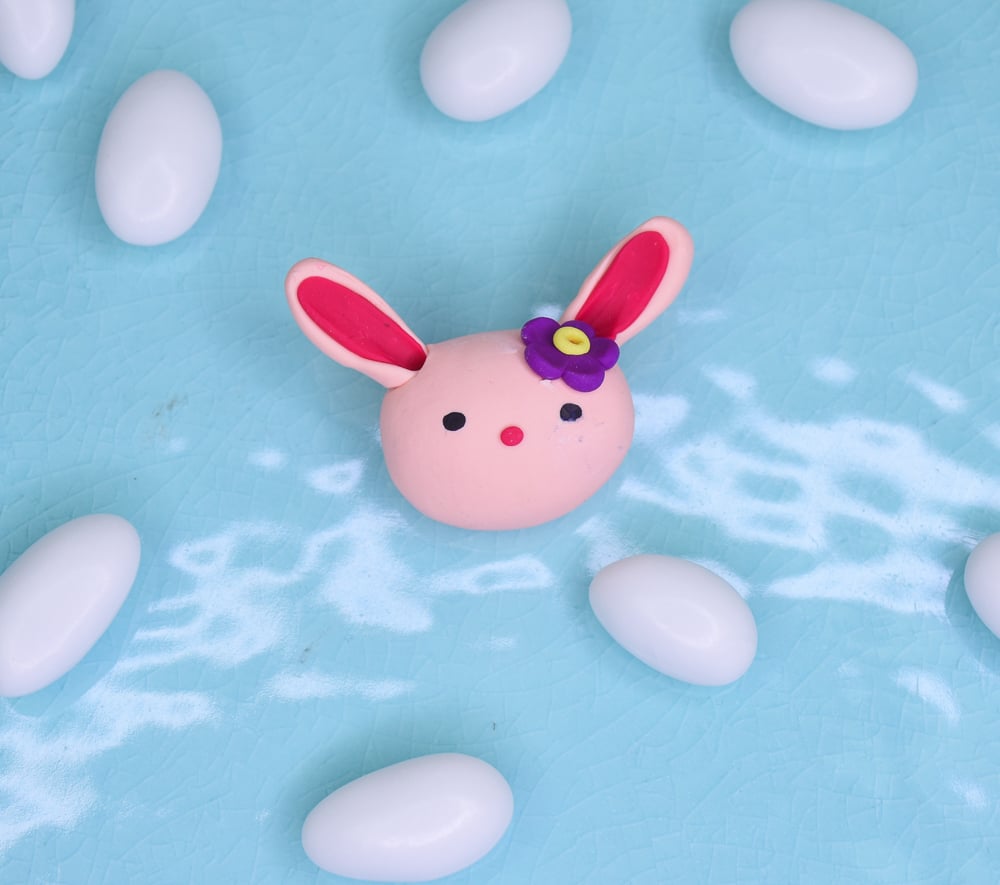
This cute little Sculpey III® Peach Bunny is destined to become a treasure! A great project to "dip your toes" into sculpting.
COMPLETION TIME:
45 Minutes to make and bake
Read Less
ADDITIONAL SUPPLIES
- Black permanent marker
Project Instructions
- Getting Started:
Start with clean hands, unwrap and knead clay until soft and smooth, or condition by running clay though a Pasta Machine. We recommend using a designated machine for clay purposes only. When working with multiple colors, clean hands with soap and water or baby wipes (we have found that baby wipes work best) before switching colors. Shape clay, pressing pieces firmly together. Wash hands after use.
- Baking (also called Curing):
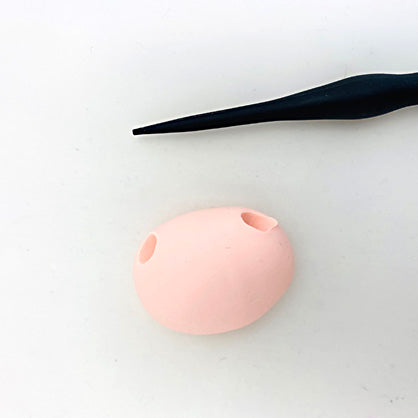
For the bunny’s head you will need 1/4 bar of Peach. You will need 1/32 bar of Peach for both ears.
Shape the large piece into an oval. Divide the smaller piece into two equal pieces and make flat teardrops .
Shape the large piece into an oval. Divide the smaller piece into two equal pieces and make flat teardrops .

Use the thick part of the handle of the Blunt Point Tool to make soft divots in the ears giving them shape.

Add very thin pieces of Berry to the center of each ear and again use the same tool handle to shape them.

Use the Blunt Point to poke holes into the top of the head creating ear canals. Whenever you make a well to receive a detail like a protruding ear, it makes the connection point stronger because it increases the surface areas connecting the two pieces to each other.
Gently wrap the pointed end of the ear around the Blunt Point and use the tool to insert the ear into the ear canal.

Add five tiny balls of Violet for flower petals near an ear. Flatten the petals into place with the Ball Tool.

Add a tiny dot of Lemonade to the center of the petals and poke a hole using the Blunt Point.

Finally add a dot of Berry for the nose.
Bake following the baking instructions for Sculpey III.
Allow to cool completely before handling.
Bake following the baking instructions for Sculpey III.
Allow to cool completely before handling.

Add eyes with the permanent marker.

- Choosing a selection results in a full page refresh.
- Opens in a new window.