

Sculpey III® Bubble Candle Holder
Sculpey III® Bubble Candle Holder
Designed by Amy Koranek
Read More
Need a quick (and clever!) candle holder for your table or hostess gift? This project will do the trick!
COMPLETION TIME:
35 Minutes to make and bake.
Read Less
ADDITIONAL SUPPLIES
- Small LED candle
Project Instructions
- Getting Started:
Start with clean hands, unwrap and knead clay until soft and smooth, or condition by running clay though a Pasta Machine. We recommend using a designated machine for clay purposes only. When working with multiple colors, clean hands with soap and water or baby wipes (we have found that baby wipes work best) before switching colors. Shape clay, pressing pieces firmly together. Wash hands after use.
- Baking (also called Curing):
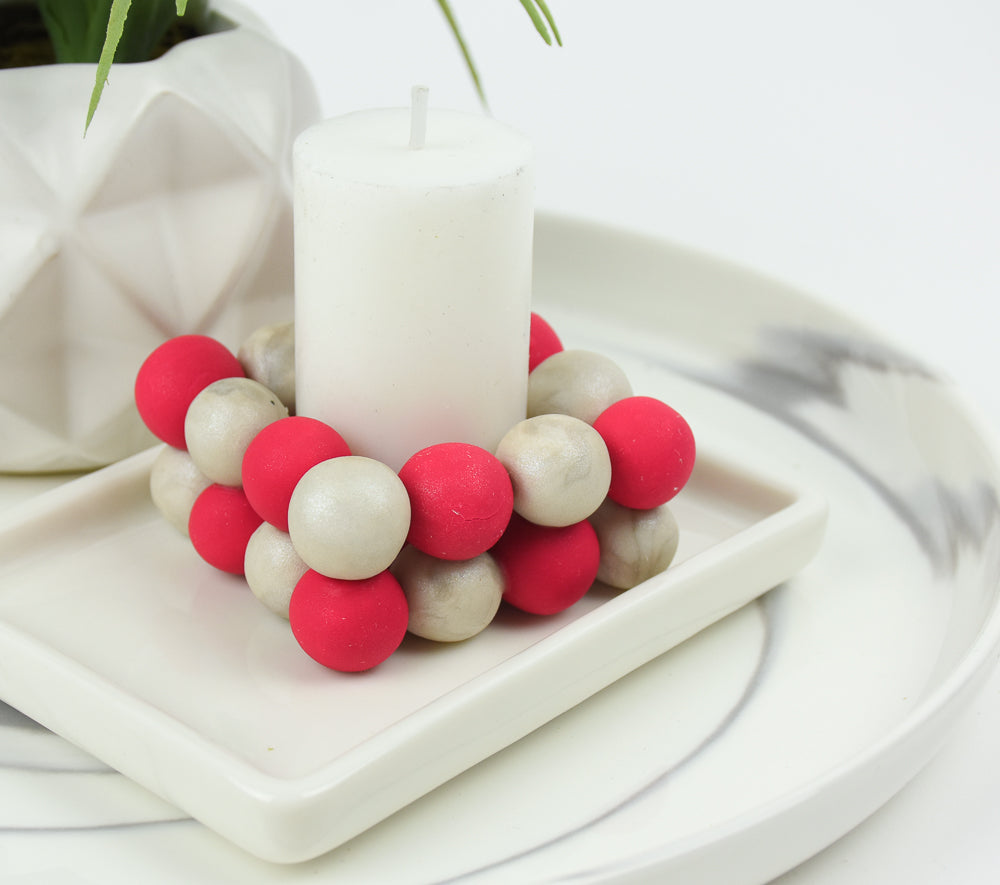
Position the LED candle on the work surface and determine how many balls of clay and the appropriate size of the balls needed to surround the candle in a square. The balls are about 3/4” in diameter.

Make 12 Pearl and 12 Berry balls that are all the same size

To start, position four balls, two Pearl and two Berry, as shown.

To connect them together without distorting their perfectly round shape; place a dot of Oven Bake Clay Adhesive between each ball and touch them together.

Surround the first four balls with an outer edge of balls placing a dot of Oven Bake Clay Adhesive at each joint.

Add a second row of balls in alternating pattern. Always place a dot of Oven Bake Clay Adhesive at each joint to make a super strong joint without pressuring the pieces together. Leave the center open to put the LED candle into after baking.

Bake following the baking instructions for Sculpey III. Allow to cool completely before handling. (Do NOT bake the LED candle)

- Choosing a selection results in a full page refresh.
- Opens in a new window.