Liquid Sculpey® Flower Coasters
Liquid Sculpey® Flower Coasters
Designed by Amy Koranek
Read More
In this tutorial I will point out a couple different methods that I tried and show you the different results. Please read through all the steps before starting so you can determine which style you like best. TIME TO COMPLETE:
40 Minutes to make and bake each coaster
Read Less
ADDITIONAL SUPPLIES
- Paper towel
- Flexible silicone flower shaped mold
- Chunky gold glitter
- Small measuring spoon
- Gold paint marker
Project Instructions
- Getting Started with Liquid Sculpey®:
-
Baking:
- -It is important to use oven thermometer when you bake the liquids so that you can ensure your oven is at the correct temperature.
- -Do not microwave the liquids. They must be baked in a Preheated oven at 275 ºF (130 ºC) for liquid colors and 300 ºF (149 ºC) for Clear – Do not exceed baking temperatures.
- -If your piece is less than 1/4” bake for 15 minutes. For thicker pieces that are 1/4” or above bake for 30 minutes.
- -If your liquid project has become yellowed or discolored in the oven, when you remake it, tent it by placing either – folding an index card in half and placing your project under it by using aluminum foil over your project.
Here’s a tip for baking perfectly in silicone molds. Dampen a dish towel with water and wring out as much of the water as you can. Fold the damp towel so that the molds can sit level on top of it. The damp towel will slow down the curing process so that the LS will cure evenly throughout and avoid warping.
Fill the mold to level with Translucent Lavender Liquid Sculpey® (LS).
Tap the mold on the work surface to release air bubbles.
Tap the mold on the work surface to release air bubbles.

Add a pile of chunky gold glitter to the center of the flower with a small measuring spoon - about 1/4 teaspoon.

If you tap the mold again, the glitter will disperse out from the center.
Bake following the baking instructions for Liquid Sculpey®. Allow to cool completely before flexing the mold to release the flower.
Bake following the baking instructions for Liquid Sculpey®. Allow to cool completely before flexing the mold to release the flower.

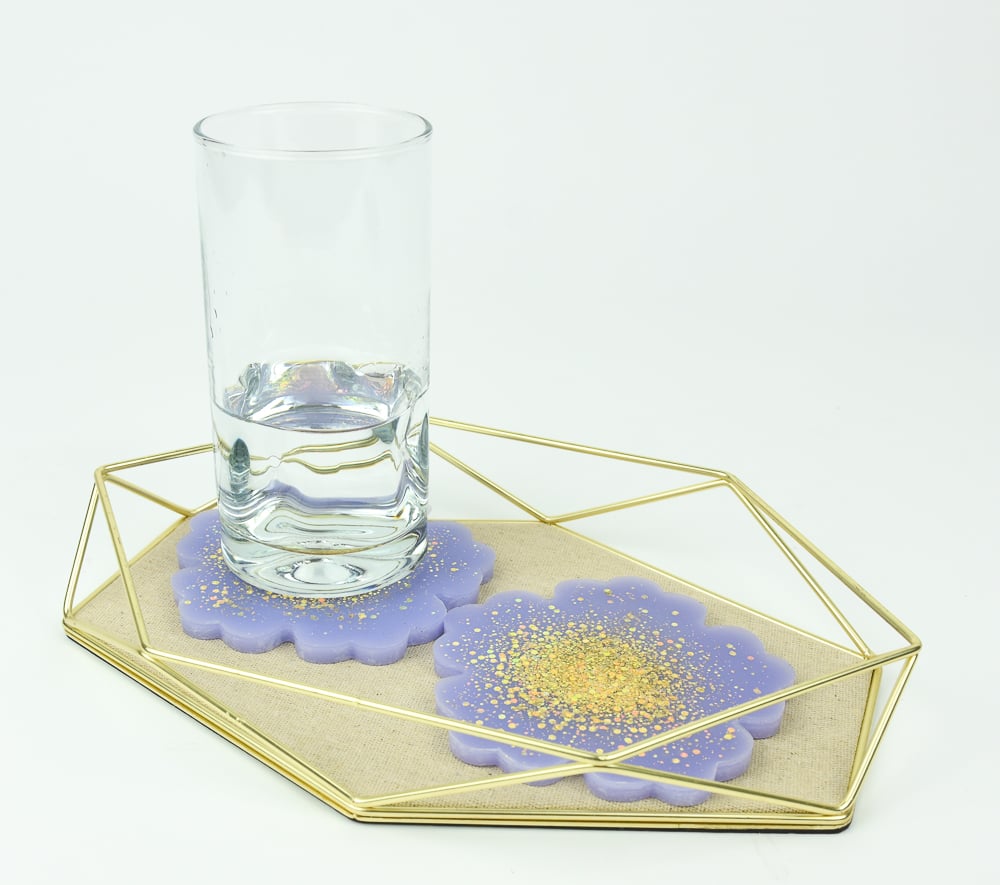
This is my baked coaster. You can see that the glitter spread even more during baking. I think this is because silicone molds can flex a bit when heated and this may have caused the glitter to spread.

I tried another technique to see if the glitter would stay more centered. On the second style, I filled the mold with Translucent Lavender as in Step 2.
Then I added a circle of Gold LS to the center area and pulled lines of the gold outward toward the petals. I dipped the tip of the Needle Tool into the Gold and dragged it outward.
Then finally I put a small amount of the gold glitter into the center of the Gold LS.
You can see that this slowed the spread of the glitter.
I baked the coaster following the baking instructions for Liquid Sculpey®.

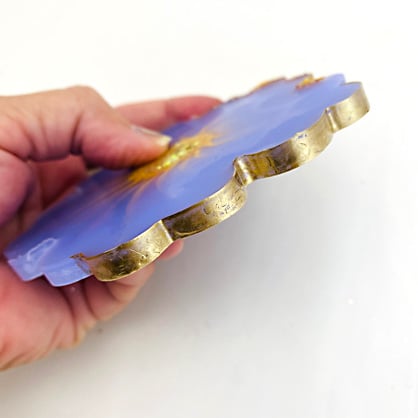
To finish, I painted the edges of the coasters with gold paint marker.