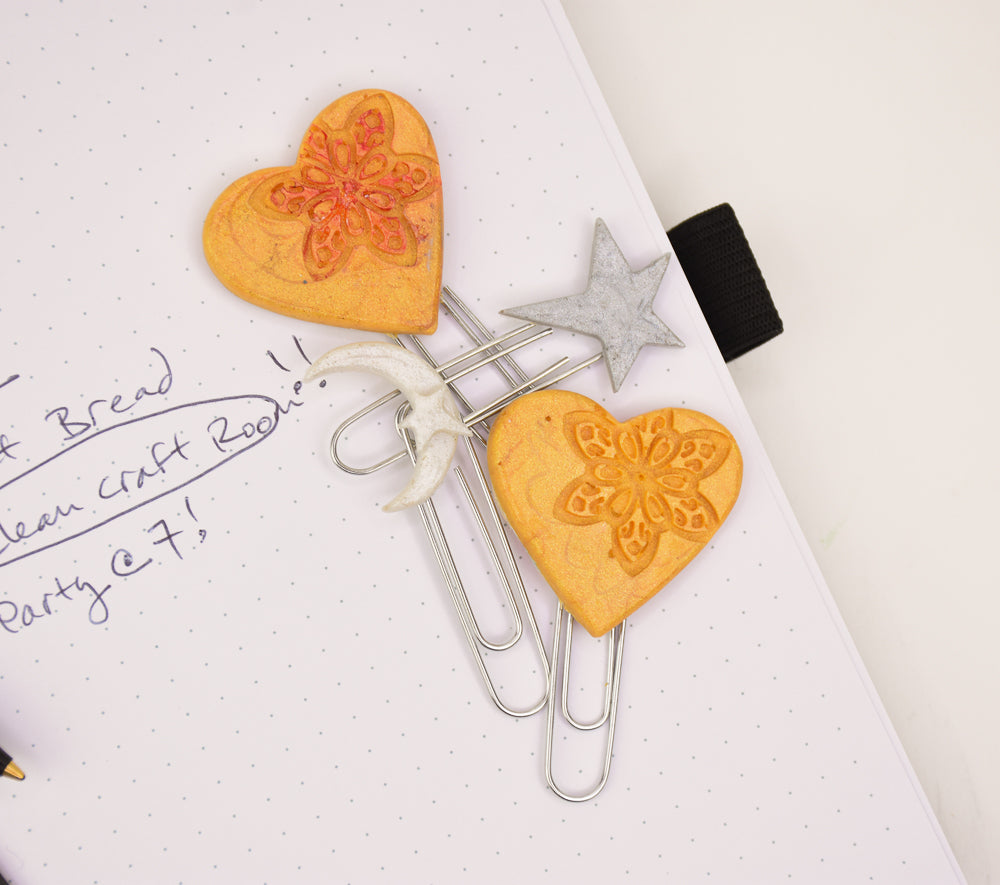

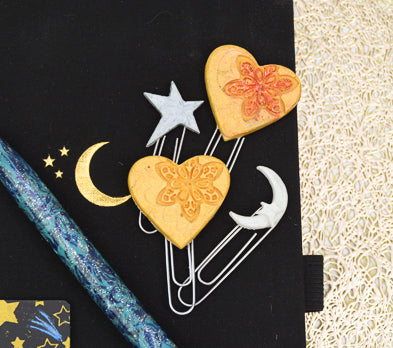
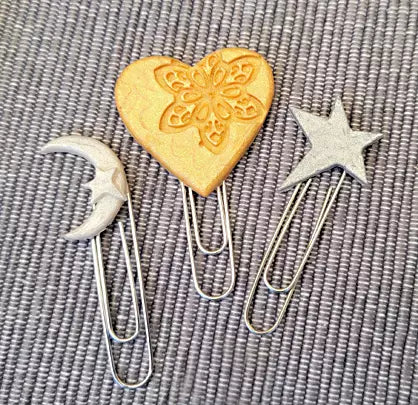
Liquid Sculpey® Celestial Paper Clip Toppers
Liquid Sculpey® Celestial Paper Clip Toppers
Designed by syndee holt
ADDITIONAL SUPPLIES
Liquid Sculpey® teams up with Sculpey Tools™ Boho Chic Oven Safe Mold to create these fanciful paperclips. What a great gift for an officemate!
Time to completion:
20 minutes to make, 30 minutes to bake

Project Instructions
Step 1
- Getting Started with Liquid Sculpey®:
- Baking:
- -It is important to use oven thermometer when you bake the liquids so that you can ensure your oven is at the correct temperature.
- Do not microwave the liquids. They must be baked in a Preheated oven at 275 ºF (130 ºC) for liquid colors and 300 ºF (149 ºC) for Clear – Do not exceed baking temperatures.
- If your piece is less than 1/4” bake for 15 minutes. For thicker pieces that are 1/4” or above bake for 30 minutes.
- If your liquid project has become yellowed or discolored in the oven, when you remake it, tent it by placing either – folding an index card in half and placing your project under it by using aluminum foil over your project.
Here’s a tip for baking perfectly in silicone molds. Dampen a dish towel with water and wring out as much of the water as you can. Fold the damp towel so that the molds can sit level on top of it. The damp towel will slow down the curing process so that the LS will cure evenly throughout and avoid warping.
Step 2
Thoroughly stir the Pearl Liquid Sculpey (referred to as LS). Squeeze a small amount into the moon mold and use the toothpick to gently spread it into the small corners of the mold.Add small amounts of the Pearl until the LS is level with the top edge of the mold.
I elected to fill the small star next to the moon mold as well!

Step 3
Use the small plastic scraper that comes with the mold to gently remove any excess LS from the top of the mold. IF you do not have the supplied scraper – any small flexible plastic can be used. I’ve even folded a small piece of index card and used that as well!
Step 4
Fill the filigree portion of the heart mold with stirred Gold LS. Use the plastic scraper to help spread the LS and watch for any gaps in the pattern.
Step 5
Add more Gold LS to the mold and use the toothpick to help distribute the LS more evenly and dislodge any bubbles lurking under the surface. Fill the mold to the top level of the mold.
Step 6
Since this is a wide mold, I just use the plastic scraper to clean up around the edges of the mold instead of scraping the entire surface.Fill the larger star with the stirred Silver LS in the same manner as the moon.

Step 7
Gently tap the mold on your worksurface to dislodge any bubbles and then position your large paperclips as shown with the single loop at the top.
Step 8
Add a small drop of each coordinating color over the top of the clip to help secure it to the back of the molded form after baking.
Step 9
Bake/cure as directed above, allow the pieces to cool and gently pop them from the mold.You may elect to add a thin coat of Sculpey Gloss Glaze to the pieces to bring out the pearl shimmer in each of the pieces.
Step 10
I decided to experiment with a lovely watercolor set to tint the filigree in the heart to help the detail to stand out. If you do so, don’t add the glaze or use the glaze carefully as it can dislodge the watercolor tint until the glaze sets.