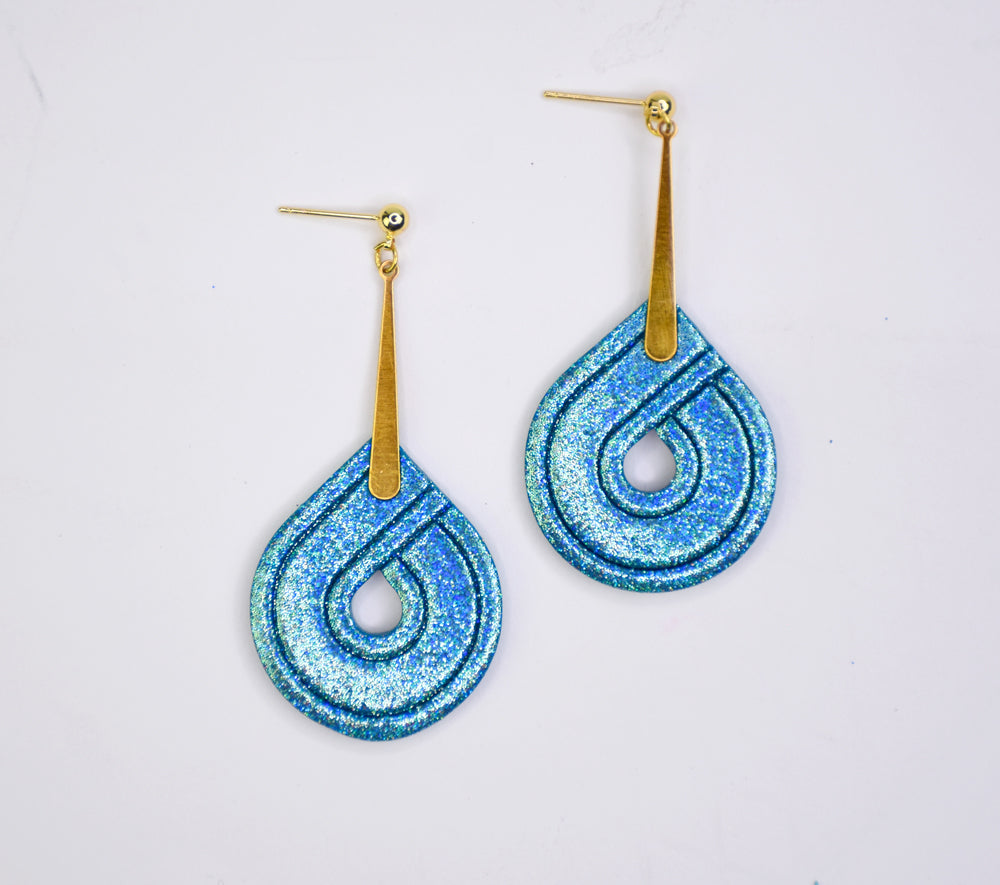

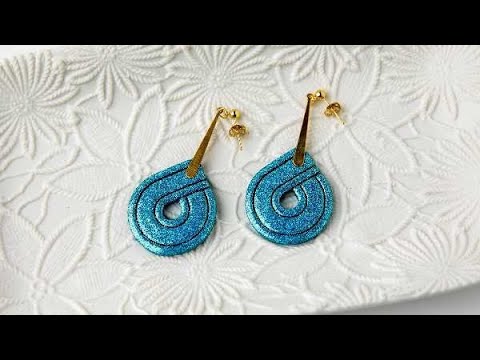

Sculpey Soufflé™ Teardrop Glitter Earrings
Sculpey Soufflé™ Teardrop Glitter Earrings
Read More
Use any of your favorite Soufflé™ colors with a coordinating glitter to get this super sparkly disco inspired look!
COMPLETION TIME:
45 Minutes to make, bake, and assemble; some time needed for glue to set
Read Less
ADDITIONAL SUPPLIES
- Teal holographic glitter
- Metal gold tone drop connectors (2)
- 4mm Gold tone jump rings (2)
- Gold tone ball studs with connecting loops and back (2)
- Instant drying glue or silicone glue
- Flat nose pliers

Project Instructions
Step 1
Step 2

Step 3

Step 4

Step 5

Step 6

Step 7

Step 8
