

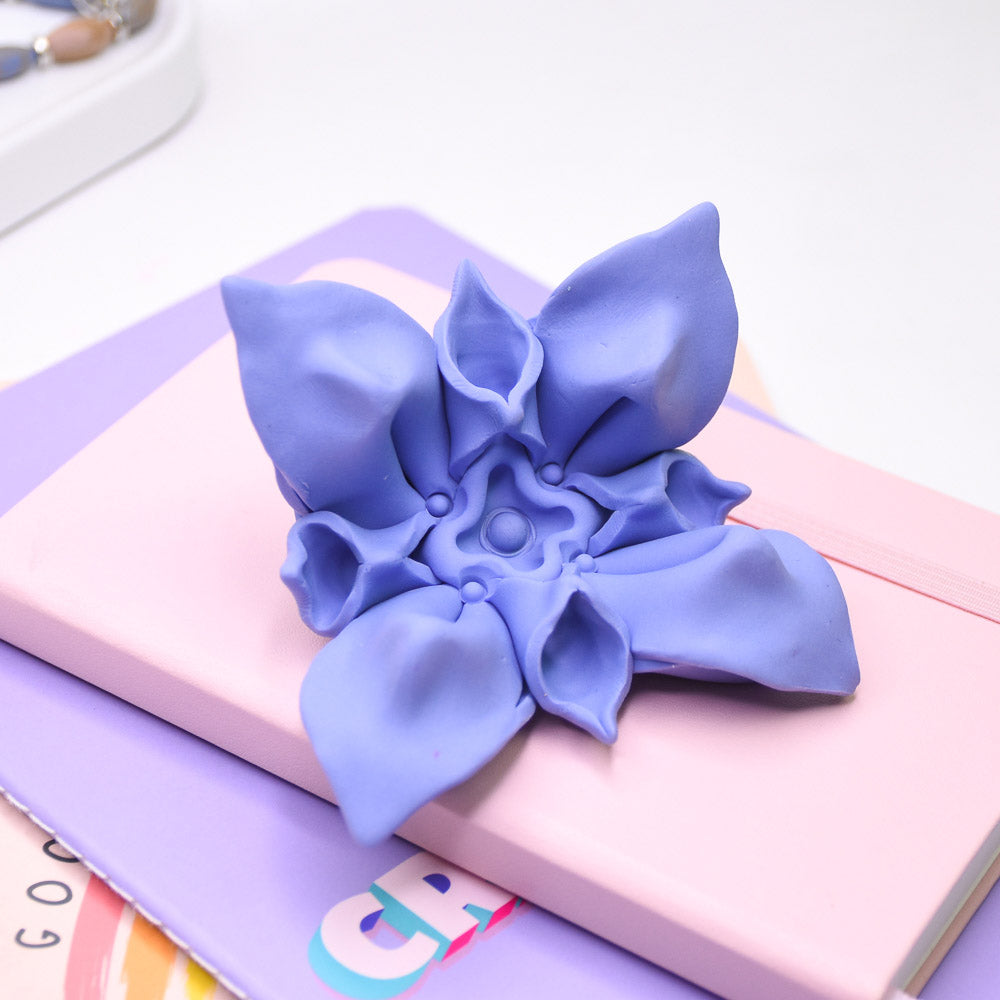
Sculpey Soufflé™ Origami Sculpture Decor
Sculpey Soufflé™ Origami Sculpture Decor
Read More
Wow! Sculpey Oven bake polymer clay mimics the look of traditional paper origami in this folding tutorial.
TIME TO COMPLETION: About 90 minutes to make and bake/cure
Read Less
ADDITIONAL SUPPLIES
Square ceramic dish or square metal baking pan with a deep bottom to use as a baking form
Project Instructions
Step 1
Step 2

Step 3

Step 4

Step 5

Step 6

Step 7

Step 8

Step 9

Step 10

Step 11

Step 12

Step 13

Step 14

Step 15

Step 16

Step 17

Step 18

Step 19

Step 20

Step 21

Step 22

Step 23

Step 24

Step 25

Step 26

Step 27

Step 28

Step 29

Step 30

Step 31

Step 32

Step 33

Step 34

Step 35
