


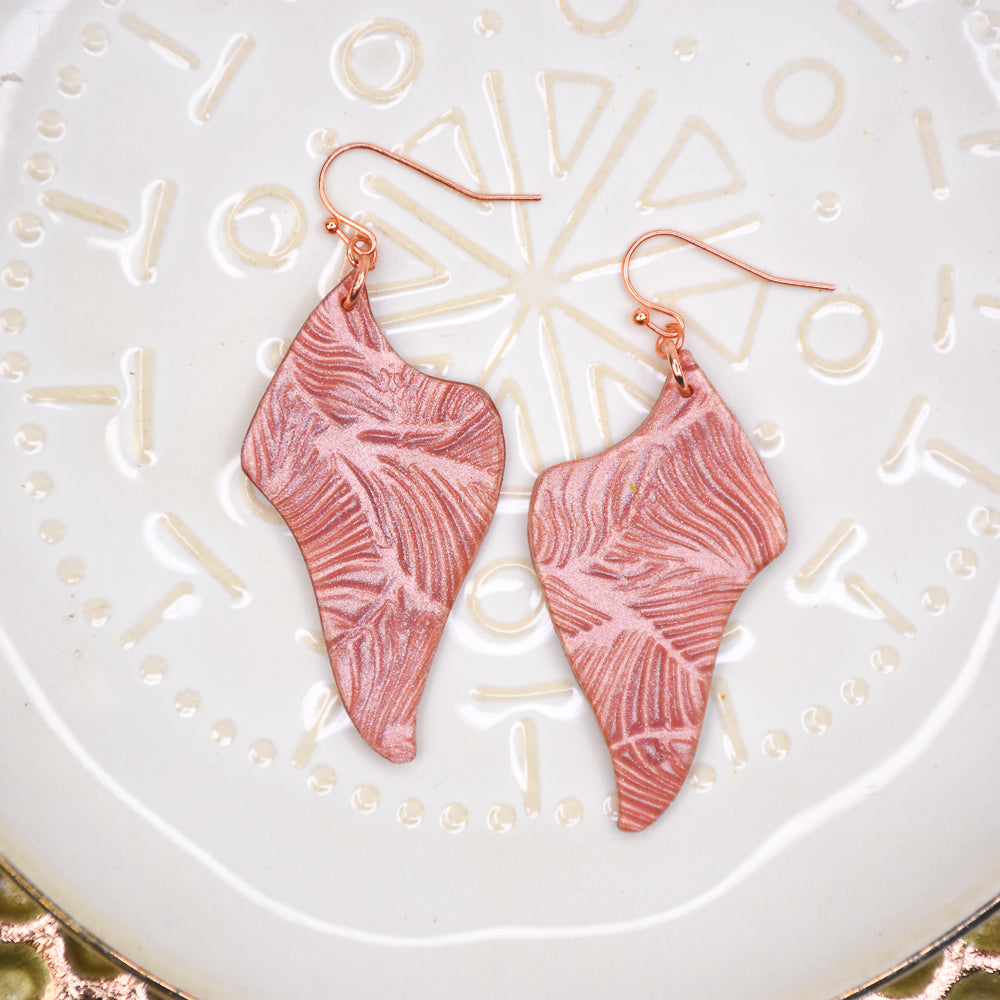
Sculpey Premo™ Rose Gold Mica Shift Earrings
Sculpey Premo™ Rose Gold Mica Shift Earrings
Read More
Experience the magic of “Mica Shift” with this simple project! I’ve done mica shift for several years, but THIS Rose Gold metallic clay is just exceptional for this technique. All my extra pieces have been snagged by my neighbors when they saw my workshop doors open.
TIME TO COMPLETION: 1 hour to make/bake
Read Less
ADDITIONAL SUPPLIES
- · Small spray bottle of water
- · Smooth tile to secure the clay when shaving
- · Several sheets of plain paper
- · Your selected stamp – mine are from Amazon – Leather Hole Punch Tool, 39 pieces
- · Findings: I’m using Copper tone 6 mm jumprings (2) and earwires (2). Rose Gold findings work well with this clay too!
- · Clean toothbrush (optional)
- · PATIENCE! Take your time cutting away at the stamped surface!

Project Instructions
Step 1
Step 2

Step 3

Step 4

Step 5

Step 6

Step 7

Step 8

Step 9

Step 10

Step 11

Step 12


Step 13

Step 14

Step 15
