
Sculpey Premo™ Champagne Pearl Wire Wrapped Rounded Triangle Earrings
Sculpey Premo™ Champagne Pearl Wire Wrapped Rounded Triangle Earrings
Designed by syndee holt
Read More
Read Less
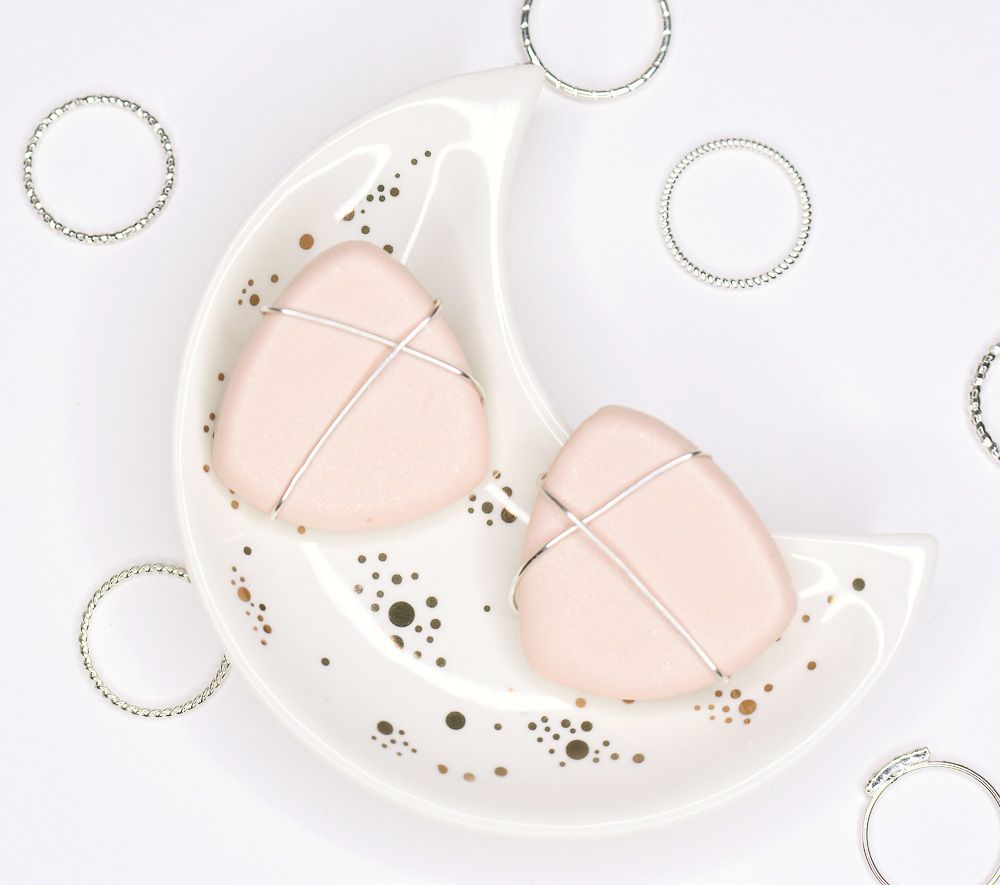
This Champagne Pearl color can go from casual to formal with its unique color and subtle shimmer. This project teams the color up with a classic “fat triangle” shape and a quick silver-toned wire wrap.
TIME TO COMPLETION: 30 minutes to make, 30 minutes to bake
ADDITIONAL SUPPLIES
- 5 inch fat triangle cutter (mine is from cutterlydesigns on Etsy- guitar pick shape)
- 18 gauge silver-toned wire (mine is Artistic Wire). 20 gauge can also be used for a more delicate look
- Post hardware (2)
- Glue for posts – I’m currently using Goop brand for Plumbing
- Wire cutters and pliers
- Wire straightener tool (optional)
- Sheet thin plastic like deli paper or plastic wrap

Project Instructions
Step 1
- Getting Started:
Start with clean hands, unwrap and knead clay until soft and smooth, or condition by running clay though a Pasta Machine. We recommend using a designated machine for clay purposes only. When working with multiple colors, clean hands with soap and water or baby wipes (we have found that baby wipes work best) before switching colors. Shape clay, pressing pieces firmly together. Wash hands after use.
- Baking (also called Curing):
Step 2
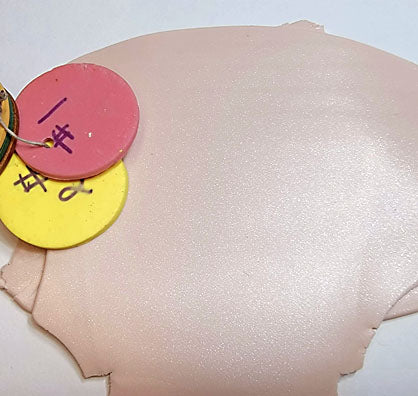
Sheet your conditioned clay out on the widest setting on your clay conditioning machine. We will need two sheets big enough to cut out two of the shapes.Artist tip: The numbered circles are how I remember exactly what layer I used - #1
Step 3
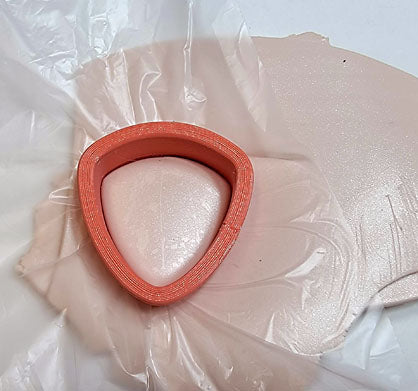
Place the plastic wrap on the sheet of clay and firmly push the cutter through the clay.Artist tip: I put a small block of wood on top of the cutter and push on the block of wood to get a strong, even cut.
Step 4
Cut out both pieces and run the tip of your finger around the back of the cut edge to remove any excess clay.Bake as directed in Step 1 above.

Step 5
While the clay is cooling, cut two 10-inch pieces of wire. Straighten the wire either by pulling it between two pairs of pliers or using a wire straightener like I am doing in this photo.
Step 6
Wrap the wire around the top point of the triangle and then around each side of the triangle.I twisted my two ends together tightly and trimmed it closely.
I used my pliers to add the notches to the wire to tighten the wire.
Wrap the wire in the reverse direction to make a facing pattern.

Step 7
Once the wire was secured and tightened with the notches, I tucked the twisted end close, or under one of the wires.
Step 8
I glued my post in place and let the glue cure 24 hours.Artist tip: If I’m gluing my post in place, I use a post with the widest base that the design will allow for. My theory is the greater the surface the glue has contact with, the more secure the bond will be.

Step 9
Here is a look at the completed post earrings.