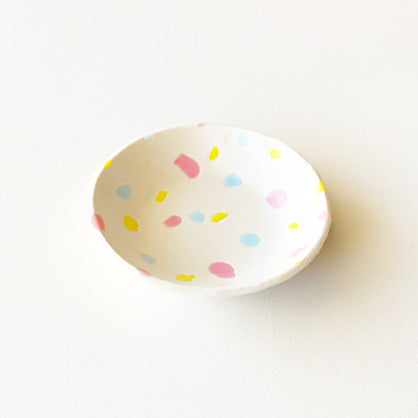
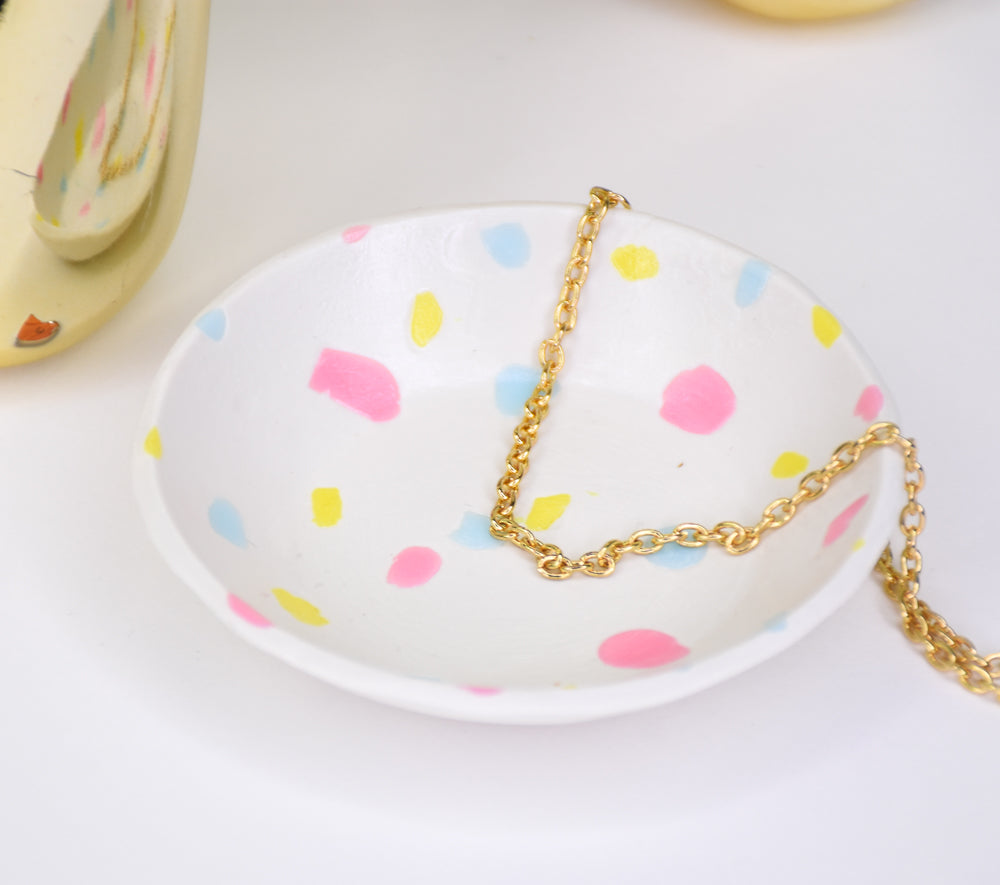
Sculpey III® Terrazzo Dish
Sculpey III® Terrazzo Dish
Read More
This Terrazzo Dish is a cute addition to your space as a small dish to hold jewelry or charms! Add your own personal touch to this dish or make it as a gift for a friend!
Time to complete – Sculpting time approximately 15 minutes – Baking 15 minutes
Designed by Precious Nunez
Read Less
ADDITIONAL SUPPLIES
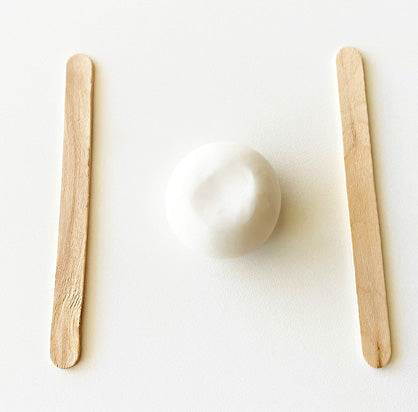
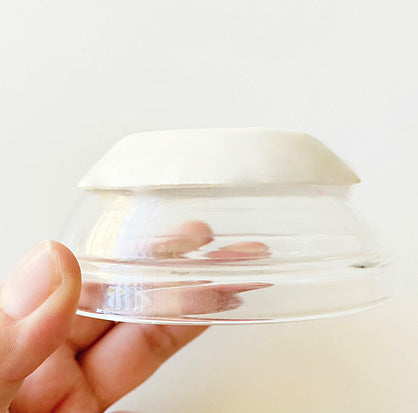
- Small oven safe glass dish
- 2 Popsicle sticks
- X-Acto knife
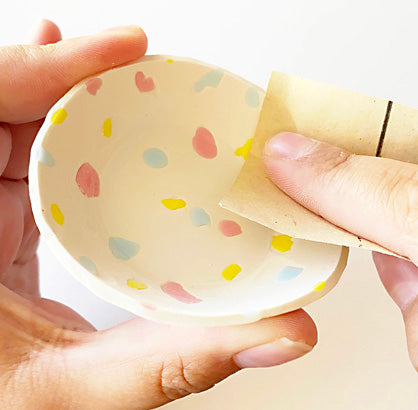
- Crafting Sandpaper
- Paint brush for glaze
Project Instructions
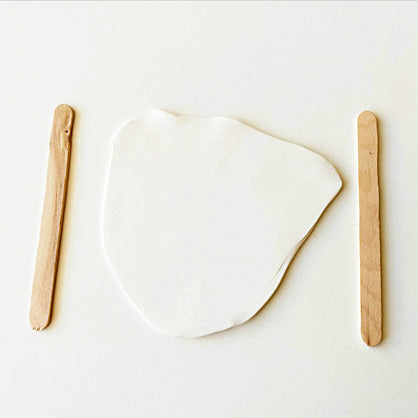
Step-1
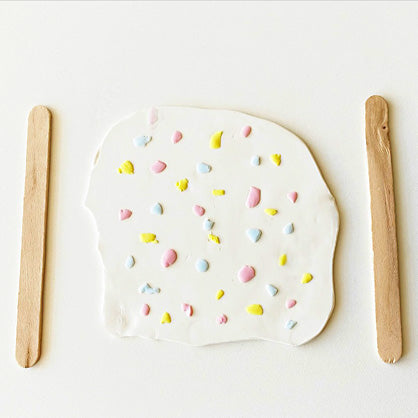
Step 2
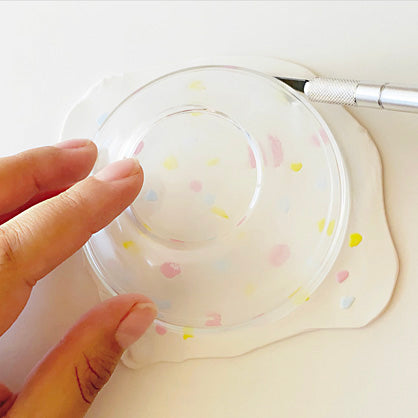
Step 3
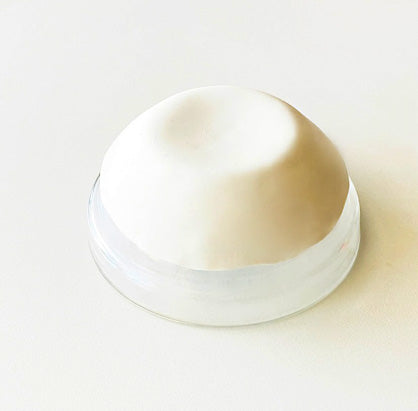
Step 4
Step 5
Step 6
Step 7
Step 8