Skip to product information
1 of 1

Liquid Sculpey® Liquid Pulled Tray

Liquid Sculpey® Liquid Pulled Tray

Read More
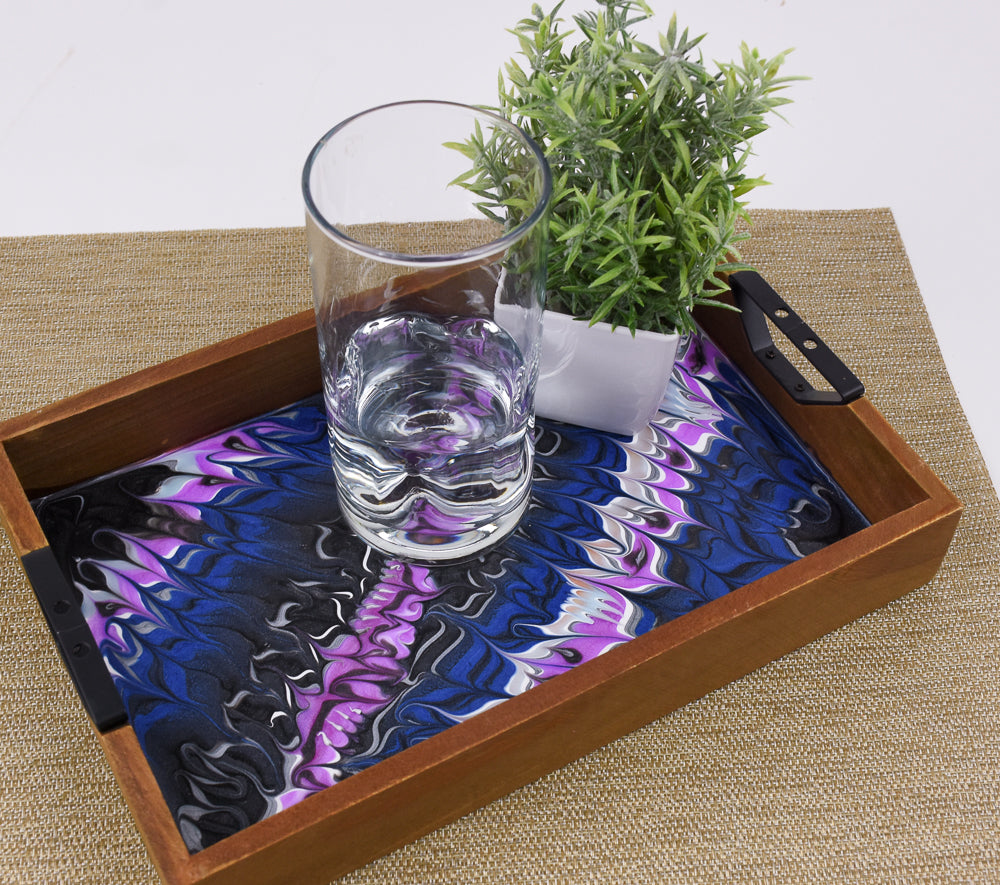
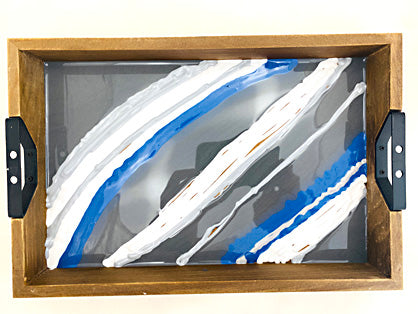
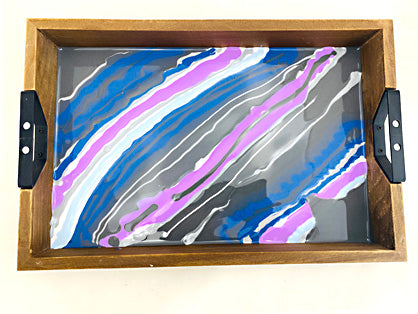
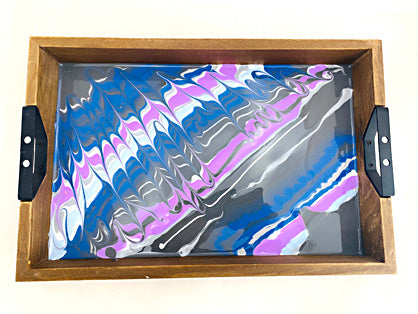
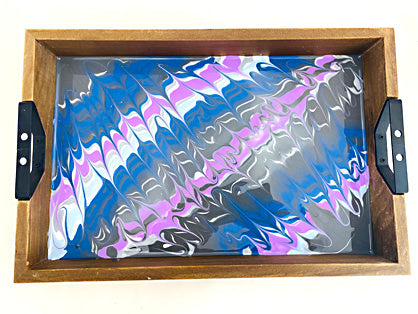
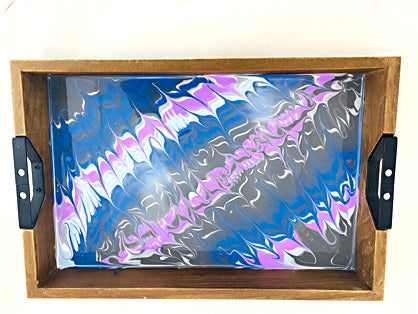
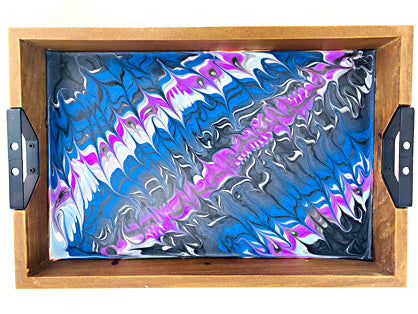
Use Liquid Sculpey colors create this dramatic tray to create the classic "paint pour" marbling technique in a new and different way. Keep your finished tray or give it as a "guest gift". TIME TO COMPLETE: 60 Minutes to make and bake Designed by Amy Koranek
Read Less
ADDITIONAL SUPPLIES
  • Paper towel
  • Sandpaper - optional
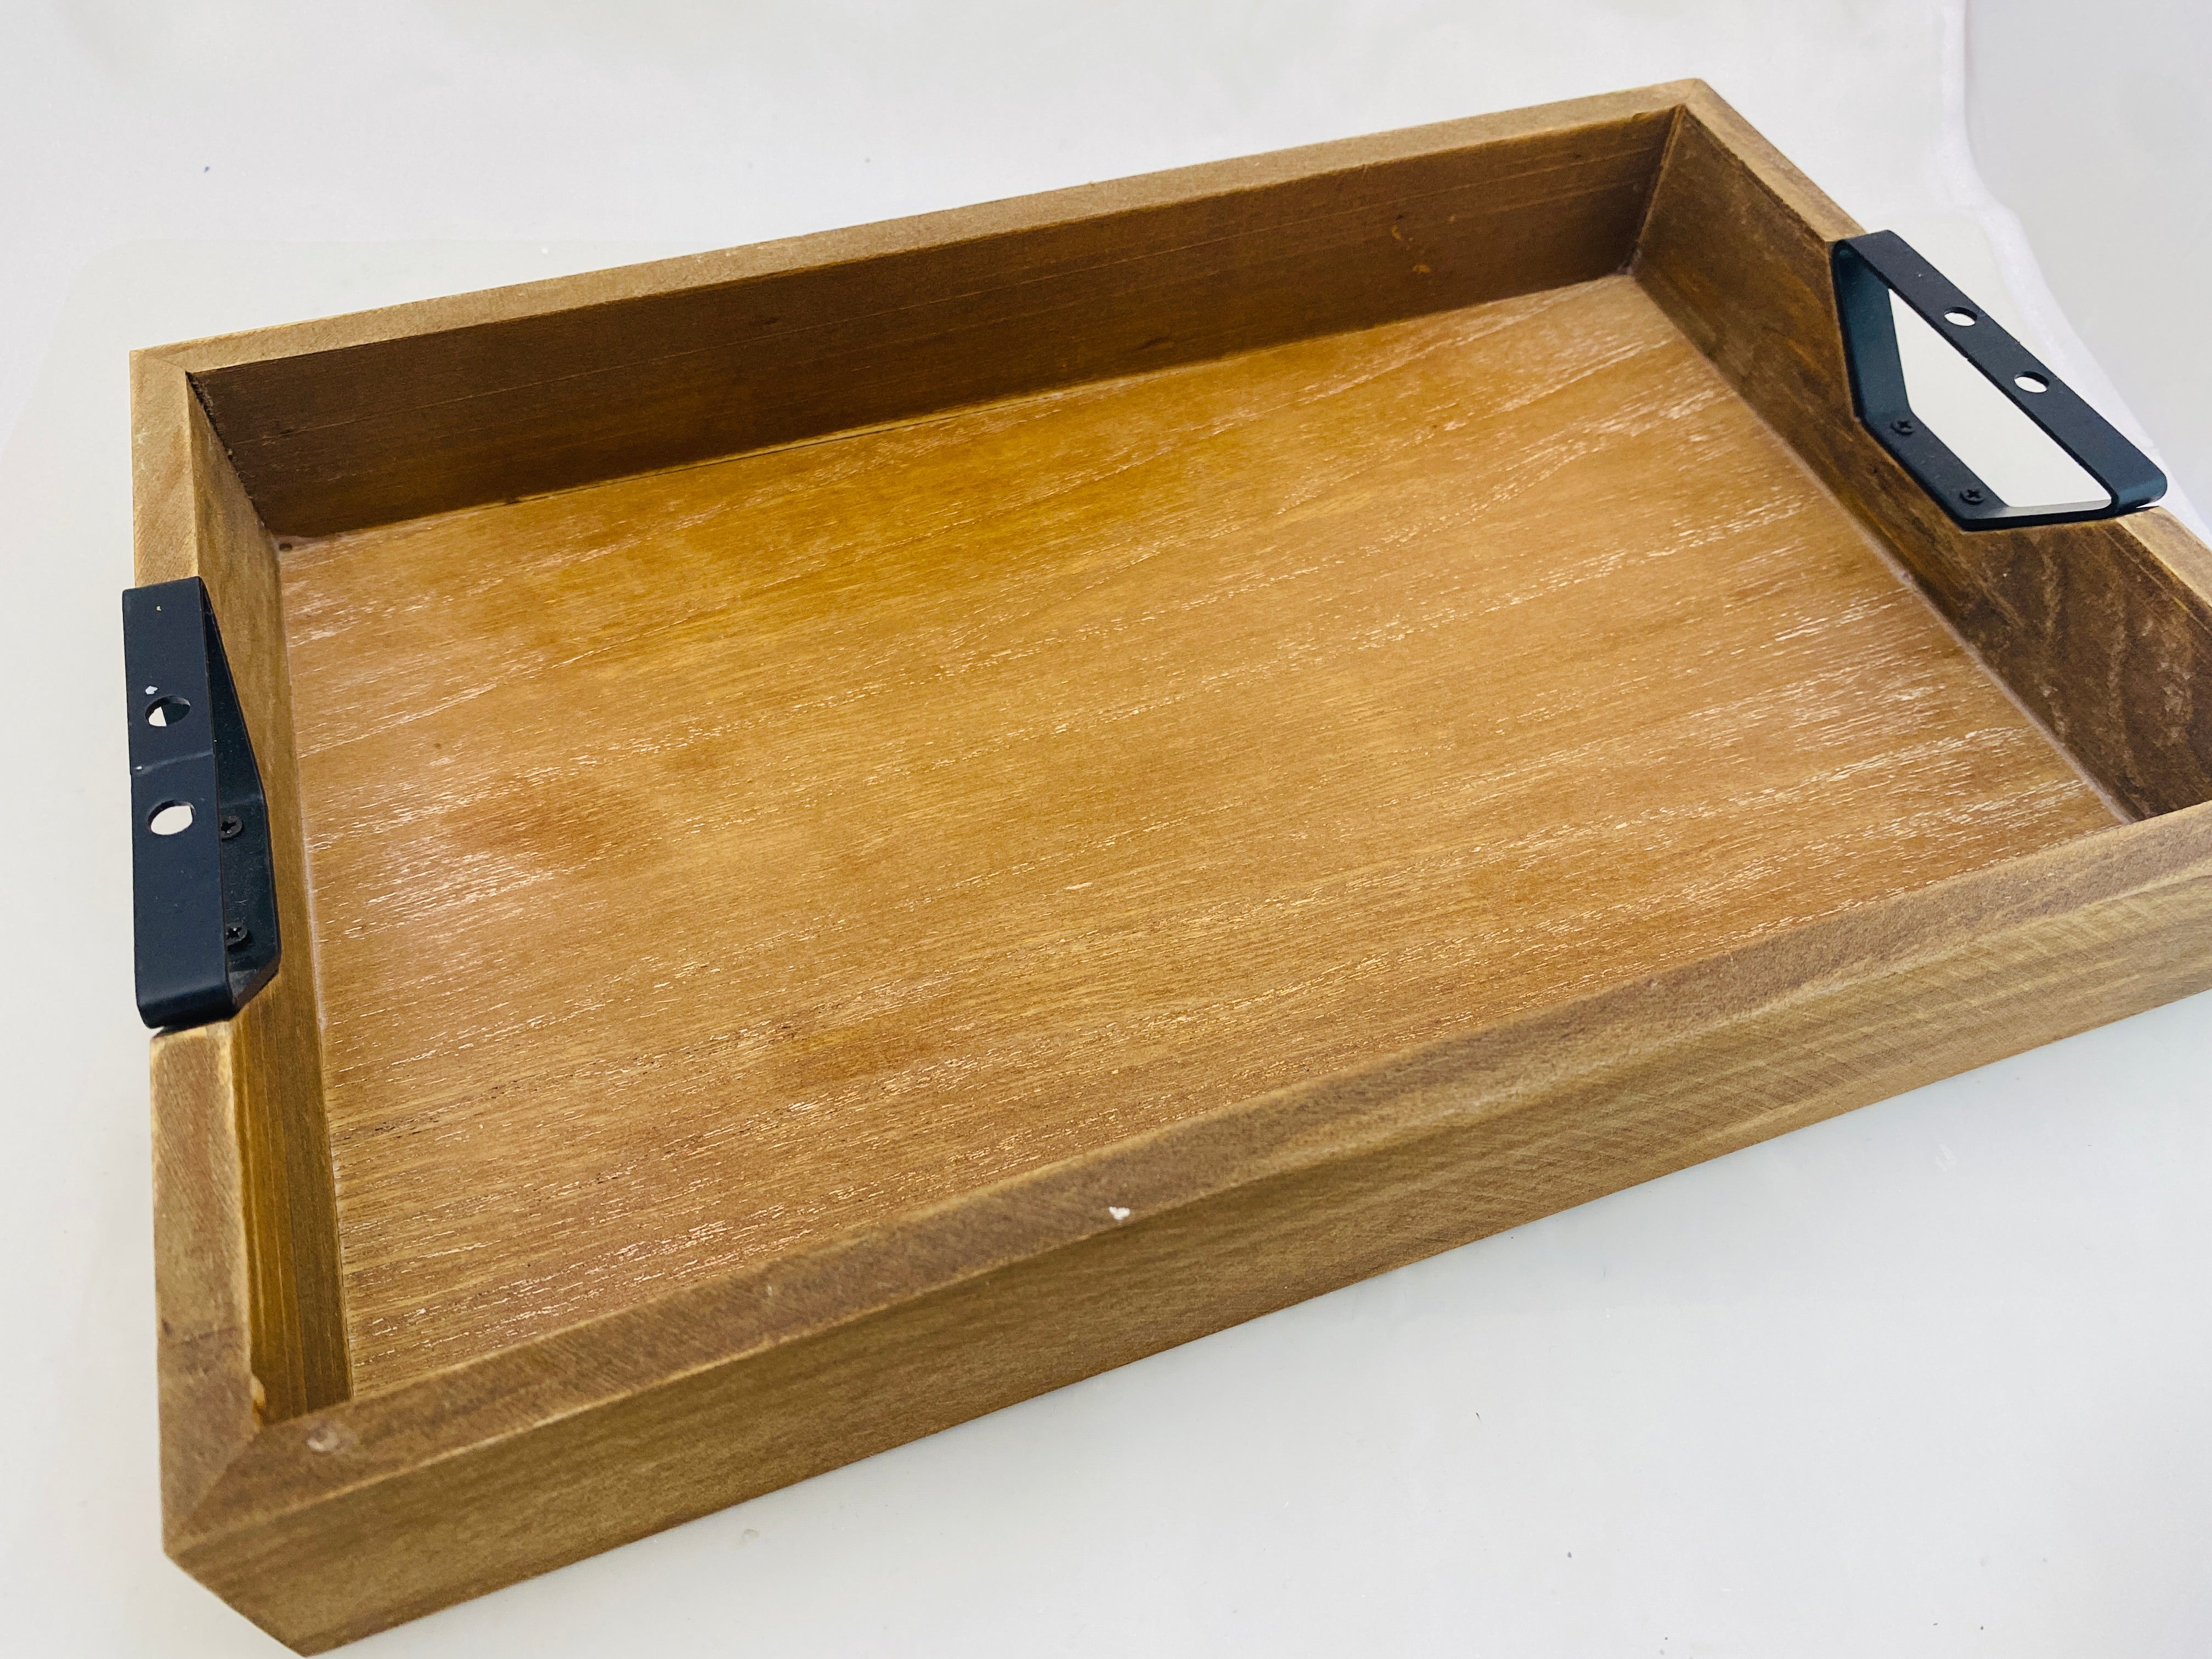
  • 8” x 11” Wood tray
View full details
Project Instructions

Step 1

Getting Started with Liquid Sculpey®:
Please make sure your work area is covered and you are not working on an unprotected surface. We recommend working on the Sculpey® Oven Safe Work Mat, wax paper, metal baking sheet, or disposable foil. Uncured Liquid Polymer Clay may damage unprotected furniture or finished surfaces. Be sure to cover your crafting area appropriately. - Stir Liquid Sculpey® completely. Thin with Sculpey® Liquid Clay Softener as needed - Wash hands after use (we have found that baby wipes work best)


Baking:
-It is important to use oven thermometer when you bake the liquids so that you can ensure your oven is at the correct temperature.
-Do not microwave the liquids. They must be baked in a Preheated oven at 275 ºF (130 ºC) for liquid colors and 300 ºF (149 ºC) for Clear – Do not exceed baking temperatures.
-If your piece is less than 1/4” bake for 15 minutes. For thicker pieces that are 1/4” or above bake for 30 minutes.
-If your liquid project has become yellowed or discolored in the oven, when you remake it, tent it by placing either – folding an index card in half and placing your project under it by using aluminum foil over your project.


Here’s a tip for baking perfectly in silicone molds. Dampen a dish towel with water and wring out as much of the water as you can. Fold the damp towel so that the molds can sit level on top of it. The damp towel will slow down the curing process so that the LS will cure evenly throughout and avoid warping.

Step 2

Here’s a look at my bare tray. It’s approximately 8” X 11” and is a dark wood color. The tray is sealed so there should be no worries about air bubbles or wood sap leaking out from the wood grain through the Liquid Sculpey® (LS). If you have a bare tray that has no sealer on it you can prepare it with this method:
1.) pre-bake the bare tray in a pre-heated oven at 275F for 30 minutes to release sap and trapped air;
2.) if sap is visible on the surface of the tray after baking, it can be scraped off or sanded away;
3.) you are now ready to go on to Step 3 once the tray is completely cool.

Step 3

First, we will put down basic areas of color bands. I’m starting with wide bands of Charcoal Metallic, and narrower bands of Silver, Pearl, and Navy Metallic. Just cover the bottom with a thin layer. It doesn’t matter at this point if there are gaps between the colors or gaps in the bands of color because we will be adding more liquids in the following steps.

Step 4

Next, I layered very thin bands of Silver and more Navy Metallic right on top of the first set of Charcoal Metallic bands. I layered Amethyst Pearl right on top of the Pearl areas so that the Pearl underneath would support the color of the Amethyst Pearl on top.

Step 5

Pick up the tray and tilt it slightly toward one corner and then slightly toward the opposite corner. This helps to soften the edges of the color bands and helps them mix slightly into each other. You can do this as much or as little as you like.

Step 6

Now take a Needle Tool and dip it into the upper left corner of the tray and drag it down through several bands of color before removing the tool. Wipe the tool clean with paper towel. Repeat dragging through bands of colors to create a bargello look. In this photo I just worked the top section and I went both directions with my Needle Tool - dragging some lines down and some lines up.

Step 7

Repeat the Needle Tool dragging process from the bottom right corner.

Step 8

In some areas, I dragged tiny, short repeating lines just between 2-3 bands instead of long drags to create more movement.

Step 9

In a very few remaining wide bands I added little dots of color and just dragged them a little into the adjacent bands that kind of look like peacock feather eyes.

Step 10

Bake the tray following the baking instructions for Liquid Sculpey®.