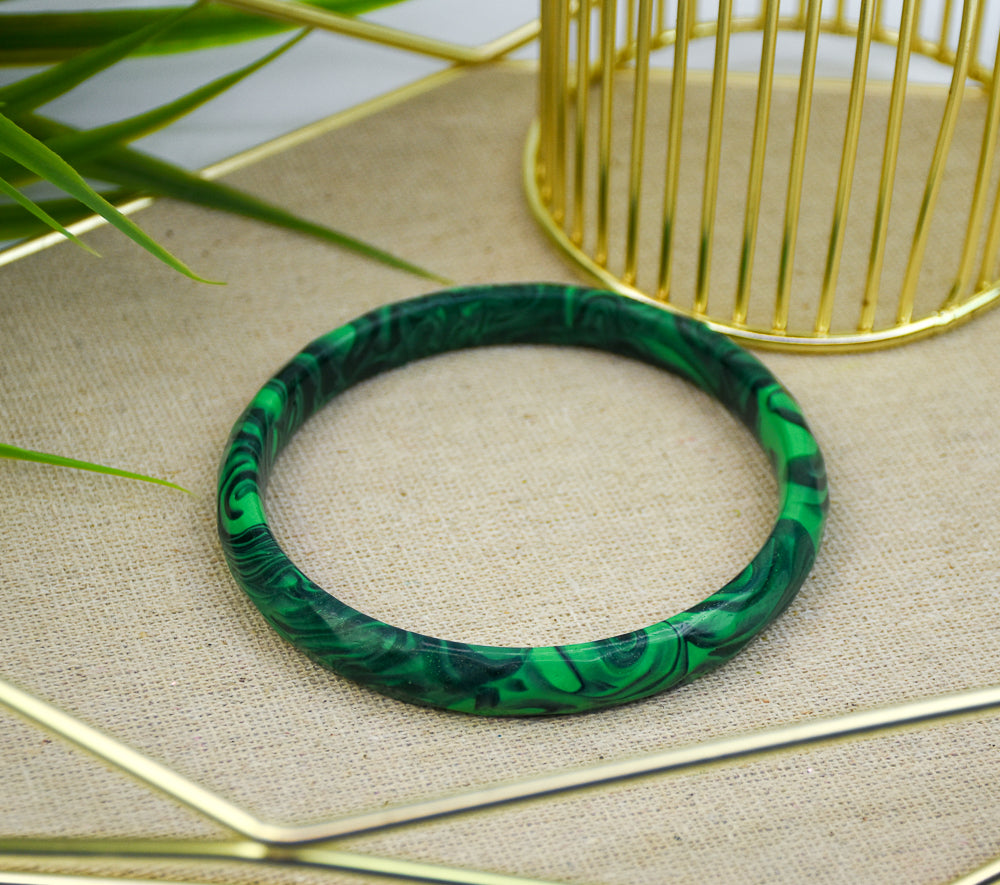

Liquid Sculpey® Faceted Bangle Bracelet
Liquid Sculpey® Faceted Bangle Bracelet
Read More
How easy is it to make this stunning bracelet? Imagine stacking it with your favorite metal bangles or maybe make several in these gorgeous greens to stack?
TIME TO COMPLETION: 60 Minutes to make and bake
DESIGNED BY AMY KORANEK
Read Less
ADDITIONAL SUPPLIES
- Paper towel
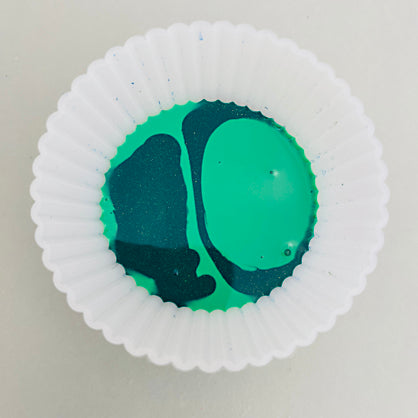
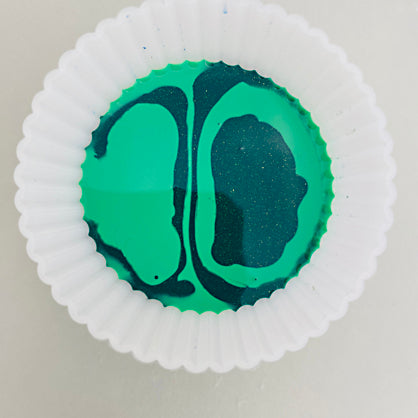
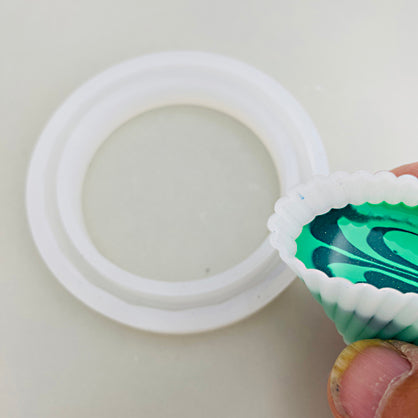
- Regular cupcake size silicone baking liner
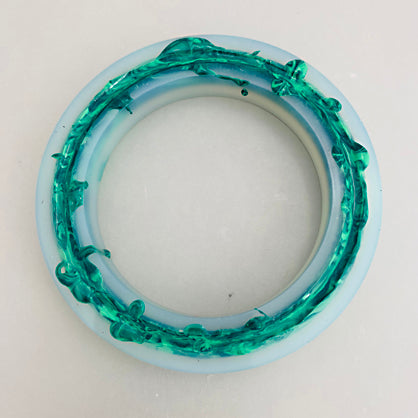
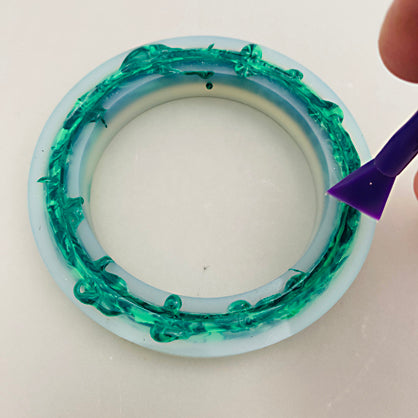
- Silicone faceted bangle bracelet mold
- Small sharp scissors

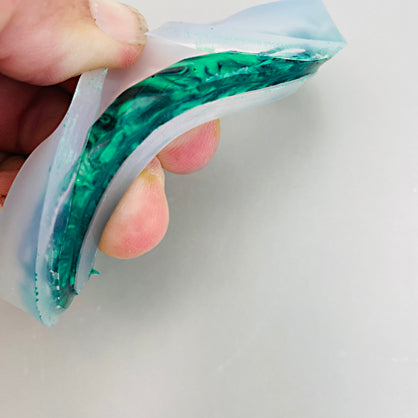
Project Instructions
Step 1
Step 2

Step 3
Step 4
Step 5
Step 6
Step 7
Step 8