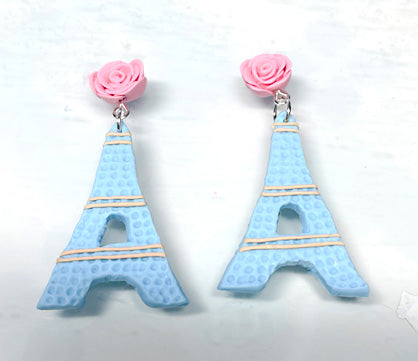
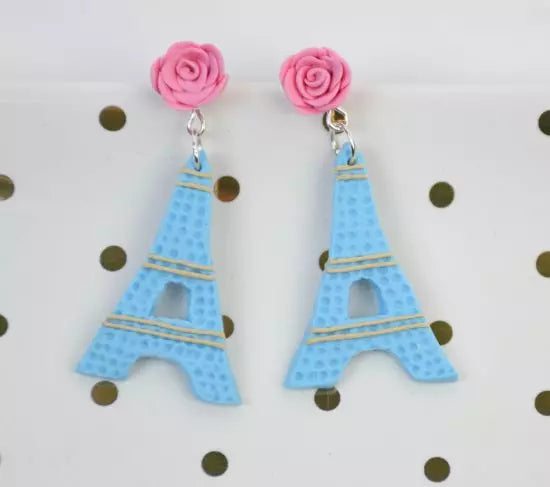
Sculpey Soufflé™ Eiffel Tower Earrings
Sculpey Soufflé™ Eiffel Tower Earrings
Designed by Lynniepopsicle
Read More
Read Less
Create these romantic little earrings in an afternoon using Sculpey Soufflé™ . TIME TO COMPLETION: 30 minutes to make/assemble
30 minutes to bake
30 minutes to bake
ADDITIONAL SUPPLIES
- Instant glue
Project Instructions
Step 1
- Getting Started:
Start with clean hands, unwrap and knead clay until soft and smooth, or condition by running clay though a Pasta Machine. We recommend using a designated machine for clay purposes only. When working with multiple colors, clean hands with soap and water or baby wipes (we have found that baby wipes work best) before switching colors. Shape clay, pressing pieces firmly together. Wash hands after use.
- Baking (also called Curing):
Step 2
Condition a 1-inch ball of Robin’s egg clay and a 1/4-inch ball of white clay.Mix together to create a lighter blue color.
Roll the clay flat and cut a 1in square (about 1/8-inch thick).

Step 3
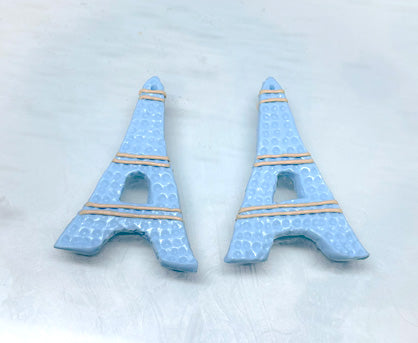
Cut out the shape of the Eiffel Tower (don’t forget the indent for the feet and a gap in the middle) and repeat by using your first cut out (so both towers are the same size). You can also use a paper template that you place on the clay and cut around if easier.
Step 4
Using your dotting tool, add texture to your Eiffel towers (both sides)
Step 5
Condition a 1/2-inch ball of latte clay and 1/4-inch ball of white clay and roll it out into a thin strip (1/16in wide).Add horizontal accents to the towers as per pictures (both sides).
Step 6
Make a hole at the top of both towers with your needle tool. Set aside for now.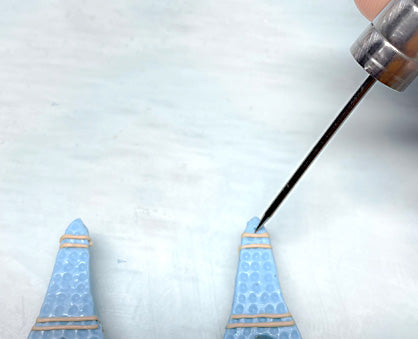
Step 7
Mix a 1/2-inch ball of white clay with a 1/4-inch ball of guava clay for the roses.
Step 8
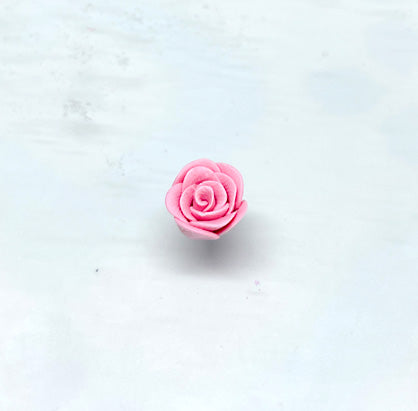
Make 10 tiny balls with the pink clay and flatten them out to make the petals.
Step 9
Roll the first petal onto itself to create the center of the rose, then lay each petal carefully around it.Insert an eye pin carefully at the bottom of each rose.
Repeat Steps 8 and 9 to make your second rose.
Bake both towers and roses as directed in Step 1 above.
Step 10
Once baked, add a jump ring to each tower and insert it into the eye pin of the rose.Attach a post earring back to the back of each rose using super glue.