
Sculpey Premo™ Spring Floral Earrings
Sculpey Premo™ Spring Floral Earrings
Read More
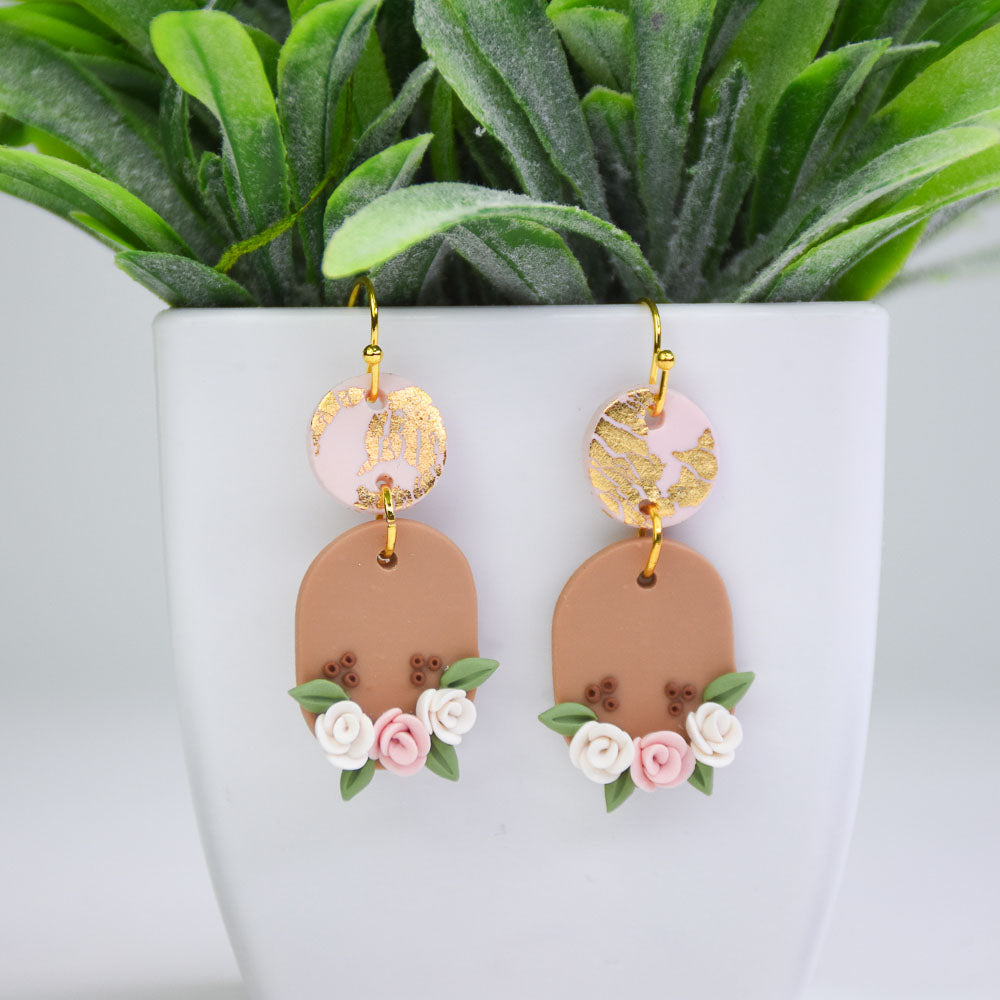
These dangle earrings are perfect for your next spring or summer look! The earrings are simply elegant.
Time to complete project: 45 minutes
Baking Time: 30 minutes
Read Less
ADDITIONAL SUPPLIES
- Craft Knife
- 1/2 inch Oval Cutter
- Needle Tool
- Gold Craft Foil
- 8 mm Gold Toned Jump Rings
- Gold Toned Earring Hooks
- Jewelry pliers
- Oven

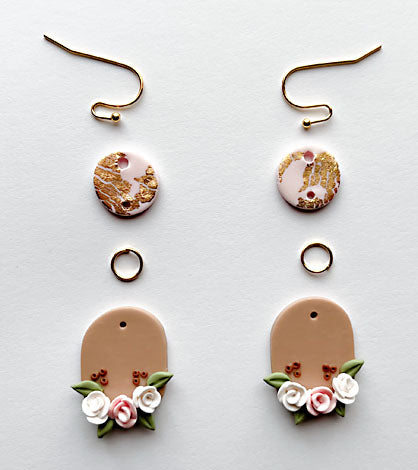
Project Instructions
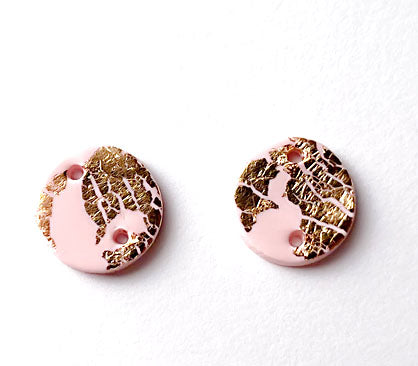
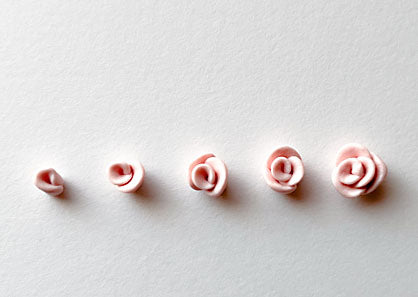
Step 1
Step 2
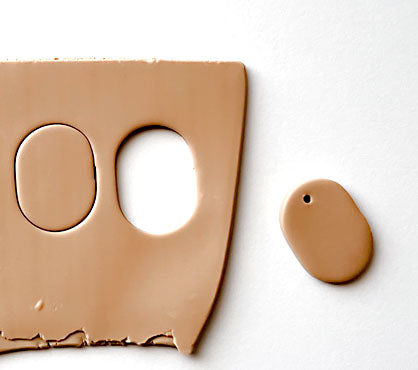
Step 3

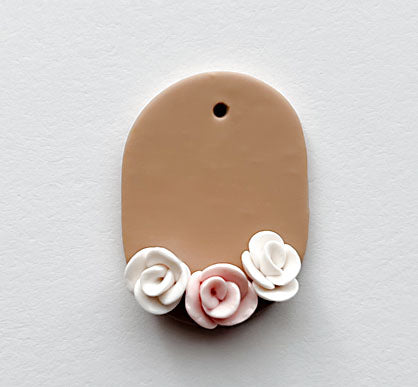
Step 4
Step 5

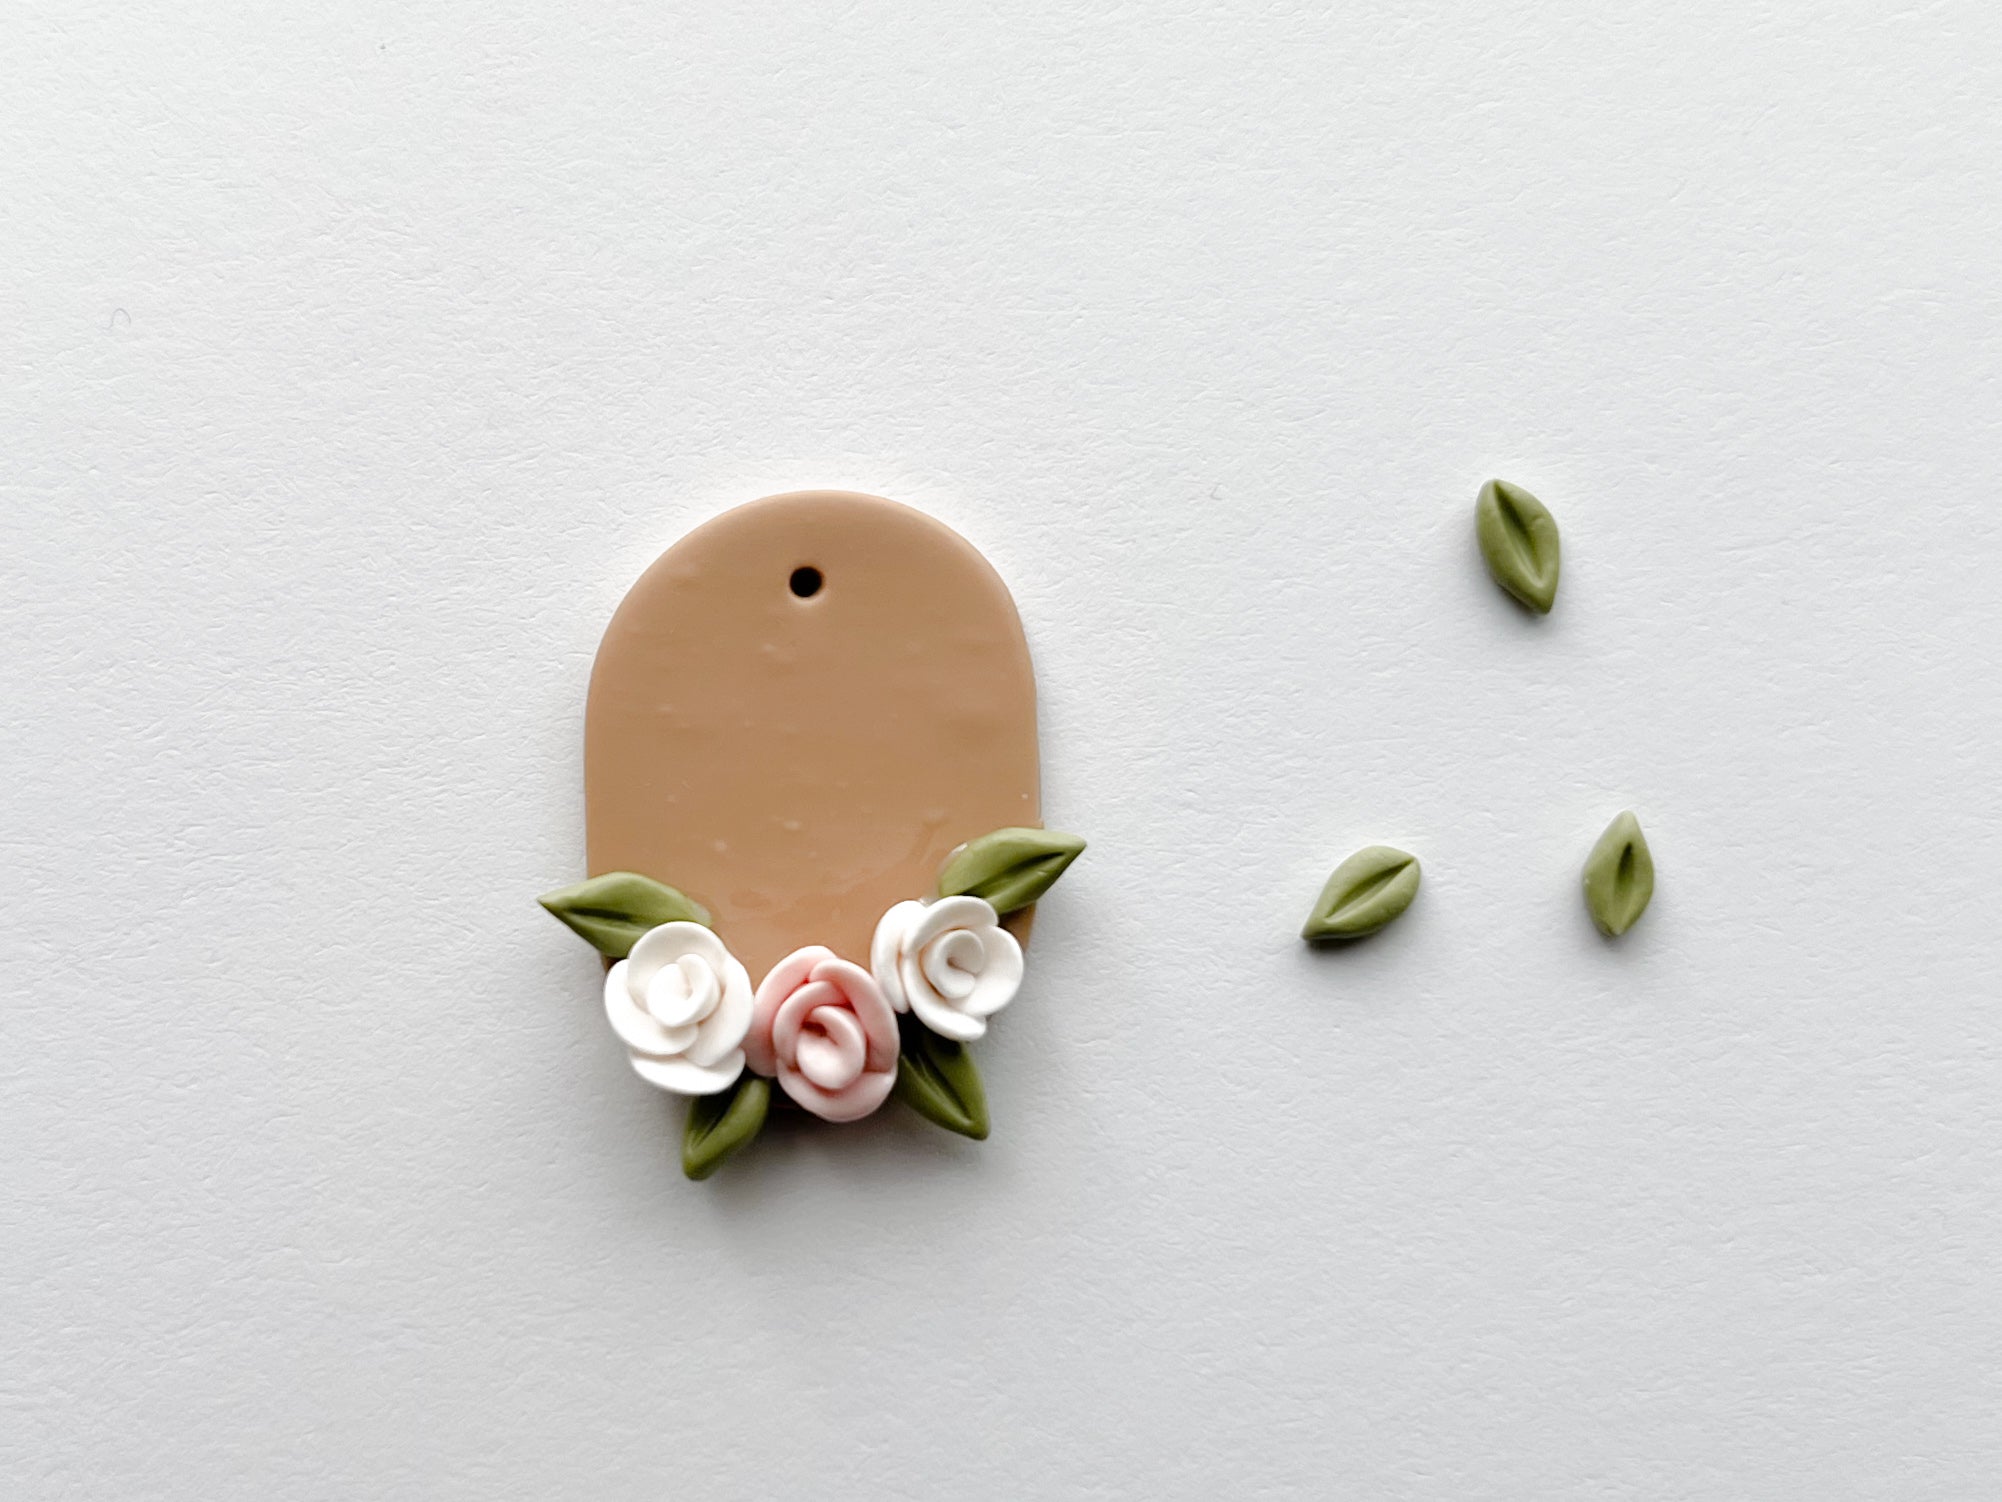
Step 6

Step 7
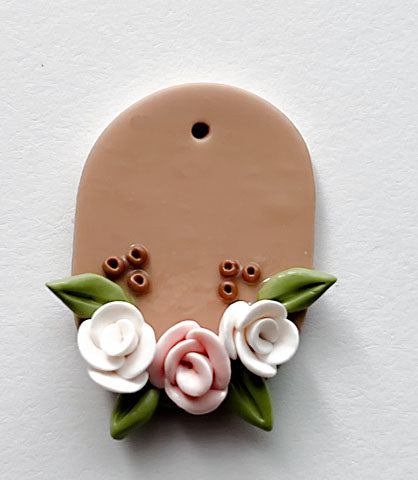
Step 8
Step 9
Step 10
Step 11