

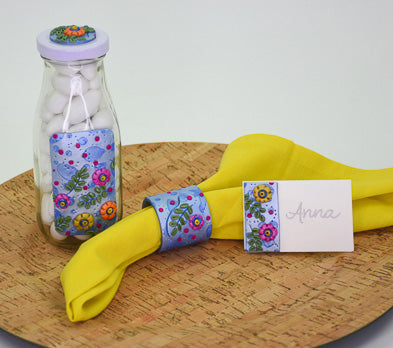

Sculpey Premo™ Floral Slab Milk Bottle
Sculpey Premo™ Floral Slab Milk Bottle
Designed by Amy Koranek
Read More
This is the second part in a three-part series. The Floral Slab in this tutorial is constructed in detail and then used to create DIY home decor items. Color selection and mixing will be discussed to show how to make a family of colors. We will also see how easy it is to really pack the details into the design - that’s what makes slab making so special and fun - all those glorious details!
COMPLETION TIME:
45 Minutes to make and bake
Read Less
ADDITIONAL SUPPLIES
- Scrap paper or index card
- Scissors
- Ruler
- Glass milk bottle

Project Instructions
- Getting Started:
Start with clean hands, unwrap and knead clay until soft and smooth, or condition by running clay though a Pasta Machine. We recommend using a designated machine for clay purposes only. When working with multiple colors, clean hands with soap and water or baby wipes (we have found that baby wipes work best) before switching colors. Shape clay, pressing pieces firmly together. Wash hands after use.
- Baking:
Follow Steps 2-20 to make the Floral Slab as described in the Floral Slab Napkin Ring Tutorial.

Use a scrap of paper or index card to map out a shape that you would like to use for the design on the front of the bottle.

Use the paper shape to determine what area of the slab you want to feature on the front of the bottle.

Use the Clay Blade to cut out the shape. Smooth the edges with your fingertips and trim the corners neatly.

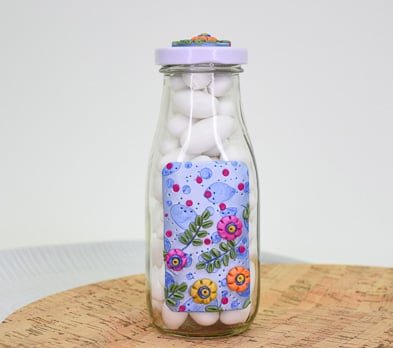
Position the clay slab on the face of the bottle. Make sure the clay is clinging really closely to the shape of the bottle and that air bubbles are pressed out.
Bake the clay on the bottle so that the clay keeps the shape of the bottle.
Allow the bottle to cool completely, then carefully lift the clay from the bottle and glue it on permanently with E-6000 silicone glue.
Bake the clay on the bottle so that the clay keeps the shape of the bottle.
Allow the bottle to cool completely, then carefully lift the clay from the bottle and glue it on permanently with E-6000 silicone glue.

Here are some other ways that the slab can be used to decorate bottles.
Here’s a look at the same slab and the same colors but in different combinations used to decorate a vase.

- Choosing a selection results in a full page refresh.
- Opens in a new window.