Sculpey III® Kawaii Sea Turtle
Sculpey III® Kawaii Sea Turtle
Read More
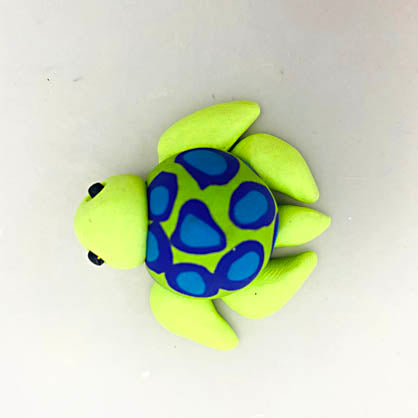
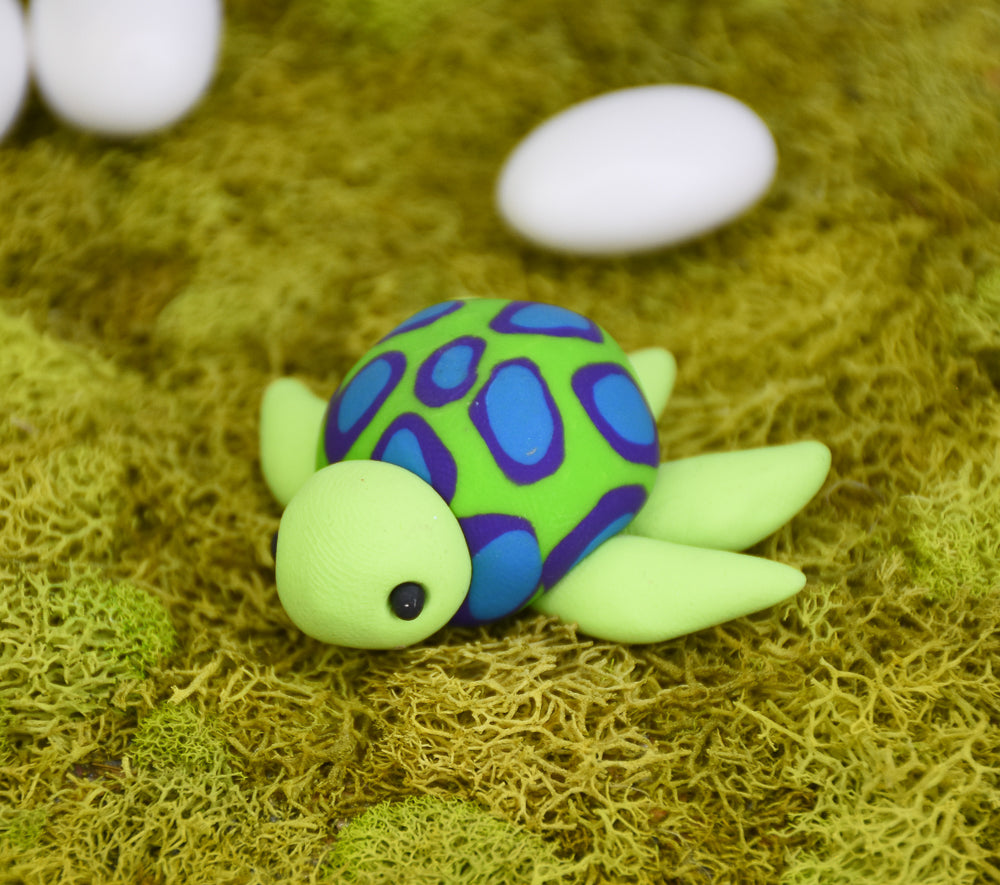
This Kawaii (cute) sea turtle will love to hang out in your favorite potted plant, your desktop – wherever you choose!
COMPLETION TIME:
45 Minutes to make and bake
Read Less
ADDITIONAL SUPPLIES
This Kawaii (cute) sea turtle will love to hang out in your favorite potted plant, your desktop – wherever you choose!
COMPLETION TIME:
45 Minutes to make and bake
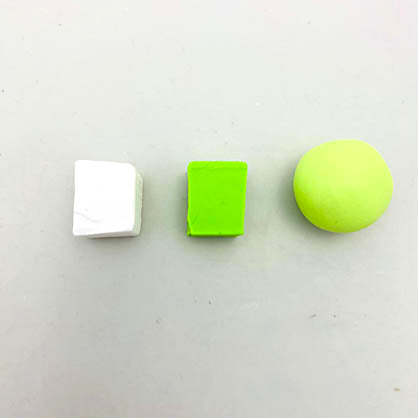
Project Instructions
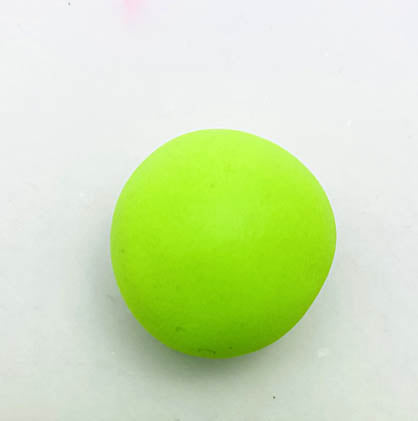
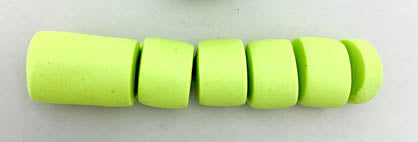
Step 1
Step 2
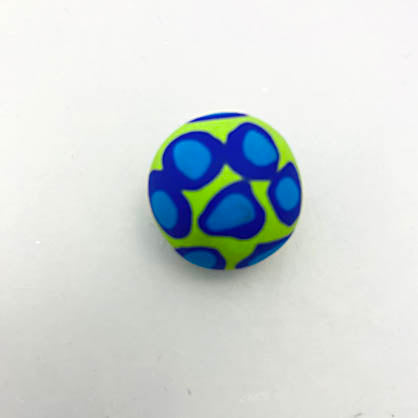
Step 3
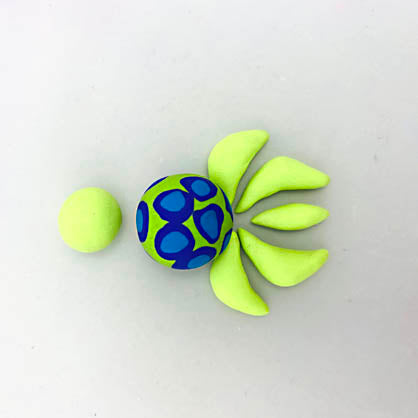
Step 4
Step 5
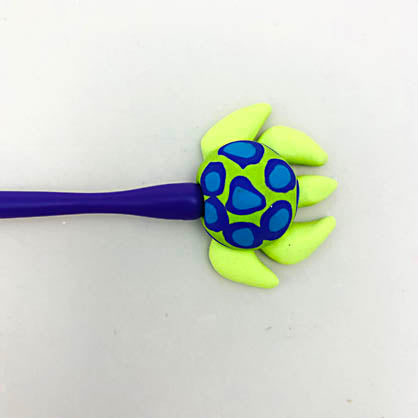
Step 6
Step 7
Step 8