
Original Sculpey® Sunflower
Original Sculpey® Sunflower
Read More
Read Less
Create this wonderful sunflower sculpture to grace your table, bookshelf – even your desk! COMPLETION TIME: 60 Minutes to make and bake
ADDITIONAL SUPPLIES
- Acrylic paint in brown, yellow, and black
- Paintbrush
- Optional - 400 grit sandpaper

Project Instructions
Step 1
- Getting Started:
Start with clean hands, unwrap and knead clay until soft and smooth, or condition by running clay though a Pasta Machine. We recommend using a designated machine for clay purposes only. When working with multiple colors, clean hands with soap and water or baby wipes (we have found that baby wipes work best) before switching colors. Shape clay, pressing pieces firmly together. Wash hands after use.
- Baking (also called Curing):
Step 2
Start with 1/4 bar of Original White Sculpey®. You can make the size of your sunflower as large or as small as you like using more or less clay. Just be sure to make the shapes proportionate to each other.Roll a rope 1/4” thick. Divide the rope into twenty-six 1/4” long pieces with the Clay Blade. Roll each one into a ball.

Step 3
Then shape the balls into long tapered pieces, pointed on each end.
Step 4
Place a petal in the palm of your hand. Use the 12 mm Ball Tool (largest one) to roll and flatten the piece into a shaped petal.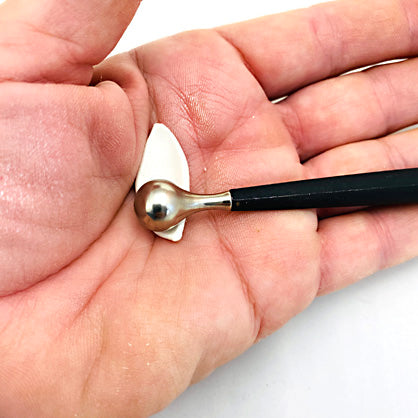
Step 5
Repeat until every petal is flattened and curled.Position the petals in a radiating pattern as shown. Use 13 petals for the base.

Step 6
Place 13 more petals on top of the base layer. Use fingertip pressure to make sure the top layer connects to the bottom layer around the inner edges
Step 7
Make a thick ball that is large enough to touch all the tips in the center circle as shown.
Step 8
Flatten the center ball with the palm of your hand. Dome the center up in the middle.
Step 9
Use the 6 mm Ball Tool (medium tool) to texture the center area with close set divots.
Step 10
Make a little ball, a large teardrop, and four smaller flat teardrop wings to create a little bee for the center of the sunflower.
Step 11
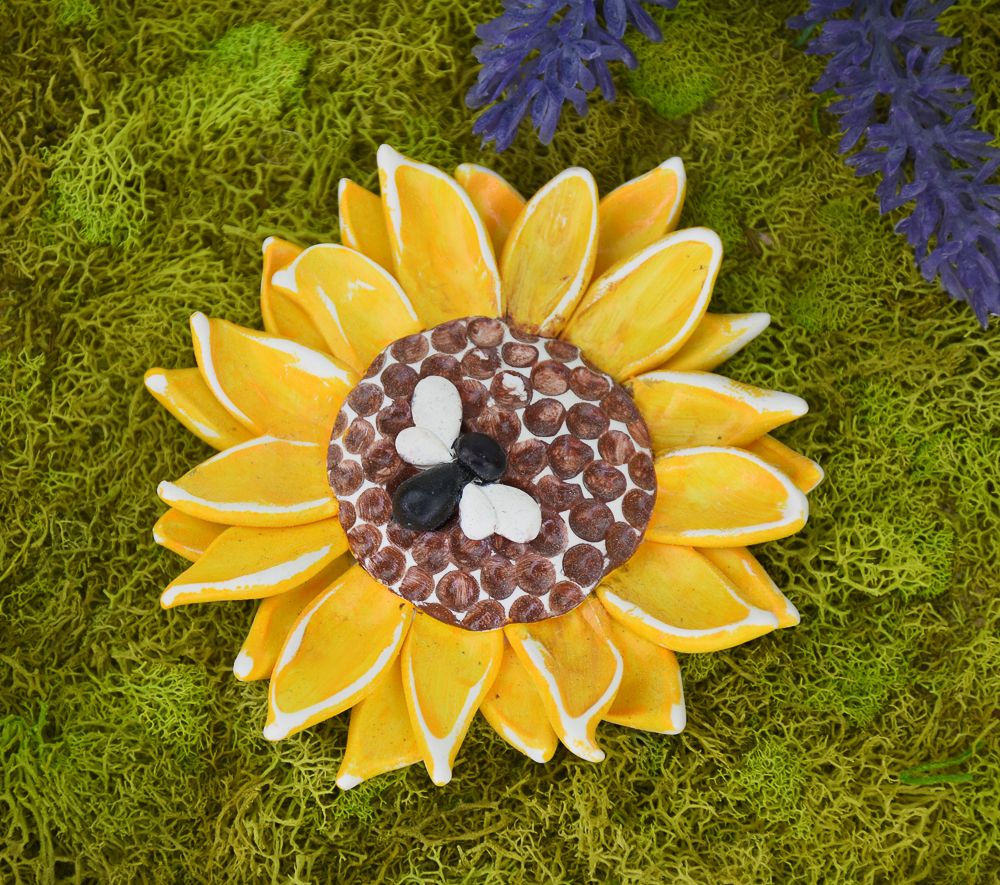
Arrange the little bee parts on top of the sunflower making sure the bee makes good contact with the sunflower below.Bake the sunflower with the bee on top following the baking instructions. Allow to cool completely before handling.

Step 12
Paint the sunflower and bee as shown. If desired, use sandpaper to remove paint from raised surfaces once the paint is completely dry.