

Liquid Sculpey® Wanderlust Earrings
Liquid Sculpey® Wanderlust Earrings
Designed by Amy Koranek
Read More
Two great Liquid Sculpey® colors team up with a Blue Moon Studio™ UV Resin Earring Mold Kit to create a classic pair of earrings that are ready for all your travels – even if it is just to the grocery!
TIME TO COMPLETE:
90 Minutes to make, bake, and assemble
Read Less
ADDITIONAL SUPPLIES
- Paper towel
- Silicone or paper baking liner
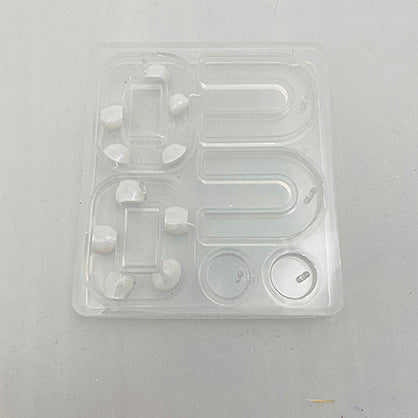
- Blue Moon Studio™ UV Resin Craft Earring Shapes Silicone Mold Kit
- Piñata Calabaza Orange Alcohol Ink
- Small sharp scissors
- 12 mm Gold tone jump rings (2)
- 8 mm Gold tone jump rings (2)
- Gold tone ear wires (2)
- Flat nose pliers

Project Instructions
- Getting Started with Liquid Sculpey®:
- Baking:
- It is important to use oven thermometer when you bake the liquids so that you can ensure your oven is at the correct temperature.
- Do not microwave the liquids. They must be baked in a Preheated oven at 275 ºF (130 ºC) for liquid colors and 300 ºF (149 ºC) for Clear – Do not exceed baking temperatures.
- If your piece is less than 1/4” bake for 15 minutes. For thicker pieces that are 1/4” or above bake for 30 minutes.
- If your liquid project has become yellowed or discolored in the oven, when you remake it, tent it by placing either – folding an index card in half and placing your project under it or by using aluminum foil over your project.
Here’s a tip for baking perfectly in silicone molds. Dampen a dish towel with water and wring out as much of the water as you can. Fold the damp towel so that the molds can sit level on top of it. The damp towel will slow down the curing process so that the LS will cure evenly throughout and avoid warping.
While stirring the liquids, make sure that each liquid is relatively the same thickness. If the liquids are similar in thickness they will flow more nicely together. I do this by stirring and then lifting the stir stick out of the liquid to take note of how quickly the liquid drips back into the bottle. If some liquids are thicker than others, they can easily be thinned with Sculpey® Clay Softener and Thinner. Add a few drops of thinner at a time to the bottle and stir completely. Check by dipping and dripping again. Add more drops as needed.
Squirt some Pearl Liquid Sculpey® (LS) into the bottom of a small silicone or paper baking liner. You won’t need very much of the Pearl. Add a single drop of Calabaza Orange alcohol ink to the Pearl LS.
Squirt some Pearl Liquid Sculpey® (LS) into the bottom of a small silicone or paper baking liner. You won’t need very much of the Pearl. Add a single drop of Calabaza Orange alcohol ink to the Pearl LS.

Stir the color into the LS completely.

Select the shape you want to fill in the silicone mold. I’m using the rounded squares. Squirt drops of Pearl from the bottle into the shape. We are not filling the mold at this time - just marking territories for each color.
Next, drip little drops of Translucent Turquoise in the mold, leaving room for the orange.

Fill in between the Pearl and Translucent Turquoise with the Calabaza Orange/Pearl mixture. You can dip the tip of the Blunt Point tool into the mixture and drip the liquid in this way.
Next, add more drops of each color to fill the cavities just to level. Put more Pearl on top of Pearl. Put more Translucent Turquoise on top of Translucent Turquoise, and more Orange on top of Orange. By piling the colors on top of like colors, you make each color more opaque which will give a more deep color when baked.
Next, add more drops of each color to fill the cavities just to level. Put more Pearl on top of Pearl. Put more Translucent Turquoise on top of Translucent Turquoise, and more Orange on top of Orange. By piling the colors on top of like colors, you make each color more opaque which will give a more deep color when baked.

Take the tip of the Needle Tool and dip it into one of the dots of color. Without lifting the tool, drag the tip through each color in a wave fashion to marble the colors.
Tap the mold on the work surface to release air bubbles.
Tap the mold on the work surface to release air bubbles.

Gently flex the mold to de-mold the baked pieces. You can trim the edges with sharp scissors if there are any rough spots. >

Here is the layout for the earring assembly.

Use flat nose pliers to open and close jump rings to assemble the earrings as shown.

- Choosing a selection results in a full page refresh.
- Opens in a new window.