

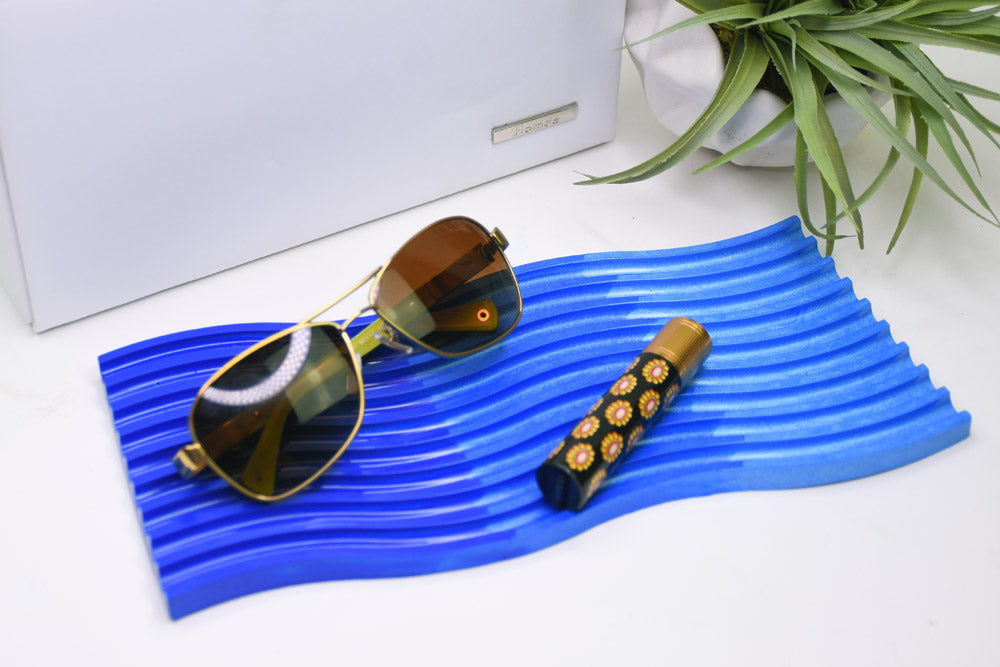
Liquid Sculpey® Blue Ombré Wavy Trinket Tray
Liquid Sculpey® Blue Ombré Wavy Trinket Tray
Read More
Dazzle your friends and family with this gorgeous wavy tray in alternating blue tones that you create with Liquid Sculpey.
90 Minutes to make and bake
Read Less
ADDITIONAL SUPPLIES
- Rectangle shape wavy trinket tray silicone mold
- Paper towel
- Small sharp scissors
Project Instructions
Step 1
Step 2

Step 3

Step 4

Step 5

Step 6

Step 7

Step 8

Step 9

Step 10

Step 11
