
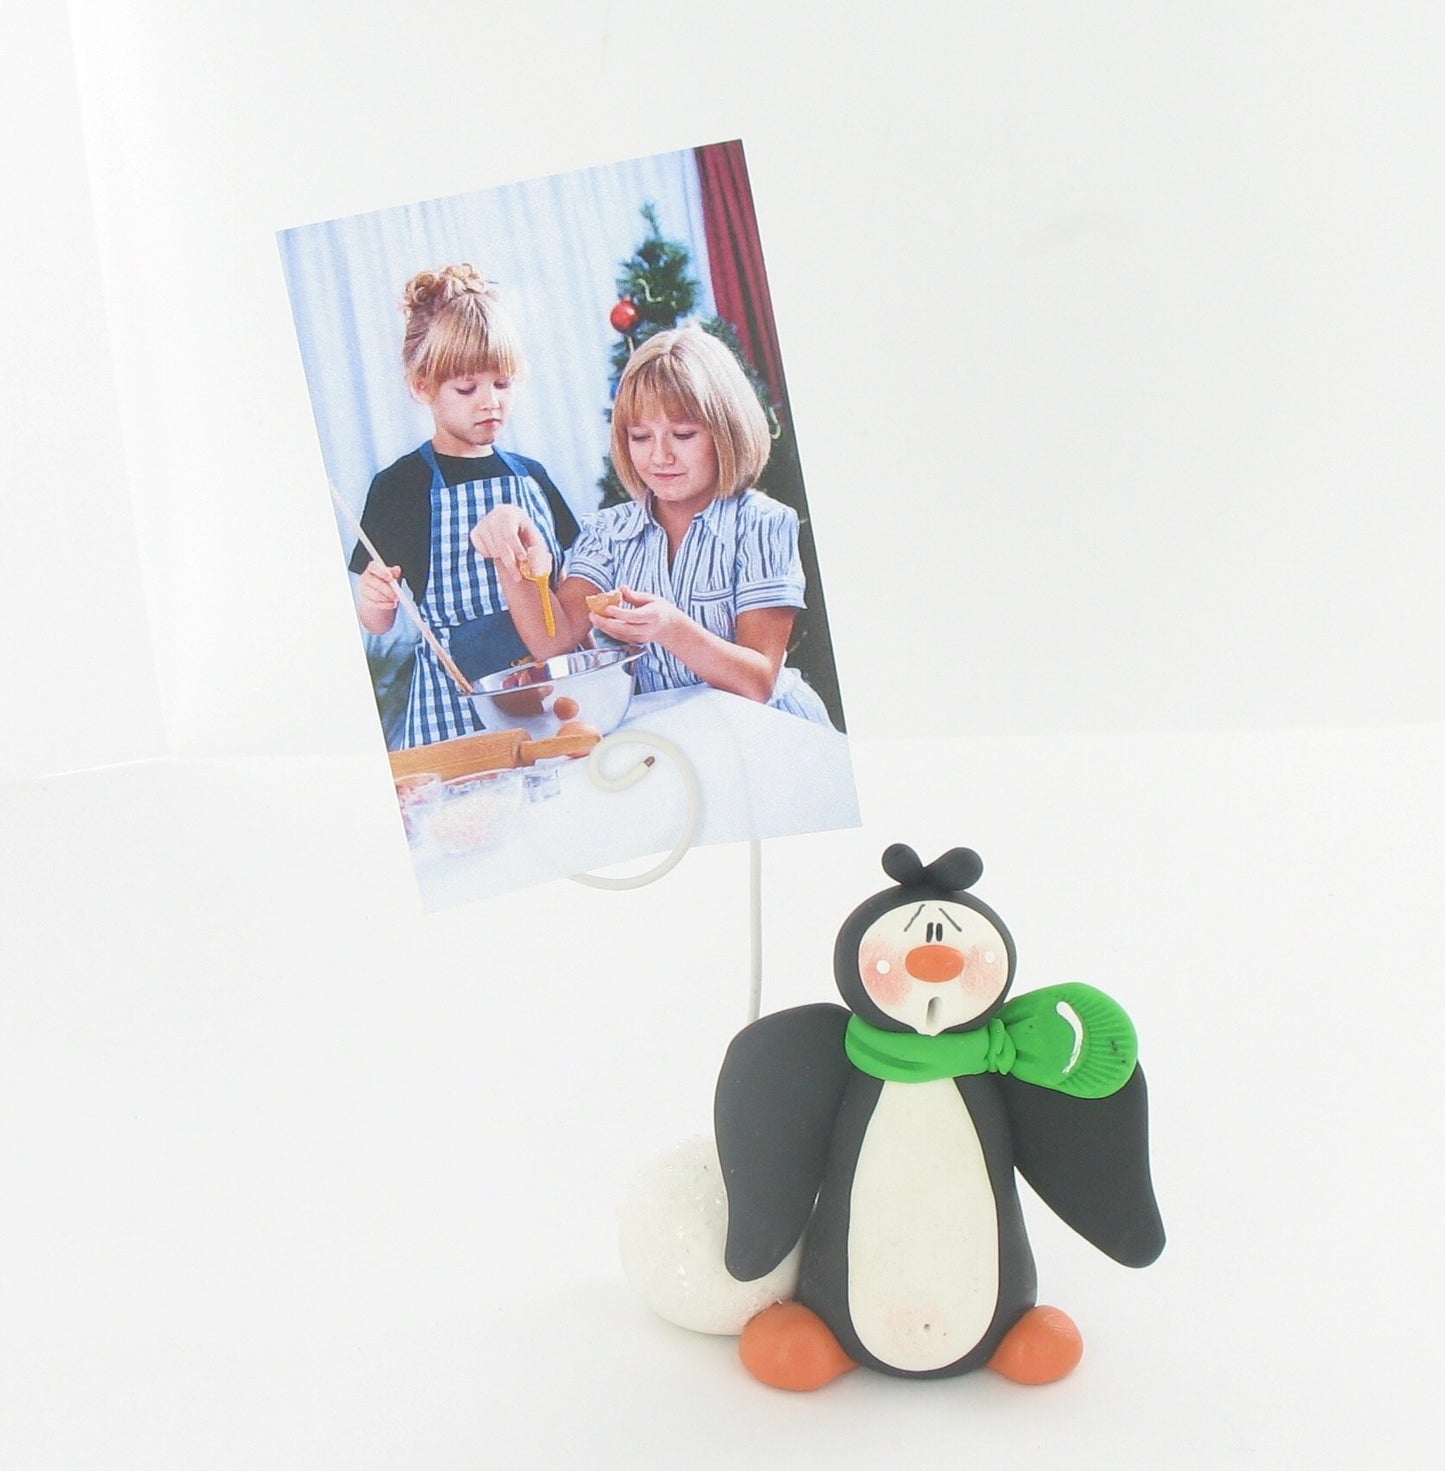
Sculpey III Penguin Photo Holder
Sculpey III Penguin Photo Holder
Read More
Display your favorite winter photos in this cute penguin photo holder!
Read Less
ADDITIONAL SUPPLIES
- Glitter
- Wood toothpick
- Pink chalk or eye makeup
- 20-gauge plastic-coated wire
- 8” long Paintbrush
- Black permanent marker
- White acrylic paint
- Paintbrush
- White glue
Project Instructions
Preheat oven to 275 °F. Test temperature with oven thermometer for perfectly cured clay. Condition all clay by kneading until it’s soft and smooth or running it through the Clay Conditioning Machine for several passes on the widest setting. Fold the clay in half after each pass and insert the fold side into the rollers first.
Make 1-1/2" Black ball into a cone for body. Make 7/8" White ball into flat teardrop and press on body front. Make two 3/8" Sweet Potato balls into flat cones for feet. Press body on feet.

Insert toothpick into top of body, leaving 1/2" exposed. Make 3/4" Black ball for head. Place on exposed toothpick and press down to body. Make 5/8" White ball and flatten; press on front of head for face. Make 1/4" Sweet Potato ball and press on face for nose. Make two 3/16" balls into teardrops and press on head for feathers.

Flatten 2" String Bean log and wrap around neck for scarf. Make small String Bean triangle and press on end of scarf.
Make two 3/4" Black balls and shape into wings. Press on sides of body. Make 7/8" White ball and press on back of body for snowball.

Use tool to mark mouth, belly button and scarf fringe. Brush eye shadow or chalk on cheeks. Shape one wire end into large spiral for photo holder. Press straight end into snowball.
Bake for 30 minutes according to "Getting Started" instructions. When cool, draw eyes and eyebrows with black marker. Use white paint to make cheek and eye highlights. Paint white glue on snowball and sprinkle with glitter.