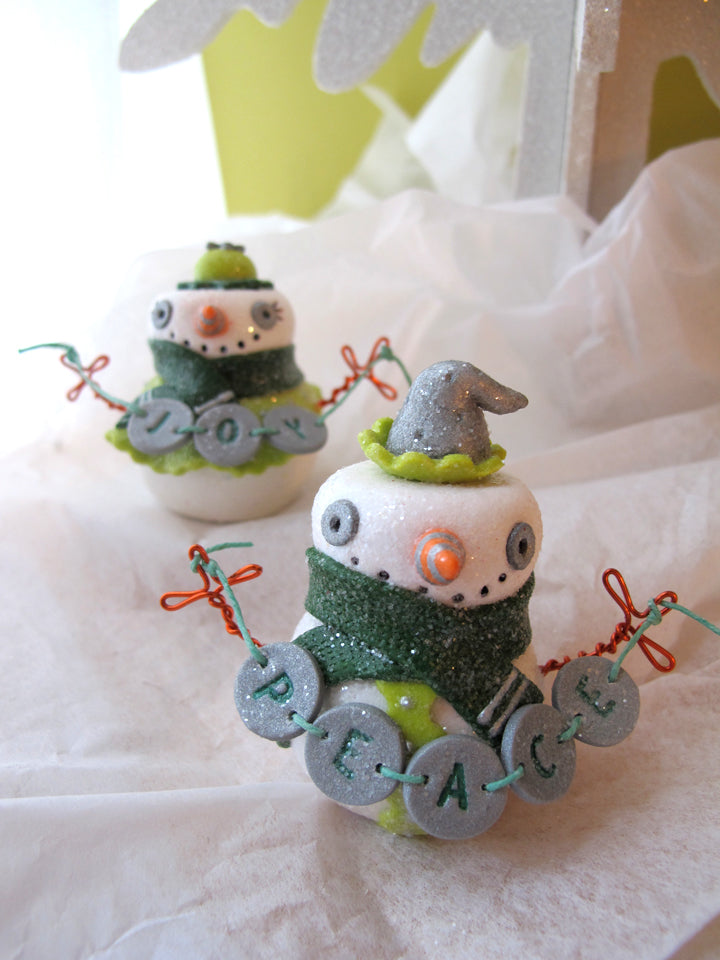
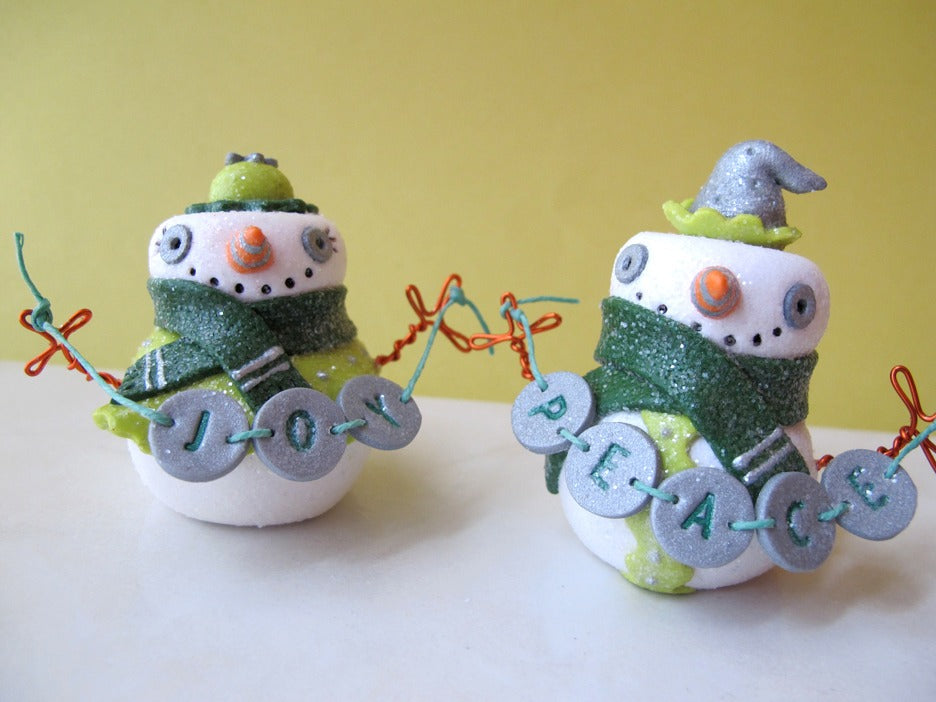
Sculpey Premo™ Peace and Joy Festive Snow Couple
Sculpey Premo™ Peace and Joy Festive Snow Couple
- Ceramic tile
- 3/4" Fluted circle cutter
- 2” Fluted circle cutter
- Toothpicks
- Paint: green, black & silver
- Paint Brush
- Coarse glitter crystal
- 1/2" mini circle cutter
- Wax green twine
- 20 gauge orange color wire
- Wire/jewelry pliers
- 1/4" circle cutter for eyes (optional)
- Mini flower cutter for Mrs. Snowman’s hat (optional)
- Alphabet Stamper
- Texture Roller
- Getting Started:
Start with clean hands, unwrap and knead clay until soft and smooth, or condition by running clay though a Pasta Machine. We recommend using a designated machine for clay purposes only. When working with multiple colors, clean hands with soap and water or baby wipes (we have found that baby wipes work best) before switching colors. Shape clay, pressing pieces firmly together. Wash hands after use.
- Baking:
When working with colored clay, try to work with one color at a time and clean off your tools in between starting a new color. This will cut down on unwanted colors mixing together.
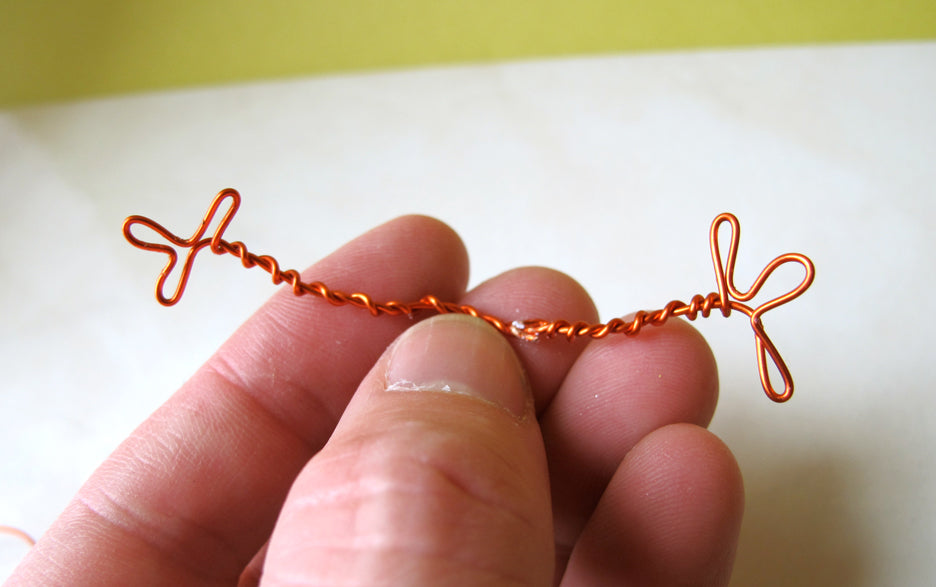
Take a 20-gauge wire that is approx 10” long and bend it into three sections. With your pliers bend wire to create three fingers on each end.

Wrap your extra wire down the arm. Make another one and set aside.
Create a round ball approx 1 1/4” of white clay for the body of the snowman. Once you have a nice ball flatten the bottom of the ball so your snowman won’t roll. With your blade cut a slice approx 1/2” down from the top. You’re making a channel to insert the wire arms. Once the wire is in, seal back up. Roll out another round ball approximately 3/4” for the head of your snowman. Using your straight blade again, cut the top off your ball giving your snowman a flat top head.

Run a piece of Wasabi clay in the #3 setting of the conditioning machine.
- Use a 2” fluted round cutter to cut a large circle for Mrs. Snowman's coat.
- Use a 3/4” fluted round cutter for the rim of Mr. Snowman's hat.
- Create a 4 1/2" long strip of ric rack with your sculpey wavy blade.
- Roll a pea size ball for the top of her hat.
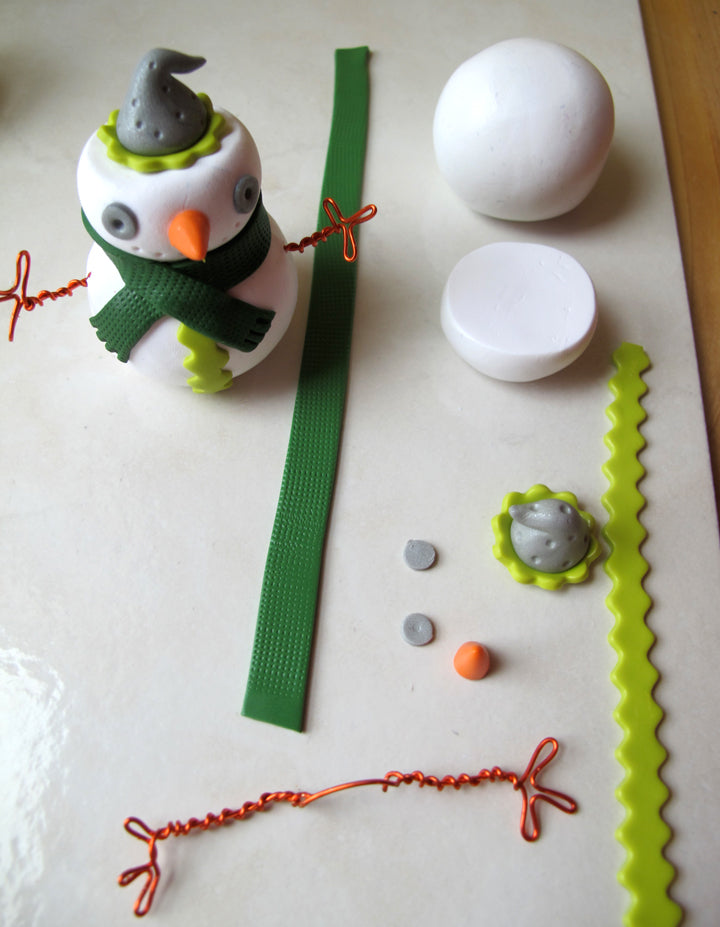
Run a piece of Leaf Green clay in the #3 setting of the conditioning machine.
- Use a 3/4” fluted round cutter for the rim of Mrs. Snowman's hat.
- Create two 5-1/2” long, 1/4” wide strips of clay with straight blade for a scarf for both snowmen. We also added texture to the scarf.

Run a piece of Silver clay in the #3 setting of the conditioning machine.
- Use your 1/4” mini round cutter for the eyes.
- Use the mini flower shape cutter for the top of Mrs. Snowman’s hat.
- Stamp out your message (joy, peace) with the Alphabet stamp.
- With your 1/2" round cutter, punch out your letters.
- With your needle tool, make two holes to weave your twine through.
- Create a small pointed hat for Mr. Snowman.

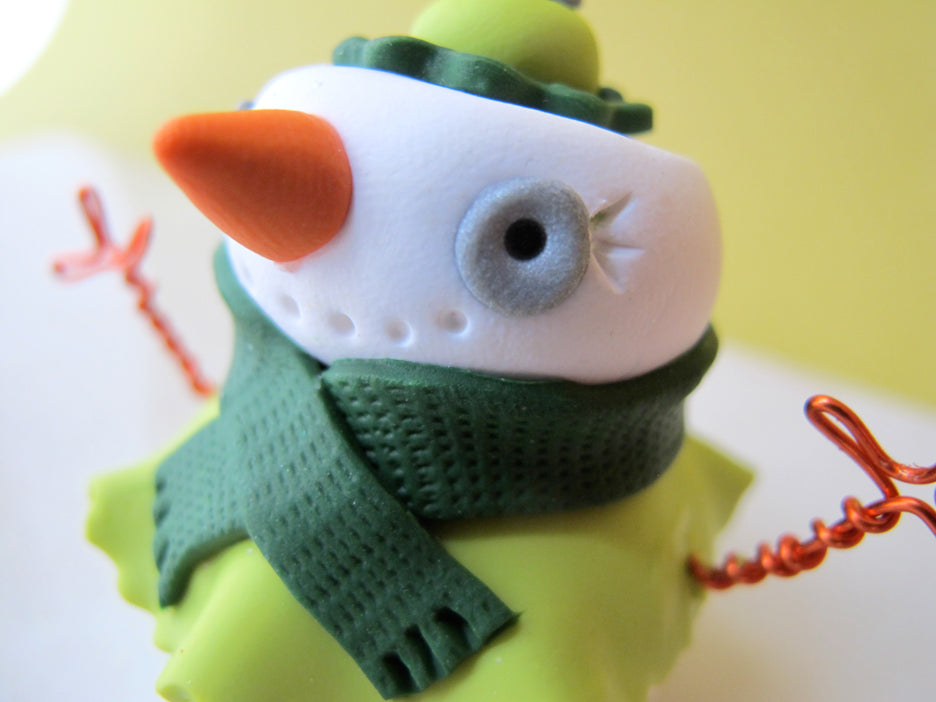
Create a triangle/carrot shape nose for each of your snow figures.

Now that you have all the pieces of your snow couple created you can start to build your snow figures. For extra strength we cut toothpicks and dipped them into Sculpey Oven-Bake Clay Adhesive before we inserted them into the clay. We used a toothpick to connect the heads to the bodies, one for the nose to face and another for the hats to heads.

Once you have the snow couple assembled you can use a stylus tool or toothpick to add some details like a mouth, eye lashes for Mrs. Snow and polka dots on Mr. Snow’s hat.

Place your figures on a smooth ceramic tile and bake in your oven according to the manufacturer's instructions.
Once the snow couple has cooled, you can add details with paint. Use black paint for eyes and mouth and silver paint for stripes on the nose and scarf. To give your snow couple some extra sparkle, brush them with Sculpey glossy glaze. Before it dries, sprinkle a dusting of coarse glitter crystals.
You have all your letters cut out and baked and cooled. Now paint each letter green. Next, take your colored twine and thread it through each letter.

Tie the ends of the colored twine to the snow couple's wire fingers.