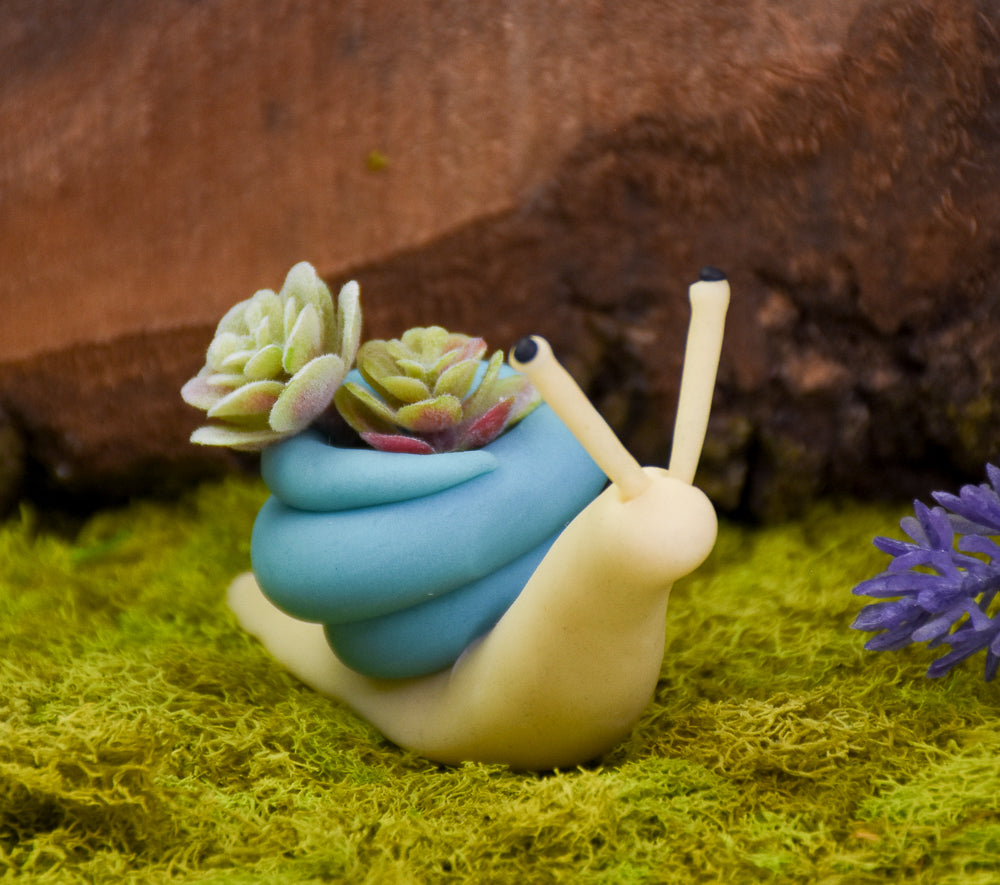

Glow in the Dark Sculpey® Glow Snail Air Plant Holder
Glow in the Dark Sculpey® Glow Snail Air Plant Holder
Read More
This cool little plant holder is perfect for an air plant or artificial plant with a bonus surprise that it will glow in the dark when the lights are turned off!
by Amy Koranek
COMPLETION TIME:
55 Minutes to make and bake (bakes twice)
Designed by Amy Koranek
Read Less
ADDITIONAL SUPPLIES
- Ruler
- Dry wash cloth
- Air plant

Project Instructions
Step 1
Step 2

Step 3

Step 4

Step 5

Step 6

Step 7

Step 8
