

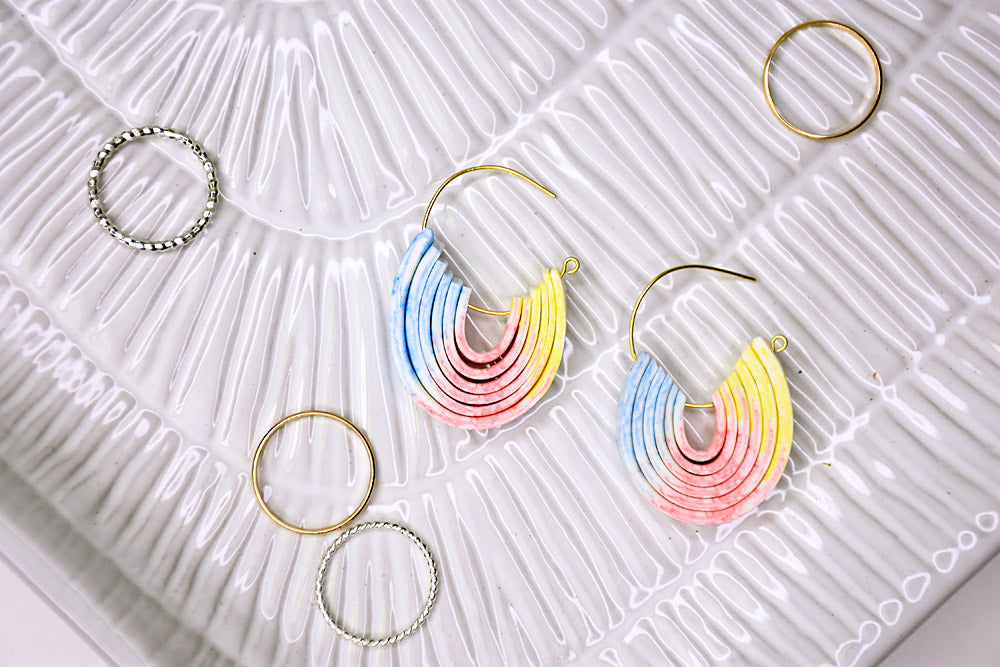
Super Sculpey® Ultralight Ombré Earrings
Super Sculpey® Ultralight Ombré Earrings
Read More
Combine the strength and flexibility of Super Sculpey® Ultralight with a rainbow of color to create these incredible earrings!
COMPLETION TIME:
75 Minutes to make, bake, and assemble.
Read Less
ADDITIONAL SUPPLIES
- Large hoop earrings - the earrings shown in the tutorial are 20mm
- Dremel drill - optional
Project Instructions
Step 1
Step 2

Step 3

Step 4

Step 5

Step 6

Step 7

Step 8

Step 9

Step 10

Step 11

Step 12

Step 13

Step 14

Step 15

Step 16

Step 17

Step 18

Step 19

Step 20

Step 21

Step 22

Step 23
