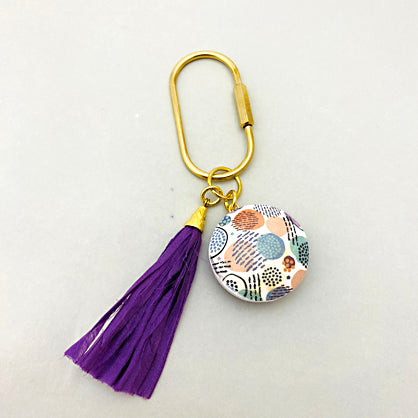
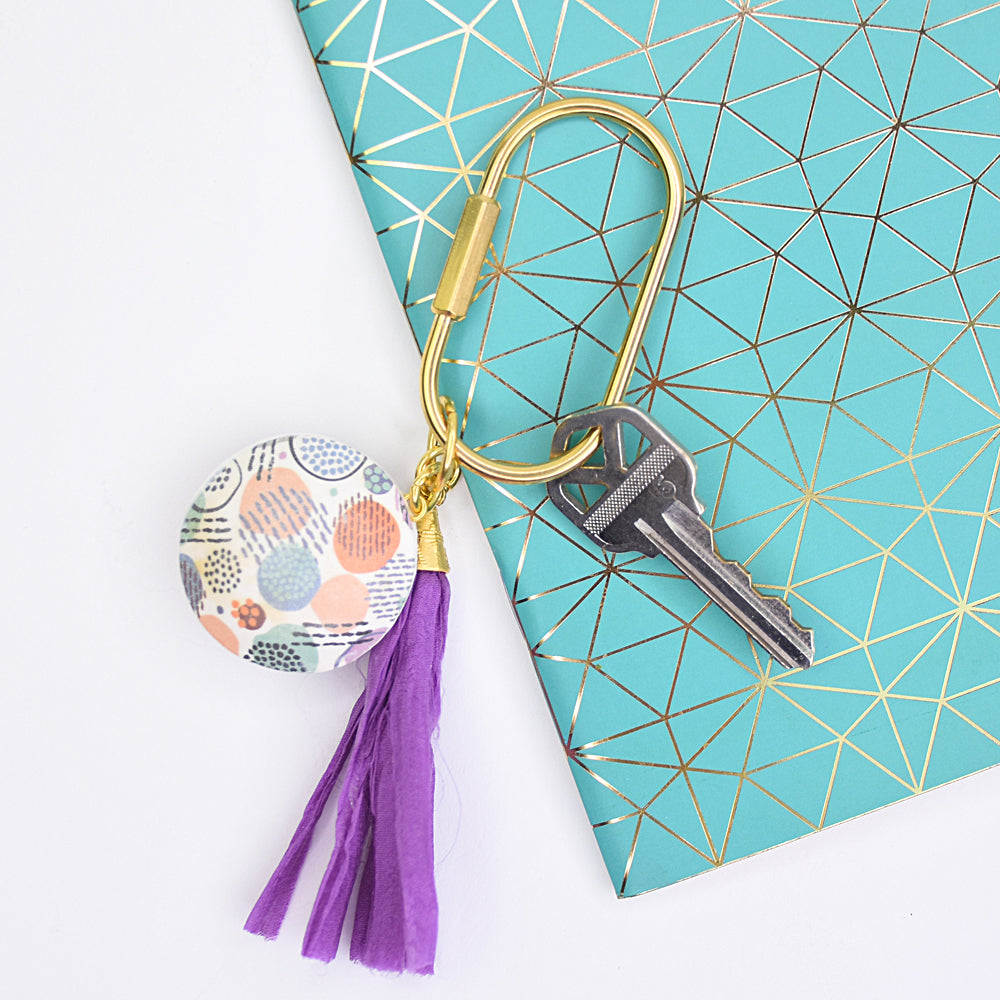
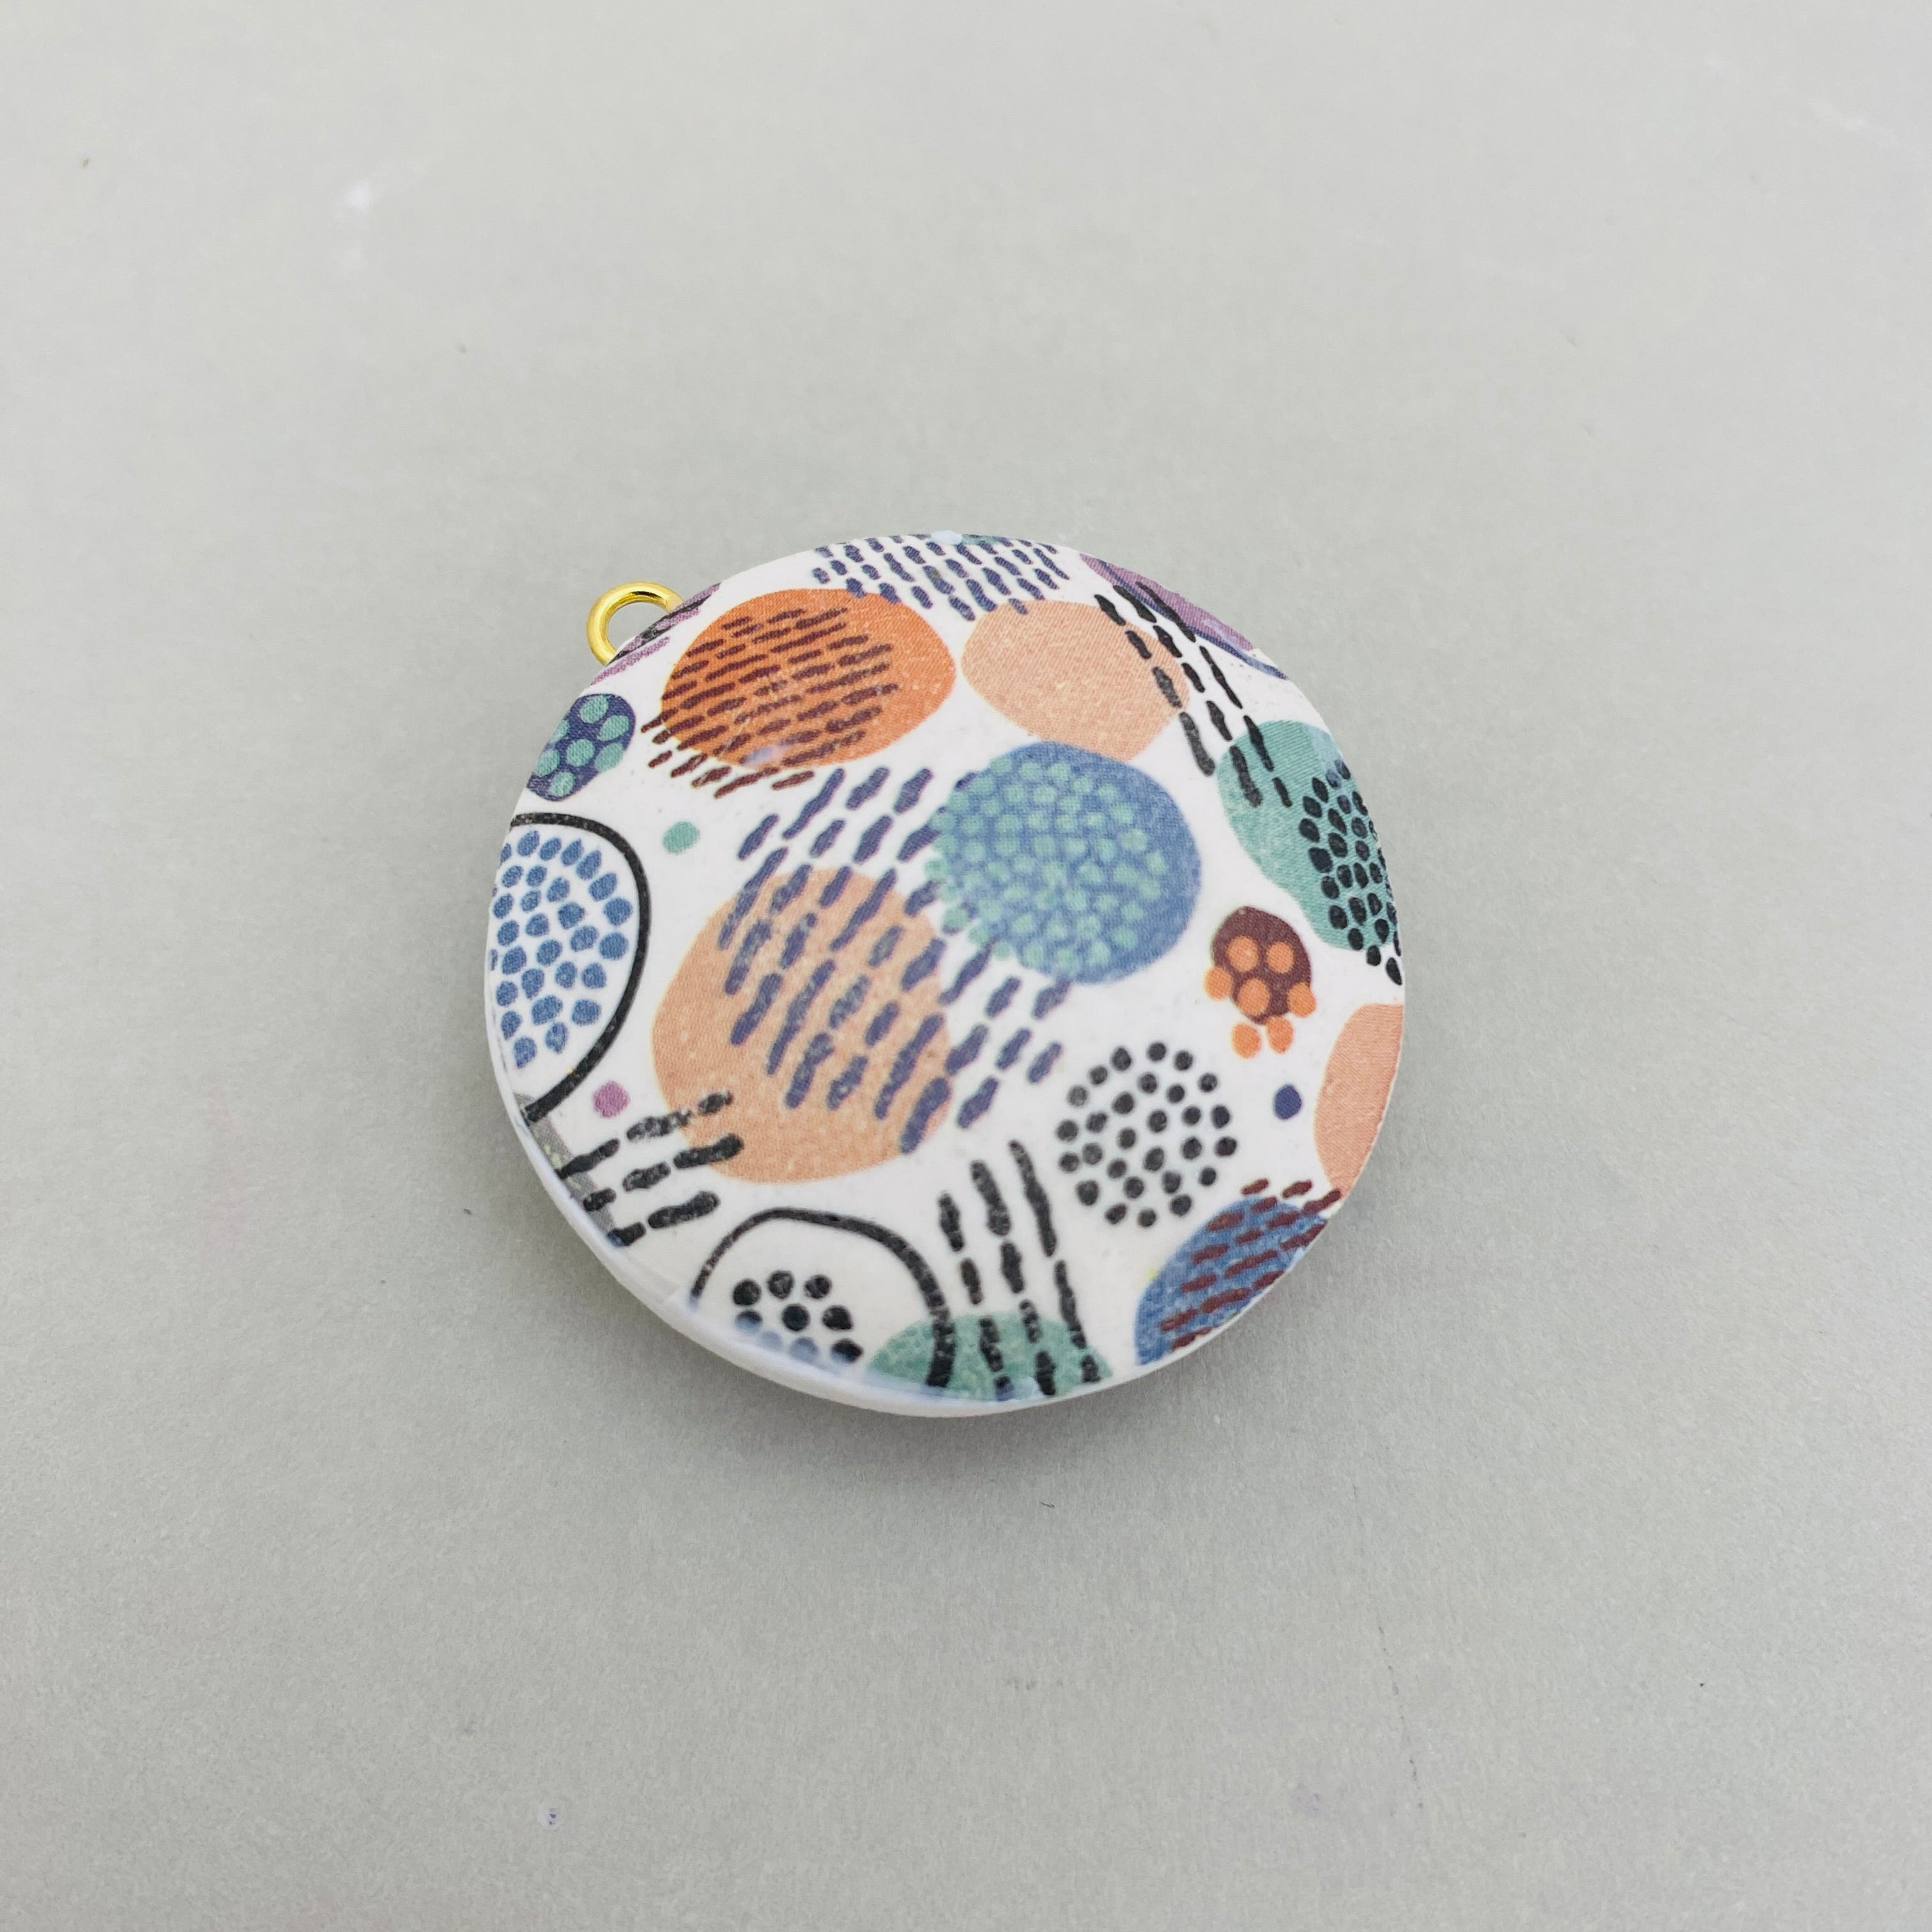
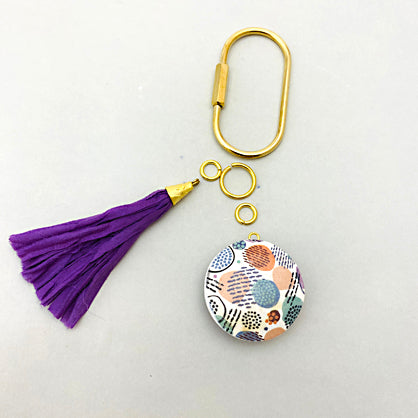
Sculpey Premo™ Hollow Bead Key Fob
Sculpey Premo™ Hollow Bead Key Fob
Read More
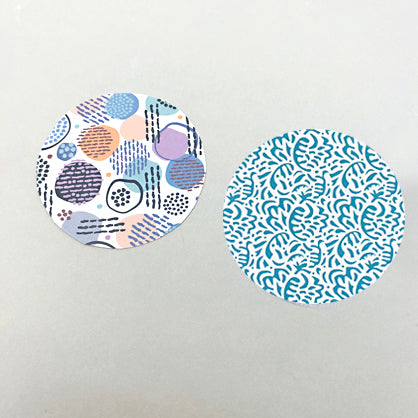
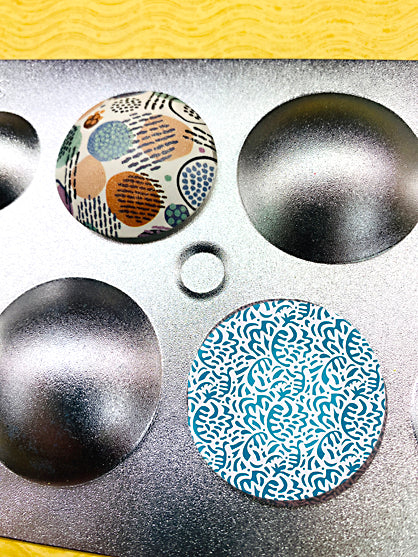
Boost your keychain game with these easy-to-use geometric transfers on Sculpey polymer clay. The modern graphic designs are a colorful way to add design to a simple sheet of clay.
COMPLETION TIME:
90 Minutes to make, bake (twice), and assemble
Read Less
ADDITIONAL SUPPLIES
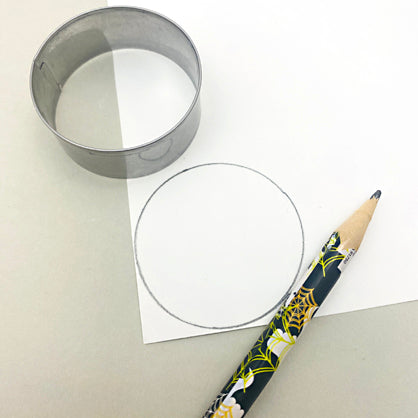
- Pencil
- Scissors
- Water basin
- Sponge
- Deli paper or wax paper
- Double loop connector
- Gold tone key ring
- 10 mm Gold tone jump ring
- 6 mm Gold tone jump ring
- Coordinating tassel
Project Instructions
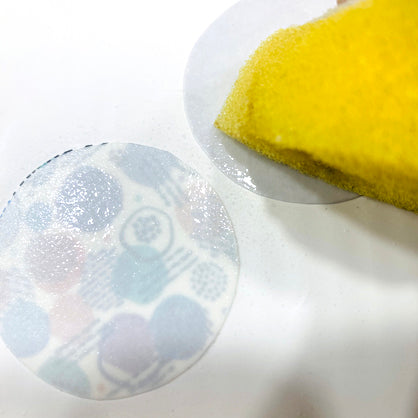
Step 1
Step 2
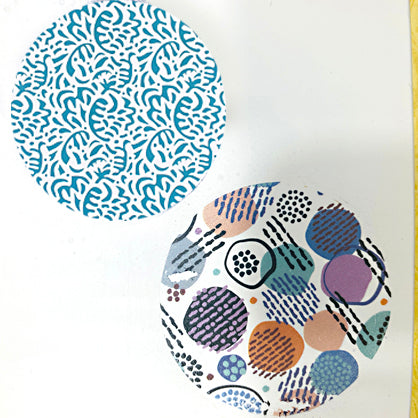
Step 3
Step 4
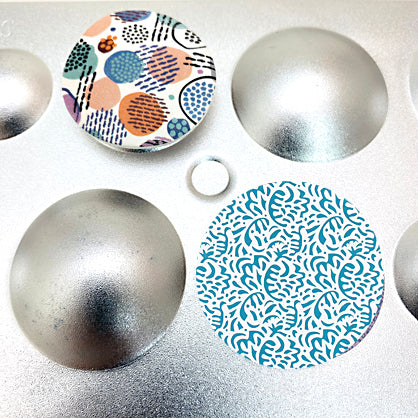
Step 5
Step 6
Step 7
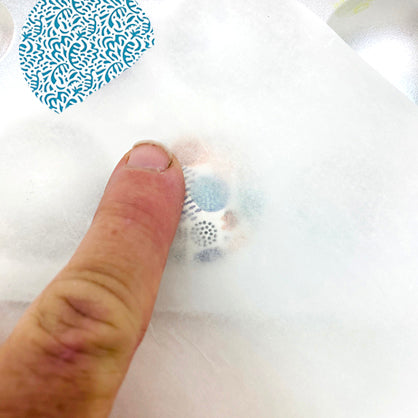
Step 8
Step 9
Step 10
Step 11
Step 12

Step 13
Step 14
Step 15