

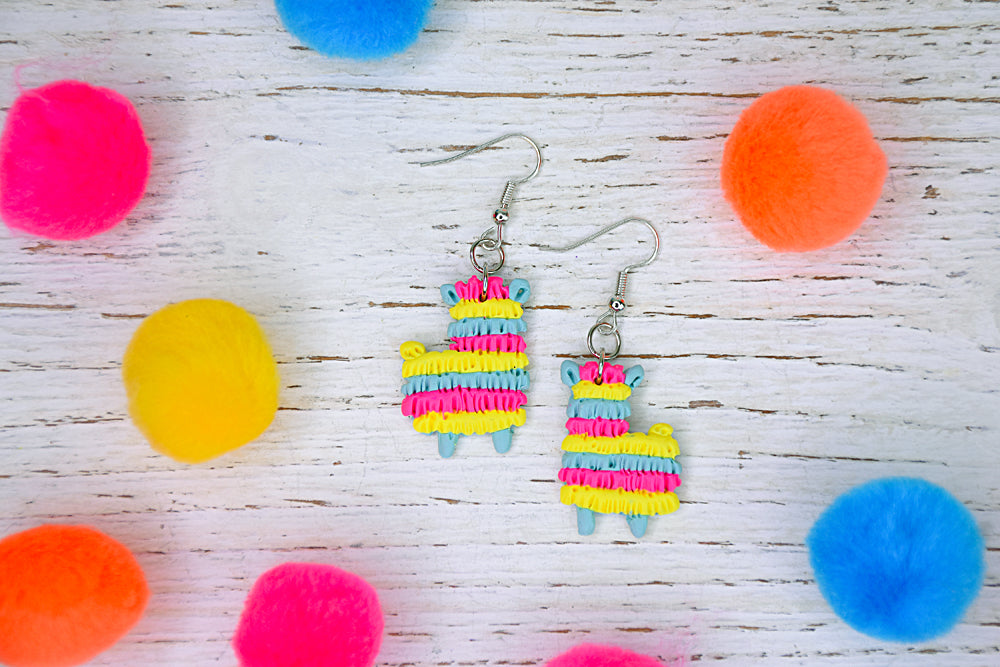
Sculpey III® Colorful Llama Earrings
Sculpey III® Colorful Llama Earrings
Read More
Cheerful colors and patterns team up to create these adorable llama earrings that will brighten any day!
COMPLETION TIME:
75 Minutes to make, bake, and assemble.
Read Less
ADDITIONAL SUPPLIES
- Llama shaped cutter approximately 1” tall
- Silver tone ear wires (2)
- 6mm Silver tone jump rings (4)
- Flat nose pliers
Project Instructions
Step 1
Step 2

Step 3

Step 4
Step 5

Step 6

Step 7

Step 8

Step 9

Step 10

Step 11

Step 12

Step 13

Step 14

Step 15
