

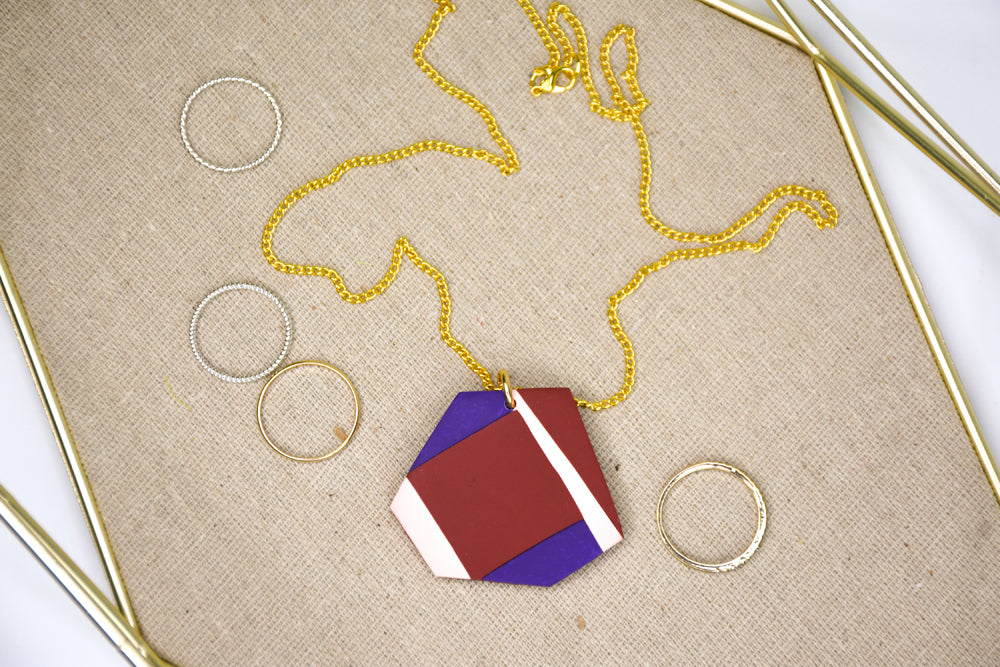
Sculpey III® Color Block Pendant
Sculpey III® Color Block Pendant
Read More
Dynamic colors and shapes are the stars of this amazing pendant you can create in about an hour!
Read Less
ADDITIONAL SUPPLIES
- Parchment or wax paper
- 6 mm Gold tone jump ring
- Gold tone chain with clasp in length of your choosing
- Cotton polishing cloth like denim
Project Instructions
Step 1
Step 2

Step 3

898-4

Step 5

Step 6

Step 7

Step 8

Step 9

Step 10

Step 11

Step 12
