

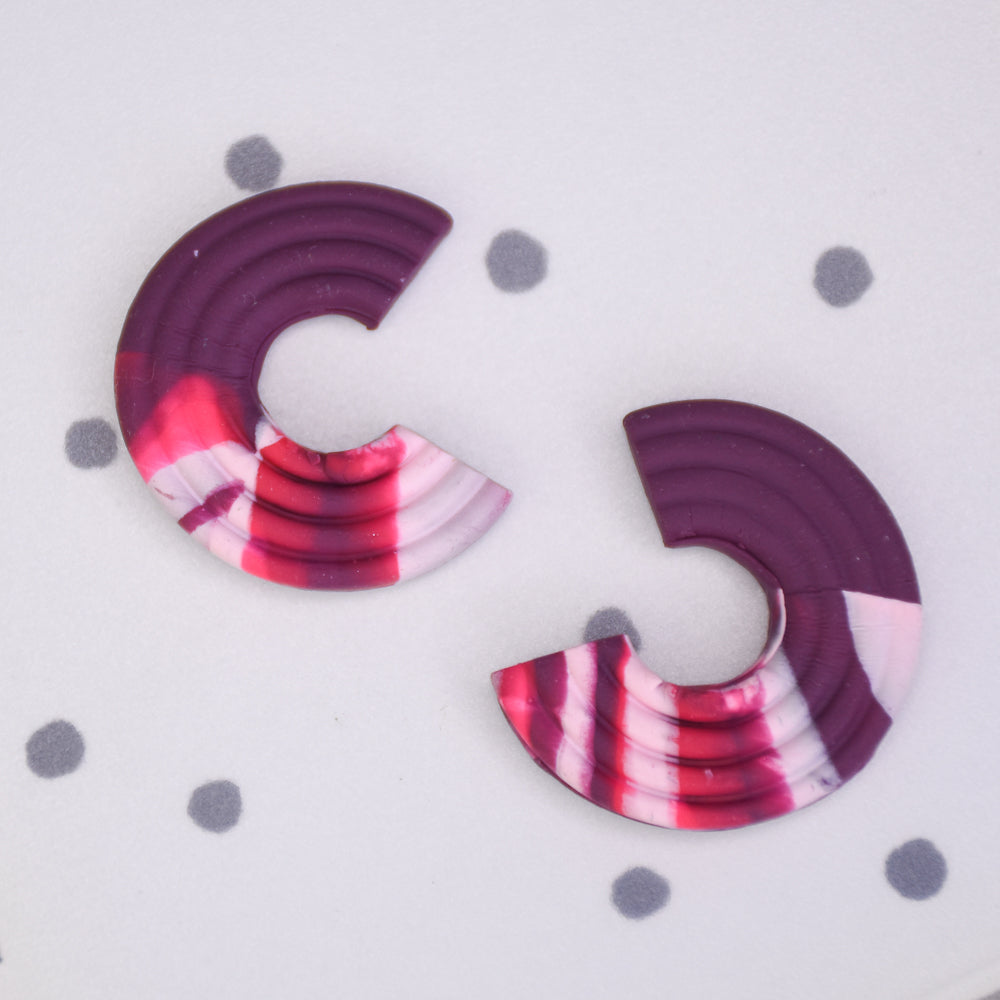
Sculpey III® Color Block Embossed Earrings
Sculpey III® Color Block Embossed Earrings
Read More
Stunning rich colors abound in these gorgeous earrings!
COMPLETION TIME:
45 Minutes to make, bake, and assemble - some time required for glue to dry.
Read Less
ADDITIONAL SUPPLIES
- Kitchen plastic wrap
- Embossed cutter
- Ear posts with back (2)
- Silicone glue or instant drying glue
Project Instructions
Step 1
Step 2

Step 3

Step 4

Step 5

Step 6

Step 7

Step 8

Step 9

Step 10

Step 11

Step 12

Step 13

Step 14

Step 15

Step 16
