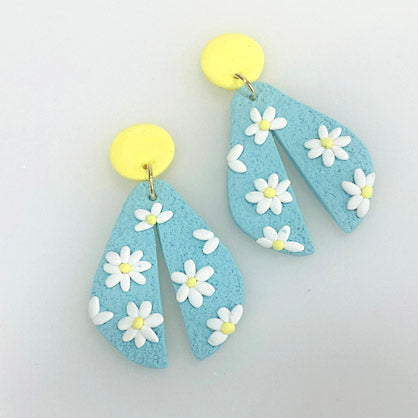
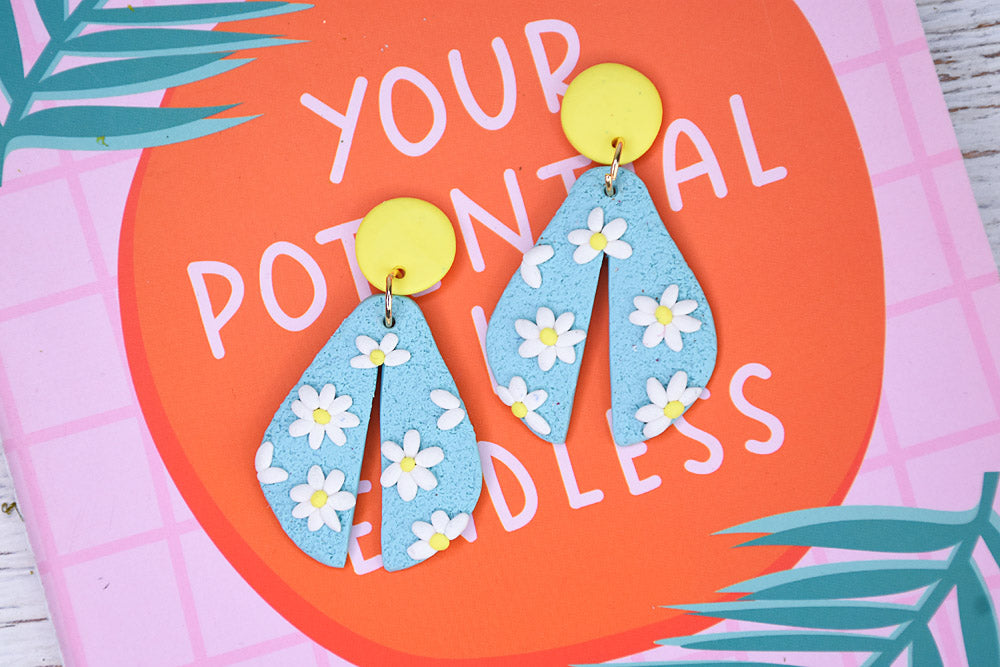
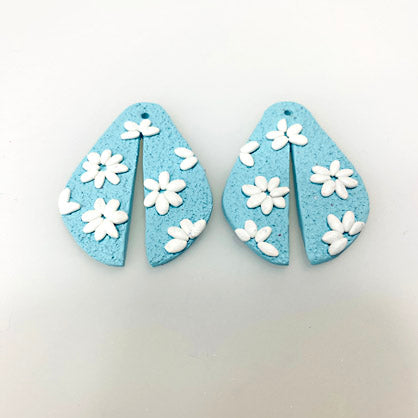
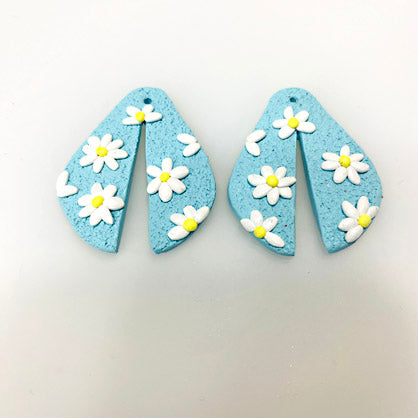
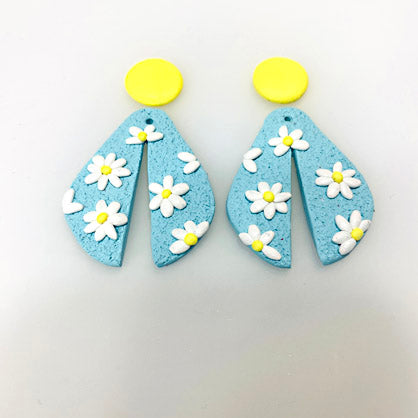
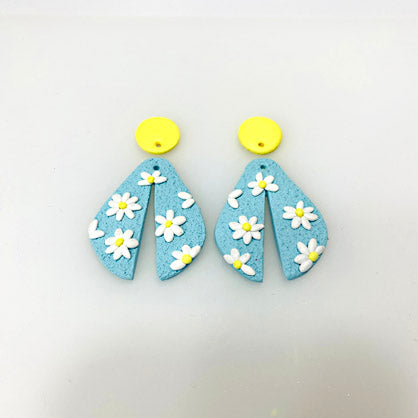
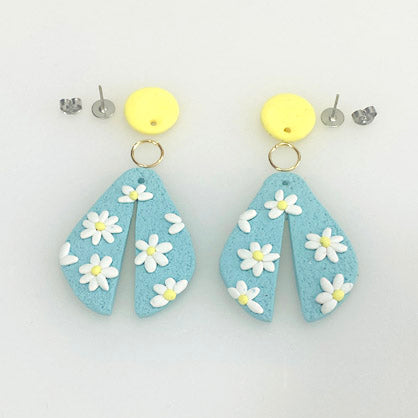
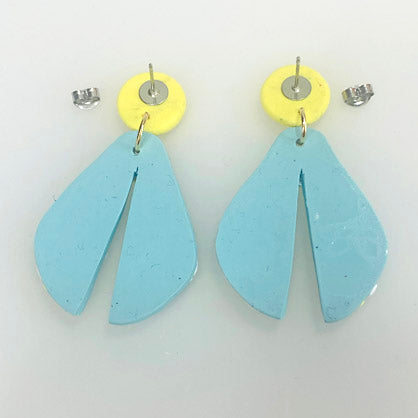
Sculpey III® Daisy Earrings
Sculpey III® Daisy Earrings
Read More
Brighten your Summer wardrobe with these charming daisy earrings you can make in a snap. Invite your besties over to make their own as well!
COMPLETION TIME:
75 Minutes to make, bake, and assemble. Some time required for glue to dry.
Read Less
ADDITIONAL SUPPLIES
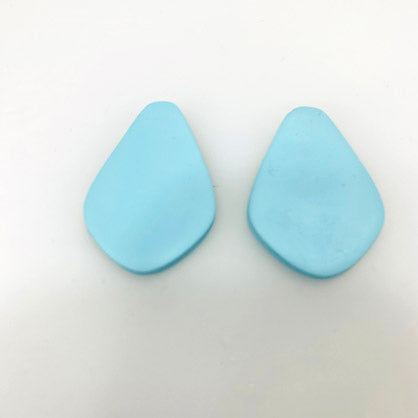
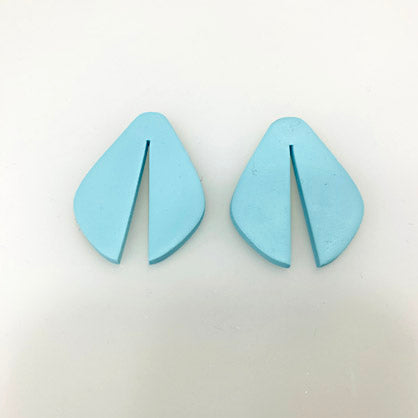
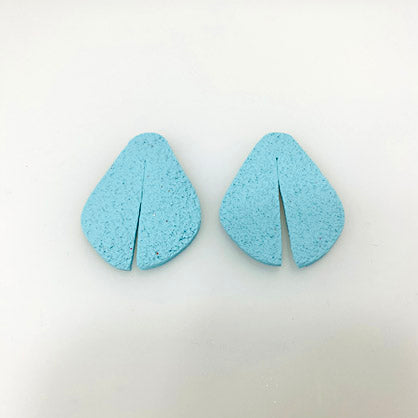
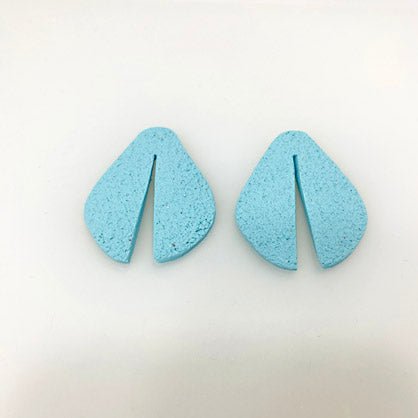
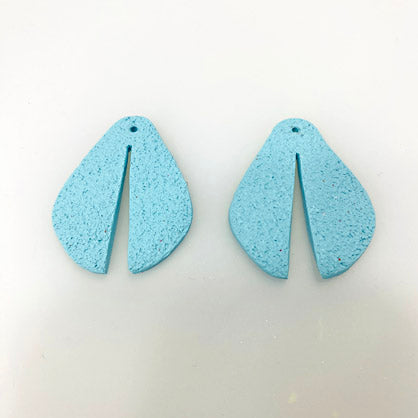
- Fat Teardrop like shaped cutter
- Coarse grit sandpaper or other texture maker
- 8mm Silver tone jump rings (2)
- Silver tone ear posts with backs (2)
- Flat nose pliers
- Silicone glue or instant drying glue
Project Instructions
Step 1
Step 2
Step 3
Step 4
Step 5
Step 6
Step 7
Step 8
Step 9
Step 10
Step 11
Step 12
Step 13