

Sculpey Premo™ Art Deco Earrings with Fringed Tassels
Sculpey Premo™ Art Deco Earrings with Fringed Tassels
Designed by Syndee Holt
Read More
Read Less
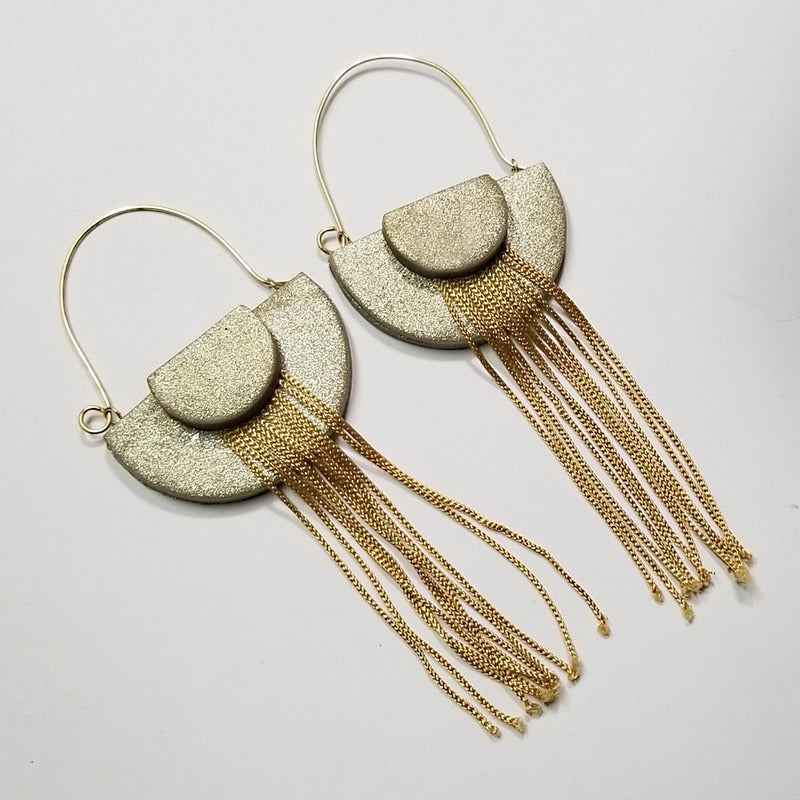
These mixed media dramatic earrings are easy to make using long fringe and a custom ear wire.
ADDITIONAL SUPPLIES
- 18 gauge gold wire
- Needle nose pliers
- Wooden dowel about 1-1/2 inches wide or a sturdy paper towel core
- Gold fringe (oven test your fringe before creating your earrings. I put a small piece in my oven at correct temperature for the clay for 30 minutes to make sure that it would bake without shrinking)
- Needle tool or hand drill with small drill bit
- Fine sand paper or wire tool to round the end of the wire
- 2 gold eye pins
- Instant glue
Project Instructions
- Getting Started:
Start with clean hands, unwrap and knead clay until soft and smooth, or condition by running clay though a Pasta Machine. We recommend using a designated machine for clay purposes only. When working with multiple colors, clean hands with soap and water or baby wipes (we have found that baby wipes work best) before switching colors. Shape clay, pressing pieces firmly together. Wash hands after use.
- Baking:
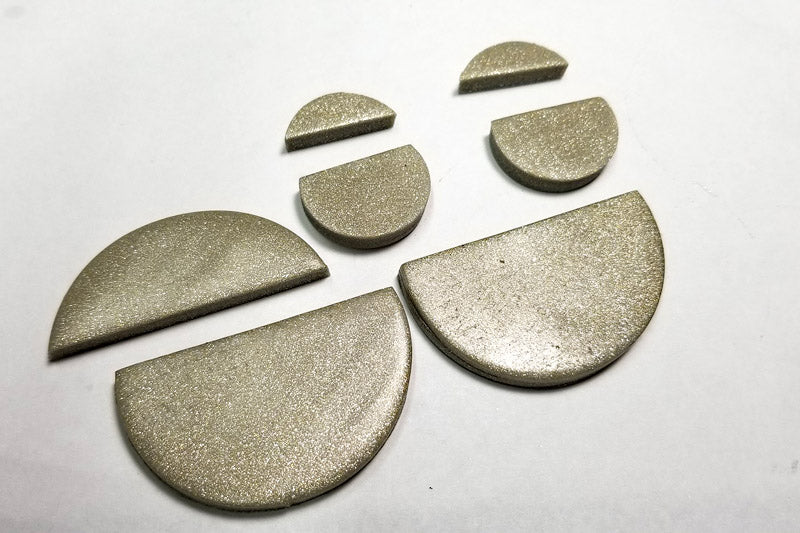
Thoroughly condition the Yellow Glitter Gold and sheet it out on the second from widest setting. Use the largest circle cutter (2 inch) to cut out a circle of clay. Leave the circle of clay in the cutter and cut out a second circle (you can also stack two layers of clay and cut through them at the same time.) Repeat to make two circles

Use the Super Slicer to remove the top ¼ of each circle.

Repeat the stacking process and cut out two 1 inch circles of clay and cut off the top ¼ of the circle as shown.
Trim a piece of fringe that is just short of one inch wide. Apply a small amount of Gold Ls and press the fringe firmly into the top middle of the larger circle (leave a small space at the top as shown). Add some more Gold LS to the smaller circle as shown and position it over the fringe, tucking in the edges of the fringe if needed.I chose to use a hand drill to make the hardware holes after baking. If you aren't using a hand drill, use a large needle tool to make two holes in the top of the earring to mount the ear wire. Bake as directed.


While the clay is baking, create your ear wires by straightening two 3 inch lengths of wire. Use the needle tool to create a loop in one end of each wire then carefully wrap the wires over the paper towel core. Use the needle tool to add a bend in the straight end of each wire. Use fine sand paper or a wire tool to gently round the straight end of the wire.

Once the clay has baked and cooled, I drilled my holes in the top of each earring and glued an eye pin in on either side of each earring. Attach your ear wire and you are done!
