

Sculpey Premo™ Navy Simply Elegant Folded Bracelet
Sculpey Premo™ Navy Simply Elegant Folded Bracelet
Read More
Read Less
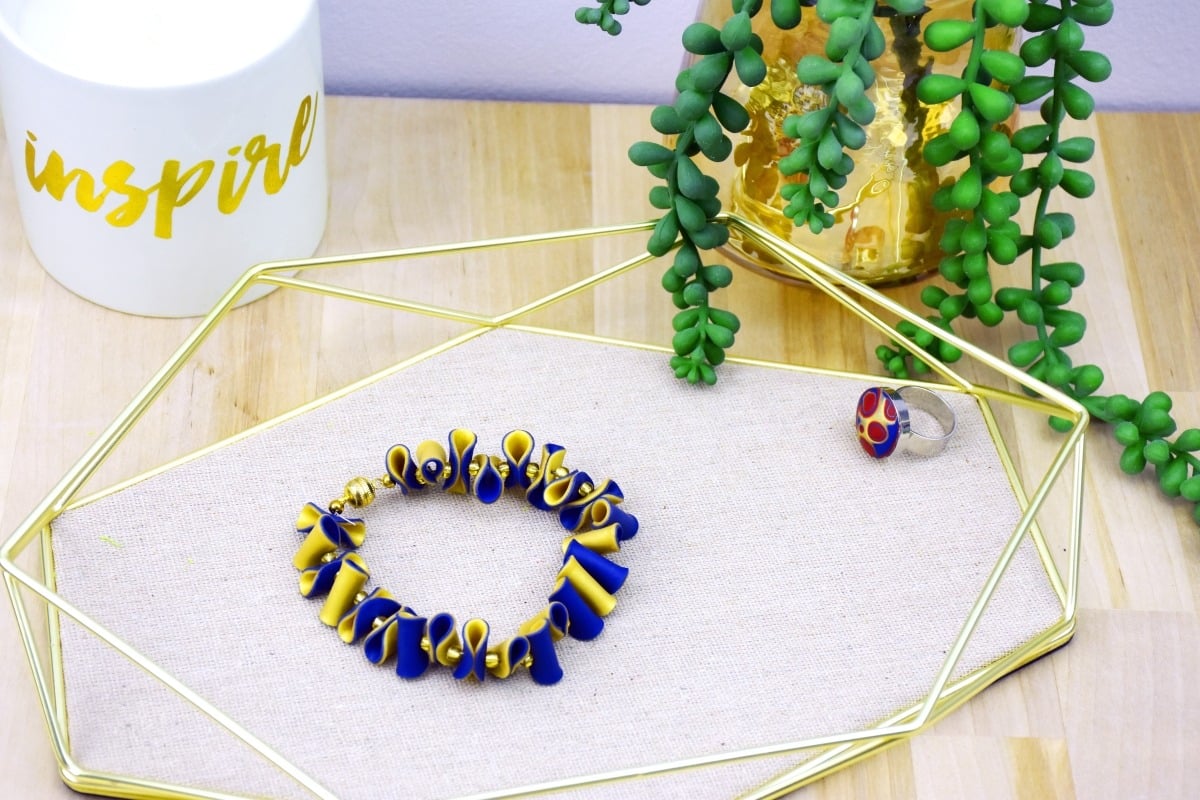
This bracelet is simple to make and gives a fun vibe to any outfit!
ADDITIONAL SUPPLIES
- Beading wire
- Accent beads
- Crimp beads
- Pliers
- Clasp
Project Instructions
- Getting Started:
Start with clean hands, unwrap and knead clay until soft and smooth, or condition by running clay though a Pasta Machine. We recommend using a designated machine for clay purposes only. When working with multiple colors, clean hands with soap and water or baby wipes (we have found that baby wipes work best) before switching colors. Shape clay, pressing pieces firmly together. Wash hands after use.
- Baking:
Roll 1/2 of the conditioned bar of Navy Blue clay out on the #4 (thin) setting on the Clay Conditioning Machine. Repeat with the 18k Gold. Stack the two colors together and use the smallest circle cutter in the set (3/4”) to cut out at least 25 circles. Gently fold each circle and pinch together at the top (like a taco!). Make sure to alternate the colors when you fold them Navy Blue on the outside for one and 18K on the outside for the next!

Use your Sculpey needle tool (or large needle) to make a hole in the center top of each folded bead. Bake all the beads according to the directions in Step 1.

String the beads, alternating colors and stringing a small gold bead on either side of the folded beads. String to the length that fits your wrist. String a crimp bead onto the beading wire and then thread through one side of the clasp. Loop the wire back through the crimp and use your pliers to tightly crimp the crimp bead. Trim the wire and gently press the crimp cover over the flattened crimp bead with your pliers. Repeat on the other side of the bracelet. NOTE: Leave a little room on the wire once you string them so that the beads can comfortably lay flat on your wrist!
