

Sculpey III® Upcycled Tin Box
Sculpey III® Upcycled Tin Box
Designed by Amy Koranek
Read More
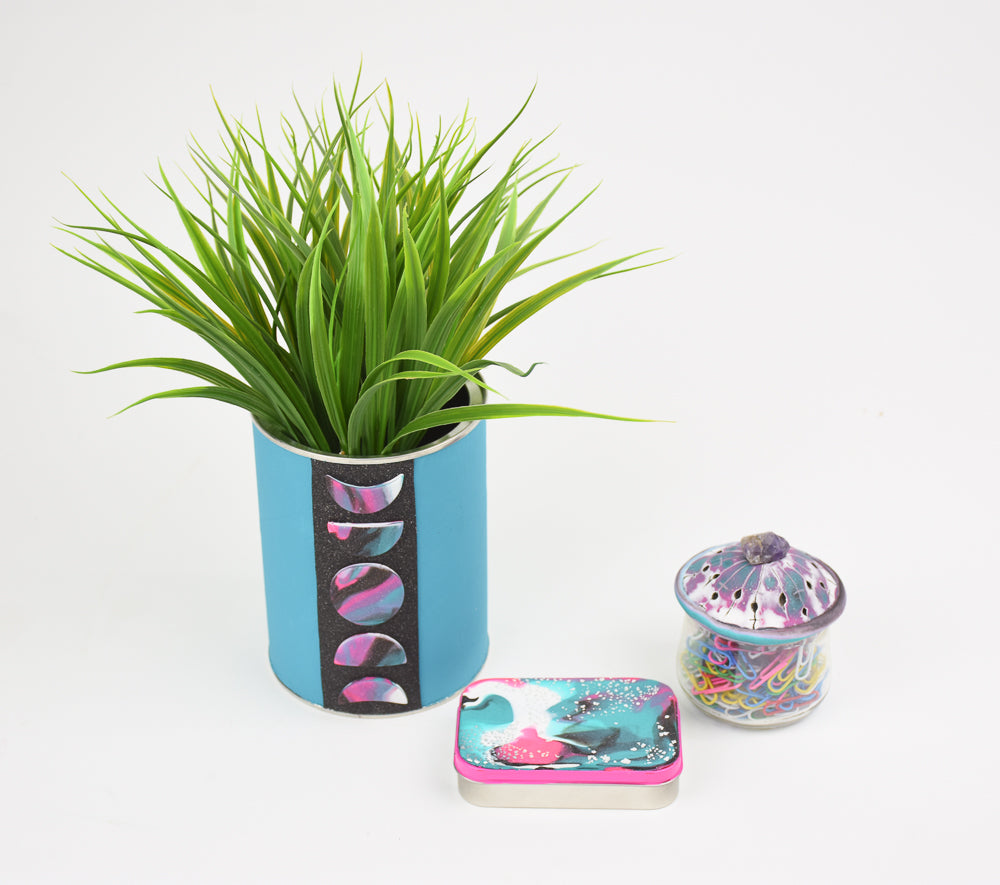
Upcycle a small tin candy box with a fabulous marbled clay finish for the lid!
COMPLETION TIME:
60 Minutes to make and bake
Read Less
ADDITIONAL SUPPLIES
- Composite silver leaf
- Glossy acrylic paint in a coordinating color
- Paintbrush
- Clean and empty mint tin
Project Instructions
- Getting Started:
Start with clean hands, unwrap and knead clay until soft and smooth, or condition by running clay though a Pasta Machine. We recommend using a designated machine for clay purposes only. When working with multiple colors, clean hands with soap and water or baby wipes (we have found that baby wipes work best) before switching colors. Shape clay, pressing pieces firmly together. Wash hands after use.
- Baking (also called Curing):
First prepare the empty mint tin by painting the lid. You will probably need at least two coats of paint especially around the edges where the lid will show. Allow the paint to dry completely while preparing the clay.

Condition 1/8 bar of each White, Pink Glitter, and Teal Pearl, and a small amount of Black Glitter.

Bundle the colors together.

Marble the colors by kneading and twisting.

Roll the ball of clay in composite silver leaf.

Flatten the clay out with the roller to a rectangle about 1/8” thick. Make sure the clay is large enough to cover the top of the box.

Press the clay sheet to the top of the box. The dry paint will act as an adhesive for the clay. Roll over the clay with the roller to make a smooth finish and press out air bubbles.

Trim excess clay from around the edges with a clay blade

Bake the box with the clay together following the baking instructions for Sculpey III. Allow to cool completely before handling.

- Choosing a selection results in a full page refresh.
- Opens in a new window.