

Original Sculpey® Holiday Gnome
Original Sculpey® Holiday Gnome
Designed by Phoebe Doehring
Read More
Create this wonderful little Holiday Gnome to brighten a tabletop or make several to decorate your holiday dining table!
TIME TO COMPLETION:15 minutes to sculpt
30 minutes to bake
15 minutes to paint (plus drying time)
Read Less
30 minutes to bake
15 minutes to paint (plus drying time)
ADDITIONAL SUPPLIES
- Acrylic Paints: White, Black, Red, Green, Flesh
- Paintbrush
Project Instructions
- Getting Started:
Start with clean hands, unwrap and knead clay until soft and smooth, or condition by running clay though a Pasta Machine. We recommend using a designated machine for clay purposes only. When working with multiple colors, clean hands with soap and water or baby wipes (we have found that baby wipes work best) before switching colors. Shape clay, pressing pieces firmly together. Wash hands after use.
- Baking:
Roll the following size balls of clay for all the parts of your gnome:
• Hat: 1-1/4” ball
• Body: 1-1/2” ball
• Beard: 3/4” ball
• 2 Feet: 1/4” balls
• Nose: 1/4” ball
• Body: 1-1/2” ball
• Beard: 3/4” ball
• 2 Feet: 1/4” balls
• Nose: 1/4” ball

Start by making the hat for your gnome. Roll the 1-1/4” ball into a cone shape. The base of the cone should be approximately 1” in diameter. Curl the pointed top to one side. Flare out the bottom of the hat so it will bit onto the body when you make it.
Use the 1-1/2” ball and shape the body of your gnome by making a cylinder shape with rounded edges. Make the top of the body slightly narrower than the bottom so that the hat will rest nicely on top.
Fit the hat onto the top of the body.
Use the 1-1/2” ball and shape the body of your gnome by making a cylinder shape with rounded edges. Make the top of the body slightly narrower than the bottom so that the hat will rest nicely on top.
Fit the hat onto the top of the body.

Use the 3/4” ball and shape it into a flattened triangle shape that will fit nicely under the hat and against the body. Make sure you do not make it too thick.
Make a little round nose from the 1/4" ball.
Make a little round nose from the 1/4" ball.

Place the beard into position under the hat. Use the pointed attachment of your 5 in 1 tool or a toothpick and make vertical indented lines in the beard to give it texture.
Add your little round nose to the center of your beard just under the hat.
Press on two little round feet at the base of his body on either side.
Add your little round nose to the center of your beard just under the hat.
Press on two little round feet at the base of his body on either side.

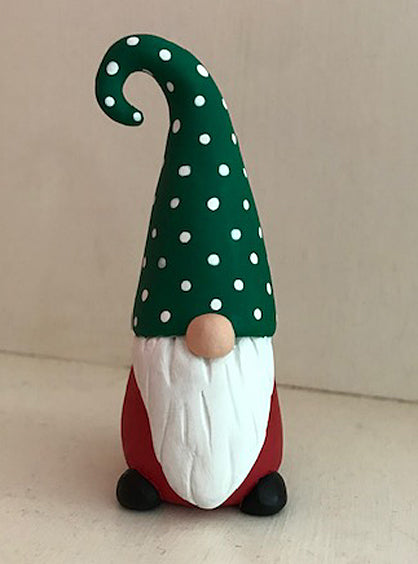
Here is a look at my little Holiday Gnome so far.
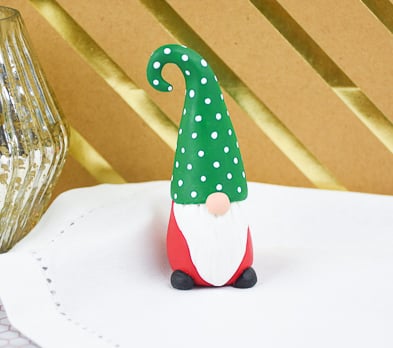
Bake according to package directions. Allow to cool completely. Paint the gnome’s body with Red acrylic paint. Allow to dry. You may need to paint a second coat.
Once dry paint the hat Green. Allow to dry. Paint another coat if needed.
Paint the beard White. Allow to dry.
Paint the nose a Flesh color.
Paint both feet Black.
To finish paint some nice White polka dots on the hat.
- Choosing a selection results in a full page refresh.
- Opens in a new window.