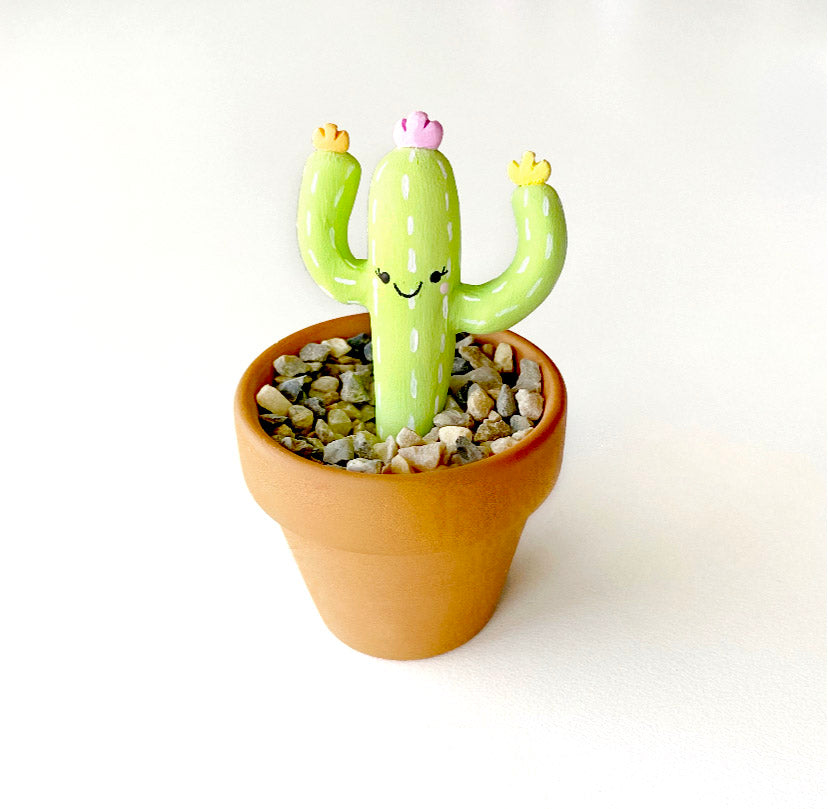

Original Sculpey® Cactus in a Pot
Original Sculpey® Cactus in a Pot
Designed by Precious Nunez
Read More
This mini cactus is a super simple and fun project to make as an awesome gift for a friend or decorative décor.
Time to complete: Sculpting time approximately 15 minutes, Painting approximately 20 minutes, not including drying time.
Read Less
ADDITIONAL SUPPLIES
- Toothpick (optional)
- Paint Brushes
- Acrylic Paint in five colors
- Dotting Tool
- Mini TerraCotta Pot
- Small rocks
- Super Glue

Project Instructions
- Getting Started:
Start with clean hands, unwrap and knead clay until soft and smooth, or condition by running clay though a Pasta Machine. We recommend using a designated machine for clay purposes only. When working with multiple colors, clean hands with soap and water or baby wipes (we have found that baby wipes work best) before switching colors. Shape clay, pressing pieces firmly together. Wash hands after use.
- Baking (also called Curing):
Roll out three tapered logs with one being longer than the other two and trim both ends of the shorter logs. The longer log will be the base of the cactus.
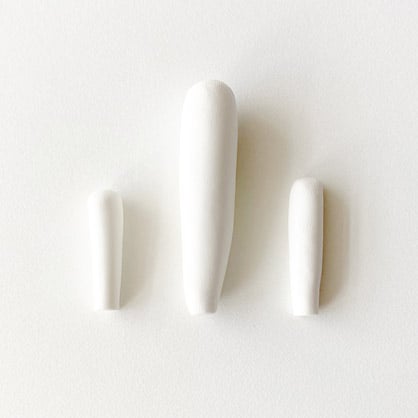
Place both tapered logs on each side of the cactus to make the arms, take your needle tool or toothpick and blend each piece onto the cactus base. Smooth out any rough edges from blending with your fingers

Make three small balls and slightly flatten. Take your needle tool and make two indents on the top of each circle to make the flowers. Trim the bottoms off the flowers to sit on each cactus arm.

Bake the cactus according to Step 1

Paint your cactus according to preference, take a small paint brush to make dashes in the cactus to give it texture. Paint the flowers and add any desired details

Take your dotting tool and paint to give your cactus a face

Once dried, fill the terra cotta pot with rocks and leave an indent to insert the cactus

Place the cactus in the indent and glaze if you'd like a glossy finish
