

Liquid Sculpey® Turquoise Candle Votive
Liquid Sculpey® Turquoise Candle Votive
Designed by Amy Koranek
Read More
Read Less
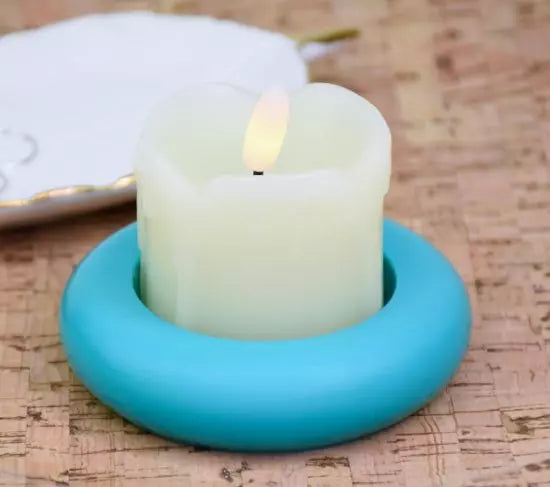
This gorgeous little candle votive is a snap to make! The color is perfect for your Summer table settings. TIME TO COMPLETE: 45 Minutes to make and bake
ADDITIONAL SUPPLIES
- Paper towel
- Oven safe silicone tea light mold
Project Instructions
Step 1
- Getting Started with Liquid Sculpey®:
- Baking:
- It is important to use oven thermometer when you bake the liquids so that you can ensure your oven is at the correct temperature.
- -Do not microwave the liquids. They must be baked in a Preheated oven at 275 ºF (130 ºC) for liquid colors and 300 ºF (149 ºC) for Clear – Do not exceed baking temperatures.
- If your piece is less than 1/4” bake for 15 minutes. For thicker pieces that are 1/4” or above bake for 30 minutes.
- If your liquid project has become yellowed or discolored in the oven, when you remake it, tent it by placing either – folding an index card in half and placing your project under it by using aluminum foil over your project.
Here’s a tip for baking perfectly in silicone molds. Dampen a dish towel with water and wring out as much of the water as you can. Fold the damp towel so that the molds can sit level on top of it. The damp towel will slow down the curing process so that the LS will cure evenly throughout and avoid warping.
Step 2
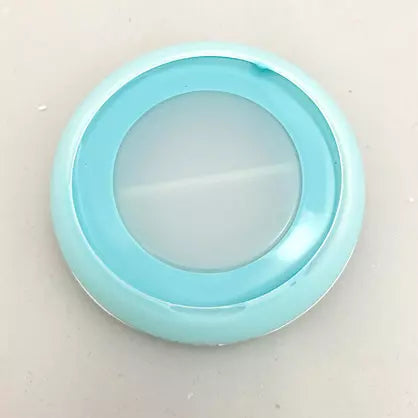
Here’s a look at the silicone mold I’m using. It’s rated for up to 400F so it is perfect for filling with Liquid Sculpey® (LS).
Step 3
After stirring your LS, open the tip wide and position it over one area of the mold. When using a lot of LS in the same color, I fill the mold from one location. That way the LS crawls into place on the surface of the mold. I feel this crawling produces fewer air bubbles between the liquid and the mold.
Step 4
Tap the mold gently on your work surface to release air bubbles.Stubborn air bubbles can be popped with a Needle Tool.

Step 5
Continue filling the outside rim with the LS.Repeat tapping the mold to release air bubbles.
Step 6
Add a puddle of LS to the center shelf area that holds the candle allowing the LS to crawl toward the outer rim.Tap the mold to help the puddle spread.

Step 7
You can also tap the sides of the mold with the heavy 12 mm Ball Tool.
Step 8
Sometimes I carefully burp the mold by squeezing it gently from the sides.Make sure the mold is filled to level before baking.

Step 9
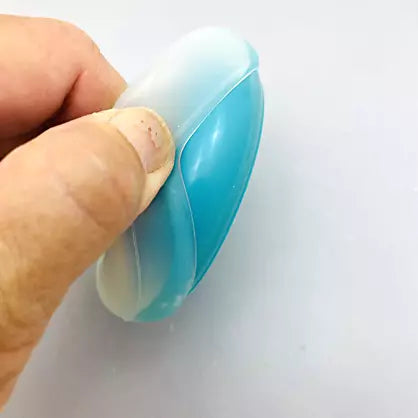
Bake following the baking instructions for LS.Allow to cool completely before flexing the mold to release the votive.
Step 10
Your little votive holder is ready for a candle.I suggest using only candles that have a glass or metal container so that the LS is protected from heat and melting wax.
