


Liquid Sculpey® Metal and Marbled Earrings
Liquid Sculpey® Metal and Marbled Earrings
Designed by Amy Koranek
Read More
Read Less
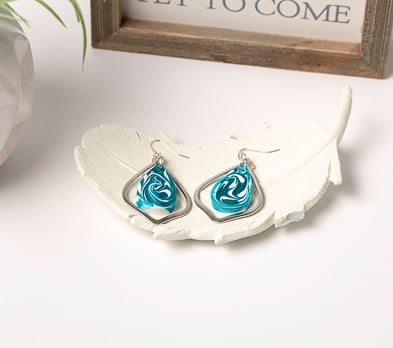
We team our Liquid Sculpey colors up with our Oven-Safe Jewelry mold to create these classic modern earrings that are framed in a silver metal connector for a finishing touch.
TIME TO COMPLETE:75 Minutes to make, bake twice, and assemble
ADDITIONAL SUPPLIES
- Paper towel
- Small sharp scissors
- Large Silver toned metal connectors (2)
- 8 mm Silver toned jump rings (2)
- 4 mm Silver toned jump rings (2)
- Silver toned ear wires (2)
- Flat nose pliers
Project Instructions
- Getting Started with Liquid Sculpey:
- Baking:
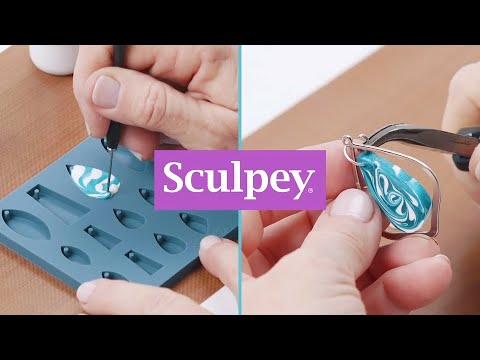
Start at the bottom of the teardrop shape of the Jewelry Mold with a thin White line of Liquid Sculpey® (LS), followed by a thin line of Peacock Pearl LS.

Continue with alternating stripes of White and Peacock Pearl until the mold is filled all the way to the top. The lines really don’t have to be straight, just alternating.

If the mold is not filled to level, you can carefully add White on top of White and Peacock Pearl on top of Peacock Pearl until the mold is level.

Use the Needle Tool to create swirls in the LS. Drag the tip of the Needle Tool through the colors making a marbled pattern. Leave the tip in the liquid while you drag.

Don’t lift the tool tip until you are completely finished swirling the colors. Then carefully lift it out and wipe with a paper towel to clean.

Bake the mold following the baking instructions for LS. When the mold is completely cool, carefully remove the shape by gently flexing the mold.
Repeat Steps 2-7 to make a second matching piece for earrings. If there are any little bits of baked LS that protrude past the finished edge, these can be easily trimmed away with sharp scissors.
Repeat Steps 2-7 to make a second matching piece for earrings. If there are any little bits of baked LS that protrude past the finished edge, these can be easily trimmed away with sharp scissors.

Assemble as shown. Use the large jump ring to connect the teardrop to the large metal connector. Use the small jump ring to connect both the large pieces to the ear wire.

- Choosing a selection results in a full page refresh.
- Opens in a new window.