

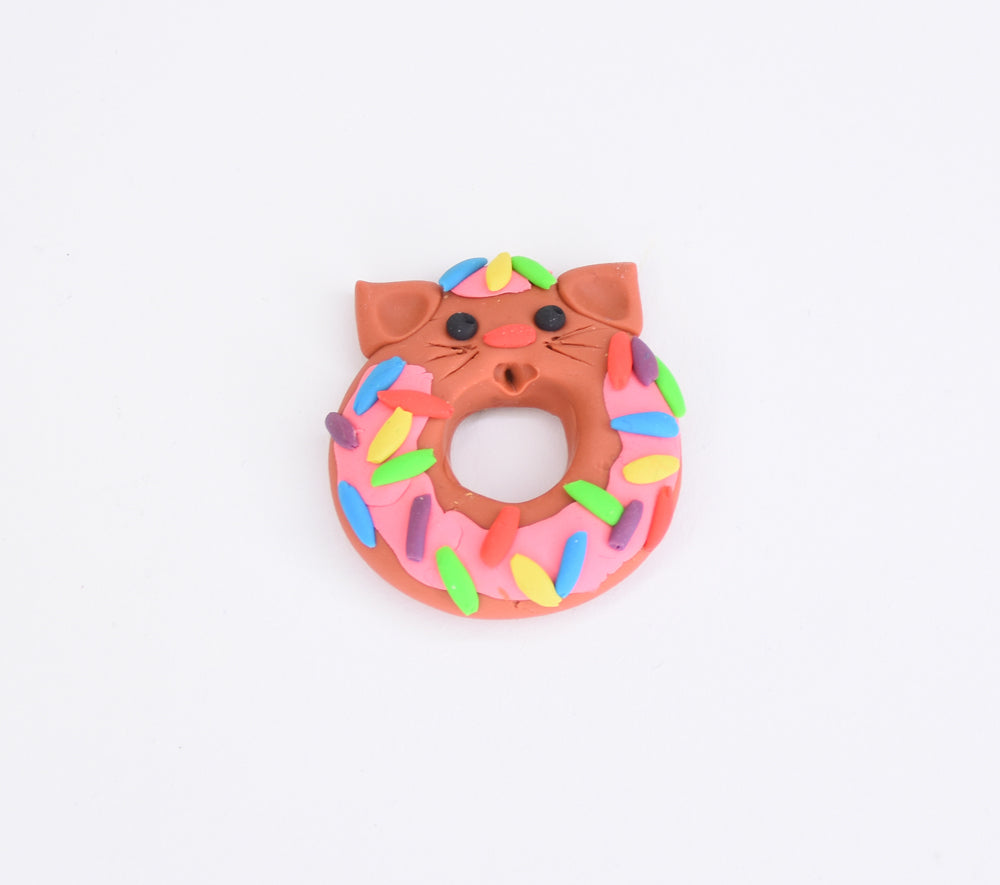
Sculpey Bake Shop® Eraser Clay Donut Ring
Sculpey Bake Shop® Eraser Clay Donut Ring
Read More
Personalize your desktop (or your besties!) with this awesome little donut eraser!
TIME TO COMPLETION:
25 Minutes to make and bake
Designed by Amy Koranek
Read Less
ADDITIONAL SUPPLIES
Personalize your desktop (or your besties!) with this awesome little donut eraser!
TIME TO COMPLETION:
25 Minutes to make and bake
Designed by Amy Koranek
Project Instructions
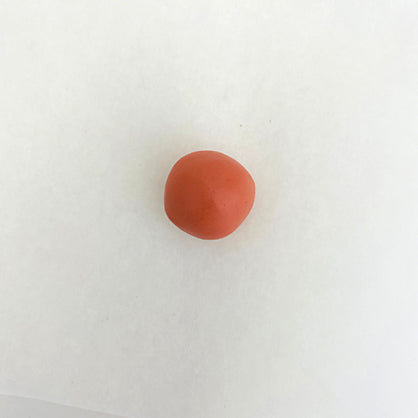
Step 1
Step 2

Step 3
Step 4
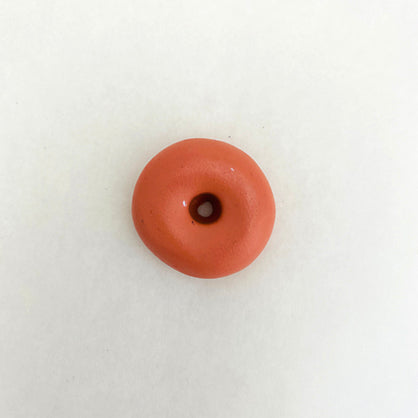
Step 5

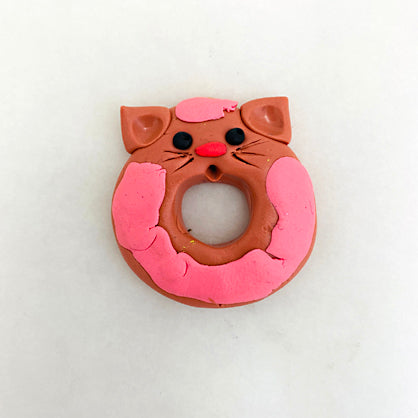
Step 6

Step 7

Step 8

481-9

Step 10
Step 11
