

Sculpey Bake Shop® Owl Pen Holder
Sculpey Bake Shop® Owl Pen Holder
Designed by Katie Oskin
Read More
Read Less
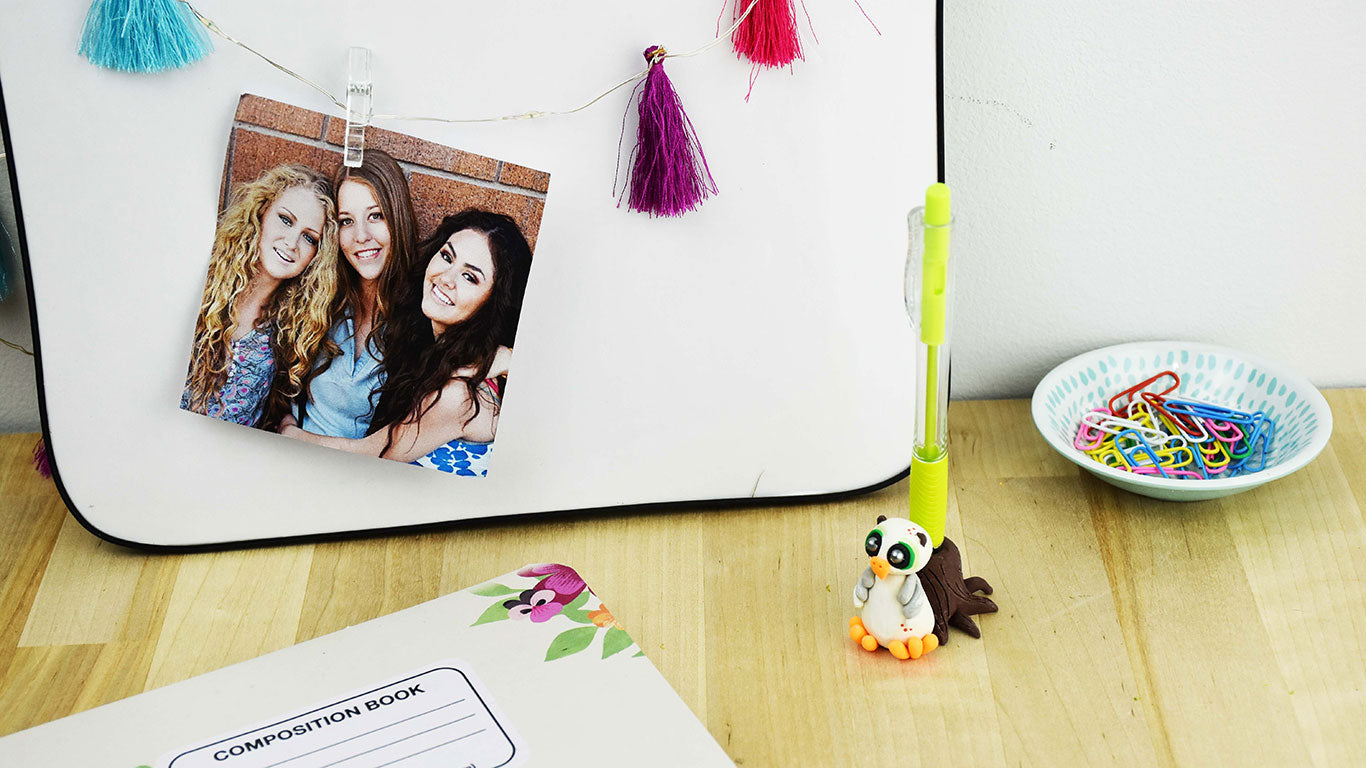
This clever owl pen holder, created with Bake Shop clay is a snap to make. Set your new pen holder on your desk, by your phone, or any other place where you need a helping hand.
ADDITIONAL SUPPLIES
- (2) 3mm silver beads
- Toothpick
Project Instructions
- Getting Started:
Start with clean hands, unwrap and knead clay until soft and smooth, or condition by running clay though a Pasta Machine. We recommend using a designated machine for clay purposes only. When working with multiple colors, clean hands with soap and water or baby wipes (we have found that baby wipes work best) before switching colors. Shape clay, pressing pieces firmly together. Wash hands after use.
- Baking:
Take a ball of brown clay about the size of a cherry tomato and roll it into a log. Turn the on it’s end and insert the pen you are going to use into it. When you do this the log will squish down and make a weird teardrop, stump like shape. Exactly what you want! DO NOT press all the way to the bottom and make a hole in the clay. If you do, just roll the clay back up and try again.

Use your toothpick to make divots in the clay. Pull the divots apart to make roots for your stump.

Use the toothpick to make “bark” on your tree stump and separate and roots enough for an owl to fit between two of the roots. Break your toothpick in half and insert half into the stump with half sticking out. This will help hold your owl in place in your pen holder.

Roll a white teardrop of clay about the size of a large cherry tomato.

Take some orange clay and roll six small teardrops. Place three of them together in a “W” shape. Do this so you have two sets. This will be your owl’s feet.

Take some brown and white clay and press it together to combine the colors. Make it nice and streaky, but don’t do it too much, you want there to be lots of streaks!

Add the feet to your owl at the bottom of the teardrop. Add small teardrops of your new mixed color & plain white at each side of the owl for wings.

Roll a white ball of clay about the size of a Brown for your owl’s head. Place on top of the body. Add an orange triangle beak.

Add black balls of clay for eyes. Press the silver beads in the center. Add any finishing details you’d like! Use your imagination.

Bake according to the directions on the package.
- Choosing a selection results in a full page refresh.
- Opens in a new window.