

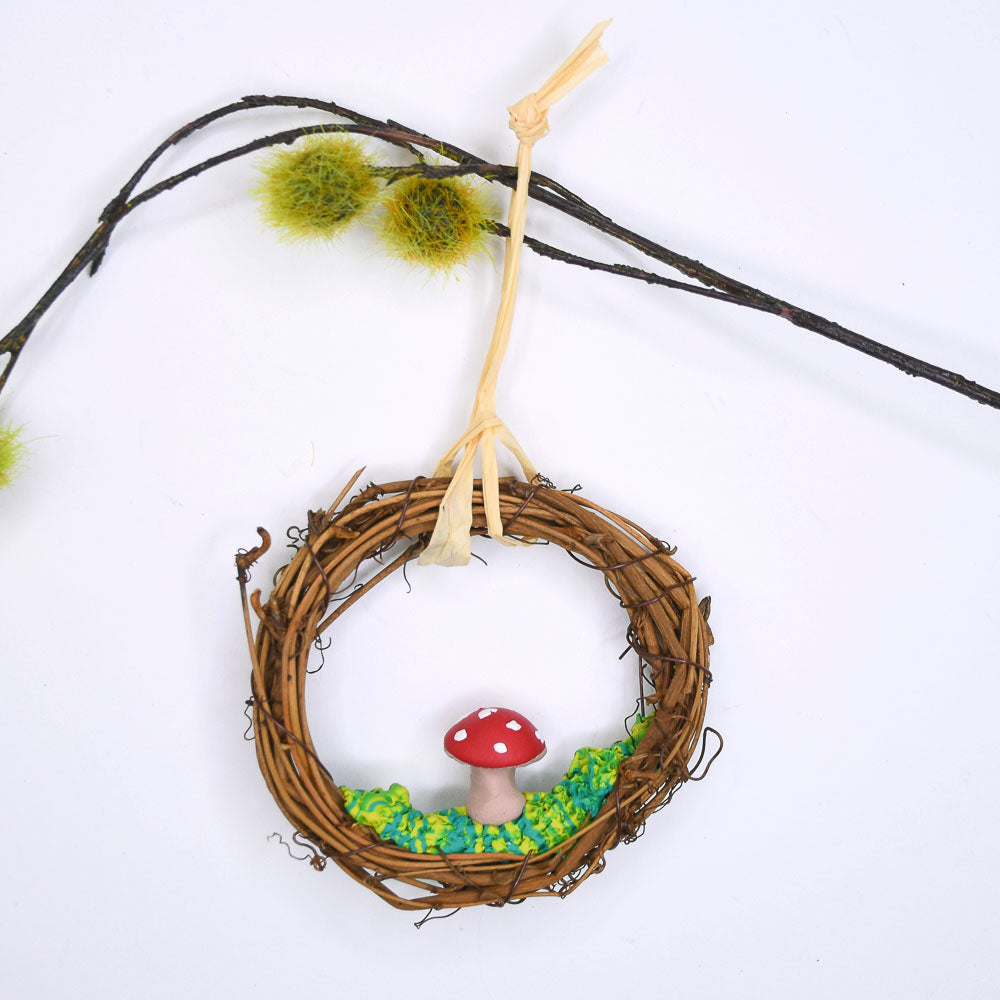
Sculpey Soufflé™ Mushroom Wreath Ornament
Sculpey Soufflé™ Mushroom Wreath Ornament
Read More
Add a dash of colorful nature to your holiday decoration with this charming mushroom wreath. This charmer can actually bring color to your room all year long!
TIME TO COMPLETION:
75 Minutes to make, bake, and assemble
Read Less
ADDITIONAL SUPPLIES
- 4” Stick wreath
- 8” Twine or raffia
- Scissors
- Toothpick
Project Instructions
Step 1
Step 2

Step 3

Step 4

Step 5

Step 6

Step 7

Step 8

Step 9

Step 10

Step 11

Step 12
