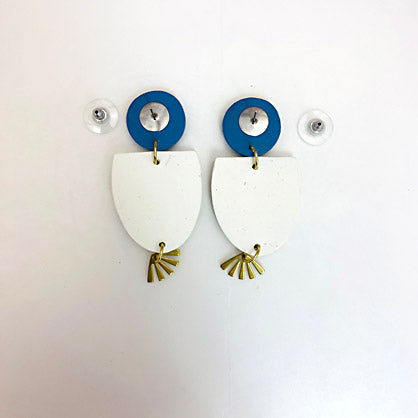
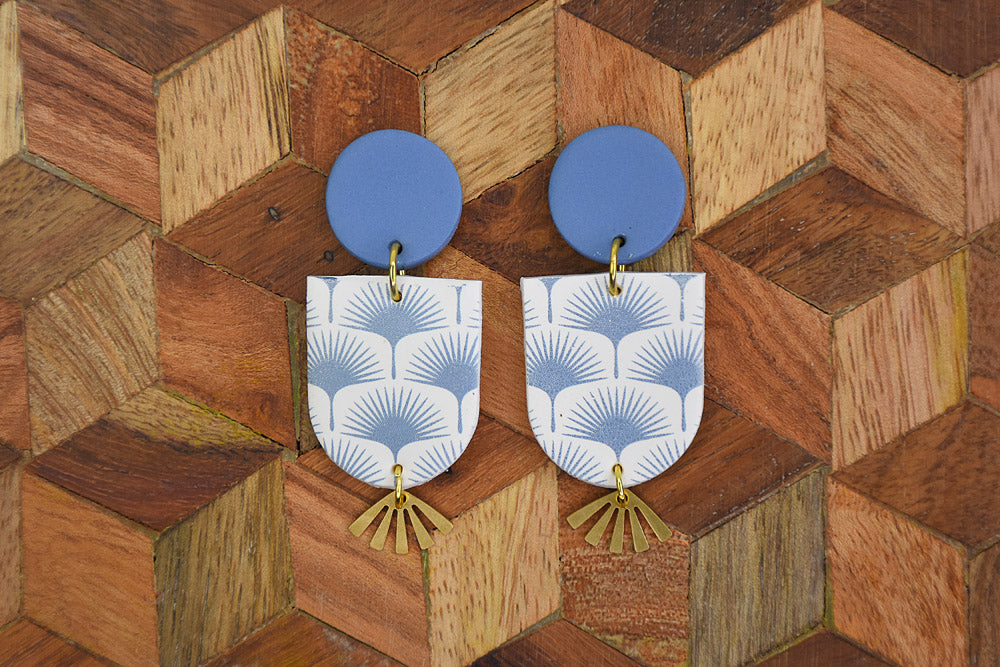
Sculpey Soufflé™ Mixed Media Earrings
Sculpey Soufflé™ Mixed Media Earrings
Read More
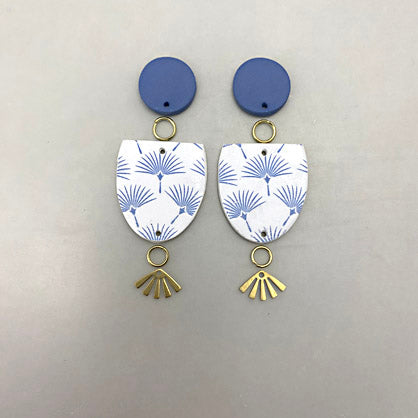
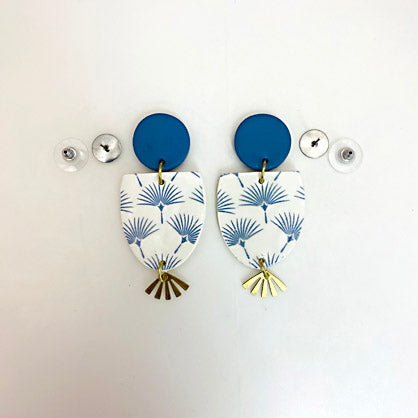
Dazzle your friends and co-workers with these classic earrings you make in just about an hour! The Sculpey transfer makes it quick and easy to add a perfect pattern to the clay.
COMPLETION TIME:
60 Minutes to make, bake, and assemble; with some additional time for glue to dry
Read Less
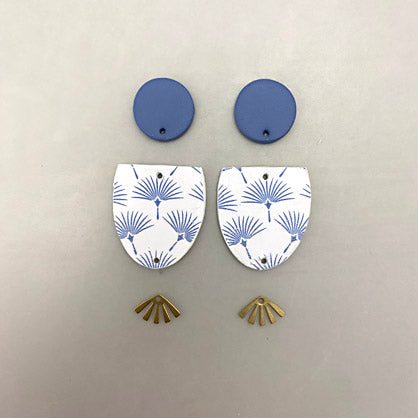
ADDITIONAL SUPPLIES
- Pencil
- Scissors
- Water basin
- Sponge
- Paper towel
- 6 mm Gold toned jump rings (4)
- Gold toned fan charms (2)
- Ear posts with backs (2 sets)
- Silicone glue or instant drying glue
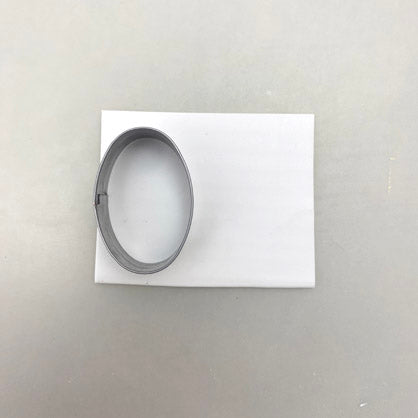
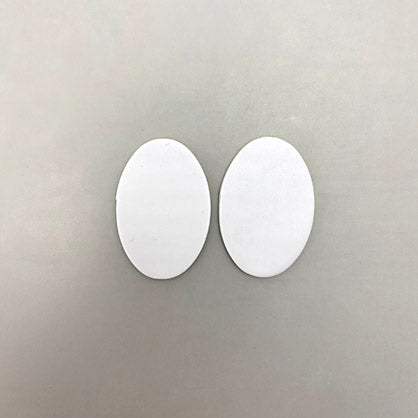
Project Instructions
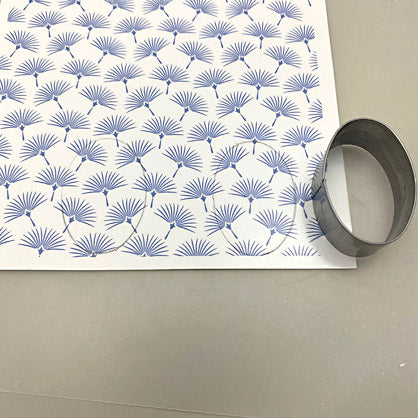
Step 1
Step 2
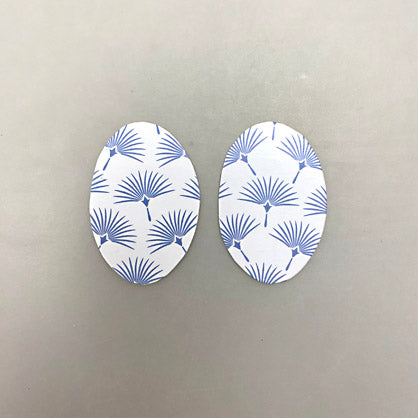
Step 3
Step 4
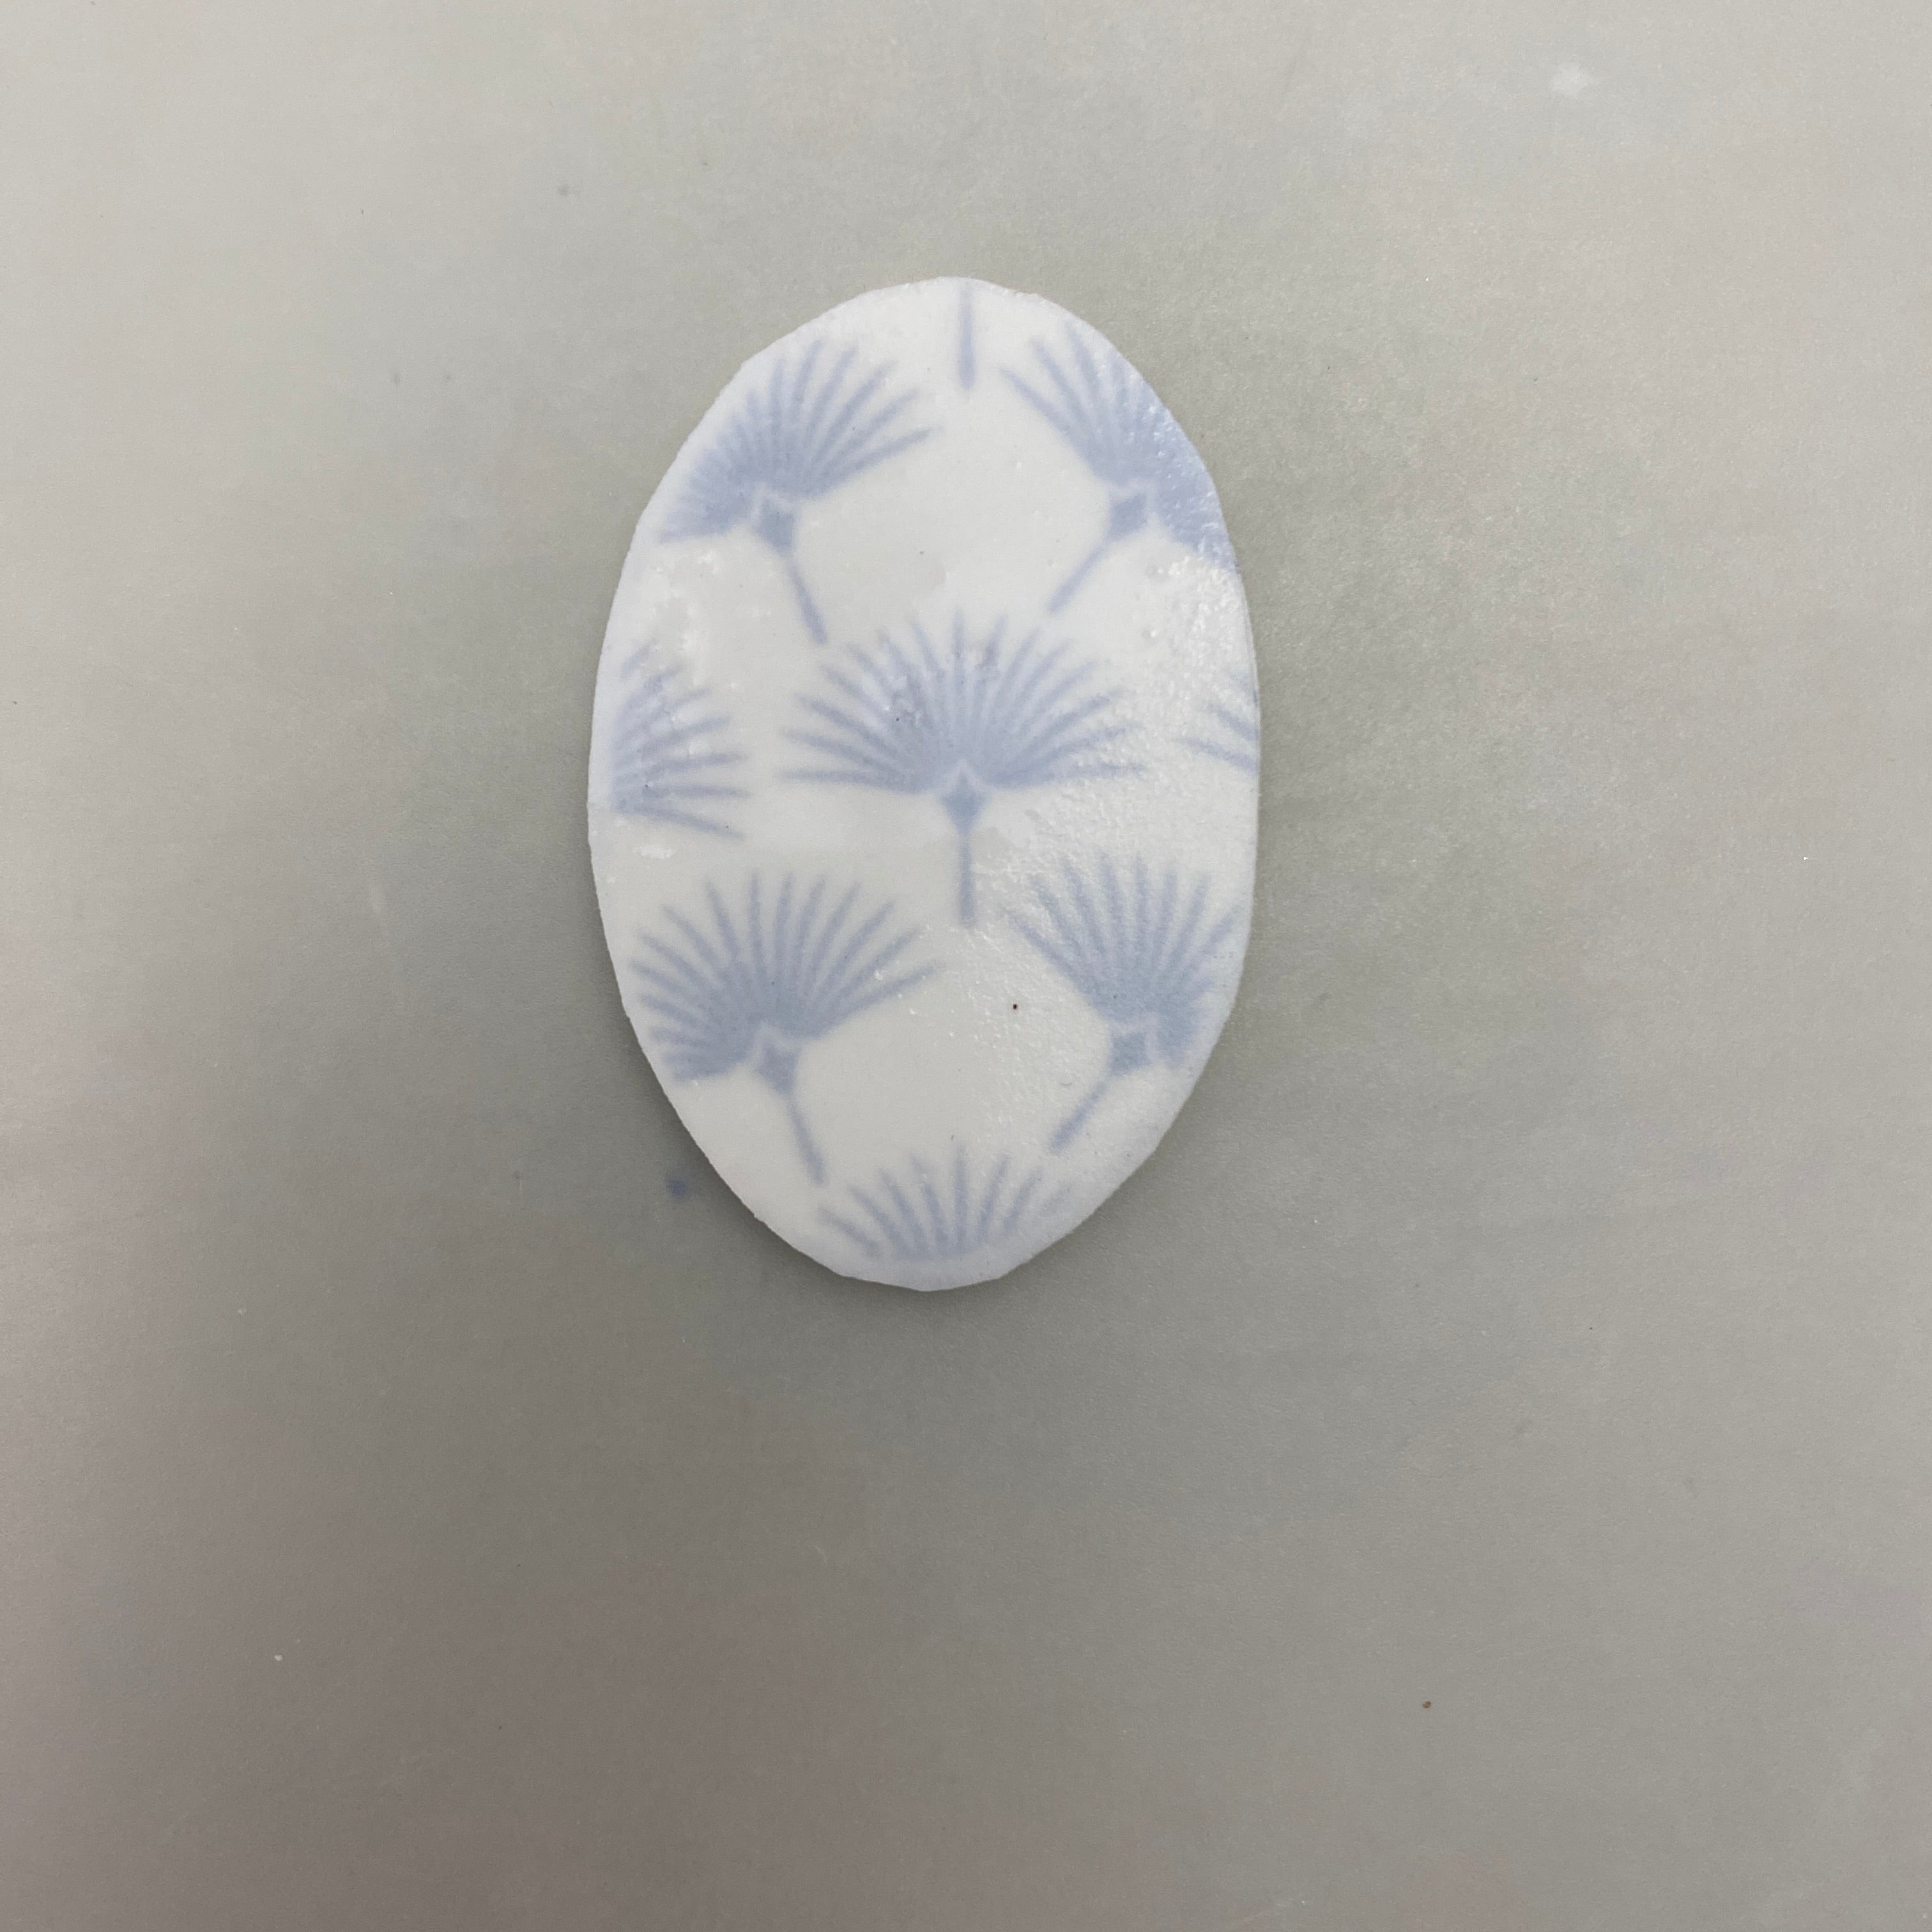
Step 5
Step 6
Step 7
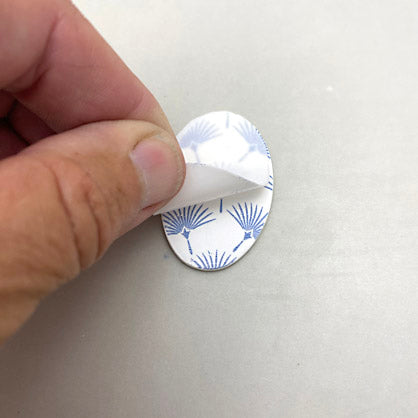
Step 8

Step 9

Step 10
Step 11
Step 12
Step 13