Skip to product information
1 of 1

Sculpey Soufflé™ Inlay Bangle

Sculpey Soufflé™ Inlay Bangle

Designed by Amy Koranek
Read More
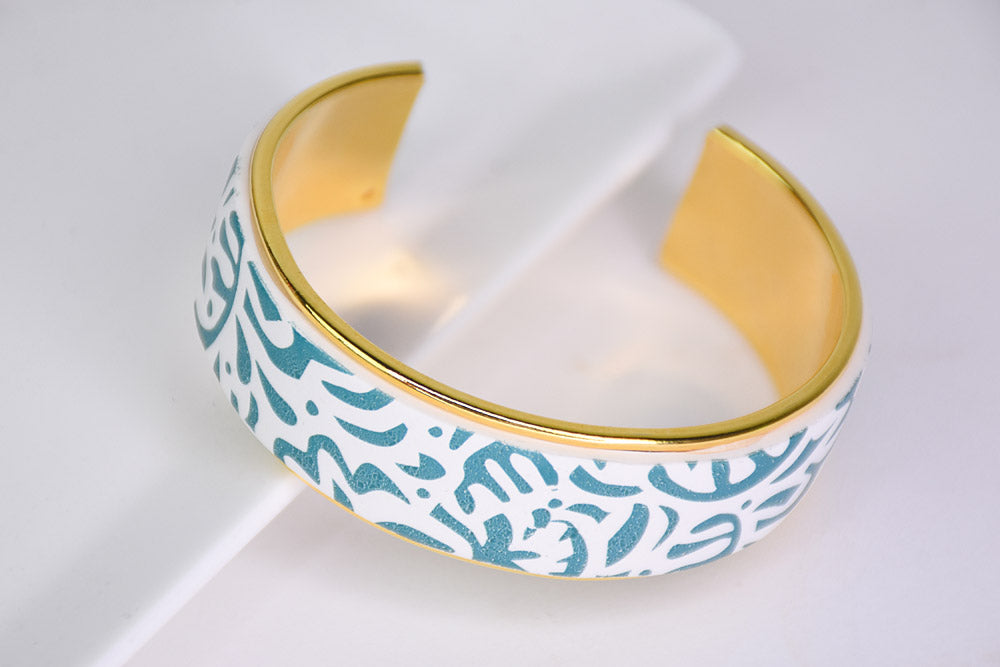
Jumpstart your jewelry wardrobe with this intricately gorgeous patterned bracelet that can transition from blue jeans to office! COMPLETION TIME: 60 Minutes to make, bake, and assemble; some time needed for glue to dry
Read Less
ADDITIONAL SUPPLIES
  • Scissors
  • Water basin
  • Sponge
  • Paper towel
  • Metal bangle bracelet
  • Deli paper
  • Small clamps or rubber band
  • Silicone glue
View full details
Project Instructions

Step 1

Getting Started:

Please make sure your work area is covered and you are not working on an unprotected surface. We recommend working on the Sculpey® Oven
Safe Work Mat, wax paper, metal baking sheet, or disposable foil. Uncured
clay may damage unprotected furniture or finished surfaces.
Be sure to
cover your crafting area appropriately.


Start with clean hands, unwrap and knead clay until soft and smooth, or condition by running clay though a Pasta Machine. We recommend using a designated machine for clay purposes only. When working with multiple colors, clean hands with soap and water or baby wipes (we have found that baby wipes work best) before switching colors. Shape clay, pressing pieces firmly together.  Wash hands
after use.  

Baking (also called Curing):

Begin by preheating oven to 275 °F (130 °C). After you are done creating; for best results bake clay on an oven-proof surface such as metal, aluminum foil, an index card or the Sculpey® Oven Safe Work Mat at 275°F (130 °C) for 30 minutes per ¼" (6 mm) of thickness according to package directions. Oven safe glass or ceramic
surfaces are also acceptable for baking; however please note that the baking
times may take longer as the glass or ceramic surfaces take longer to heat
up. For best baking results, use an oven thermometer. DO NOT USE MICROWAVE OVEN. DO NOT EXCEED THE ABOVE TEMPERATURE OR RECOMMENDED BAKING TIME.

Step 2

Before beginning, make sure the bracelet fits your wrist and make adjustments now.

Step 3

Sheet clay 1/8” thick and large enough to cover the outside of the bangle and have extra room for trimming.

Step 4

Lay the clay piece down on your work surface. Roll the metal bangle on top of the clay to make an impression of the size and shape of the bangle.

Step 5

Here you can see the impression left by the metal bangle.

Step 6

Trim the clay to match the bangle.

Step 7

Use a ruler and pencil to mark the size and shape of the bangle on the transfer sheet. I used the sheet from corner to corner so that I could cover the bangle in one piece.

Step 8

Cut out the transfer sheet following the lines you made in Step 7.

Step 9

Burnish the transfer sheet to the clay face down. Make sure the entire transfer makes good connection with the clay.

Step 10

Dip a sponge in water and wet the back of the transfer sheet really well. You should be able to see the pattern through the wet paper. Let it set for at least 30 seconds. Daub the back of the paper with the wet sponge. When the paper backing slides on the clay, then the backing is ready to remove.

Step 11

Carefully peel the paper backing off of the transfer.

Step 12

Carefully wrap the clay around the bracelet.

Bake following the baking instructions for Soufflé™ Sculpey®.

Allow to cool completely before handling.

Step 13

After the bangle is cool, carefully pop the clay off of the form.

Step 14

Apply a bead of silicone glue to the metal form.

Step 15

Glue the clay to the bangle.

Step 16

Since silicone glue takes a few hours to completely dry, I like to hold it in place with little clamps. In order to keep the clamps from marking the clay, I protected the clay with folded pieces of deli paper. If you don’t have small clamps, you can hold the clay to the bangle with a rubber band.

Step 17

Allow the glue to dry completely before removing the clamps or rubber band.