Sculpey Soufflé™ Hellenistic Textured Earrings
Sculpey Soufflé™ Hellenistic Textured Earrings
Designed by Precious Nunez
Read More
Make these super simple and elegant earrings for a great addition to your outfit or lunch with the girls! Not only are these beautiful, but they are also easy to recreate with only a few supplies needed!
TIME TO COMPLETION:
20 minutes to create
30 minutes to bake
Read Less
30 minutes to bake
ADDITIONAL SUPPLIES
- 2 Shape cutters
- Super Glue
- Cornstarch
- Old paint brush
- Earring backings
- 7 mm Jump rings
- Needle nose pliers

Project Instructions
- Getting Started:
Start with clean hands, unwrap and knead clay until soft and smooth, or condition by running clay though a Pasta Machine. We recommend using a designated machine for clay purposes only. When working with multiple colors, clean hands with soap and water or baby wipes (we have found that baby wipes work best) before switching colors. Shape clay, pressing pieces firmly together. Wash hands after use.
- Baking (also called Curing):
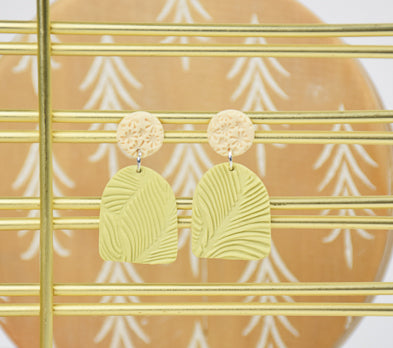
Mix 10 parts Igloo, 1 part Poppy Seed, and 4 parts Canary to create the beautiful green shade. To get even parts, use a smaller clay cutter (ex. 10 circles of Igloo clay).

Lightly dust your desired texture mat with cornstarch, making sure to cover small crevices and details .

Roll your ball of green clay on the mat, making sure to keep the thickness to your liking. Gently peel off the mat to reveal the beautiful texture and check to see which parts of the gorgeous texture you wish to use.

Take your shape cutters and cut two shapes for the main piece of the earrings .

Repeat Step 3-4 to make the smaller attachment piece with the Ivory colored clay.

Poke a hole at the top of each Green colored piece with your needle tool. Repeat this step with the Ivory colored pieces.
Bake according to Step 1 above.
Bake according to Step 1 above.

Sand your pieces (I used 400 grit) using a back-and-forth motion as needed if the pieces have uneven texture, excess clay, or small bumps. Be careful not to sand too rough as this can quickly thin the pieces

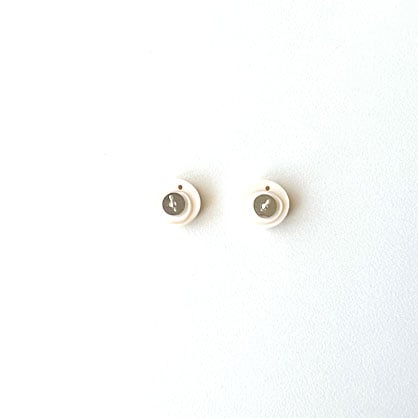
Glue the earring backings to the untextured side on both Ivory colored pieces and let it dry completely before assembly
Attach the jump rings connecting the Green and Ivory pieces together with needle nose pliers. Close the jump rings. Glaze your finished set if you’d like a glossy finish

Here's a look at my final earrings
