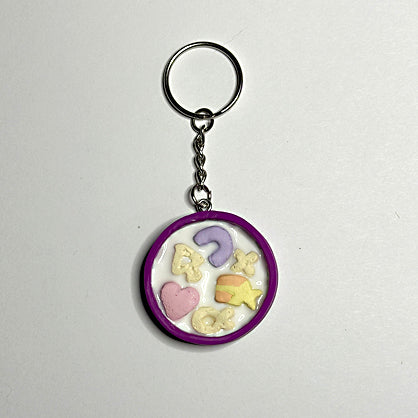
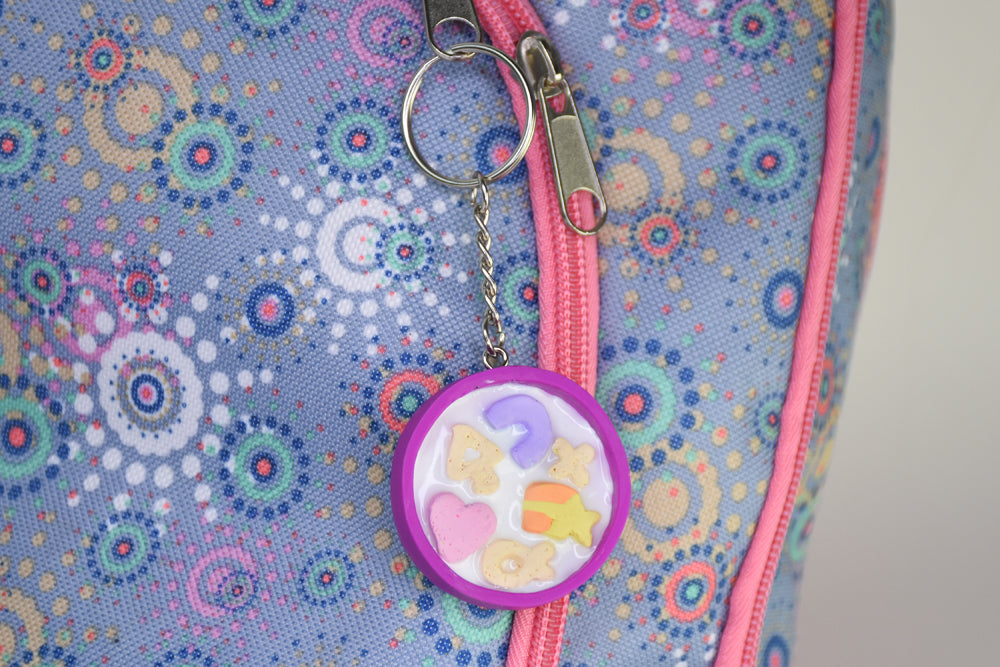
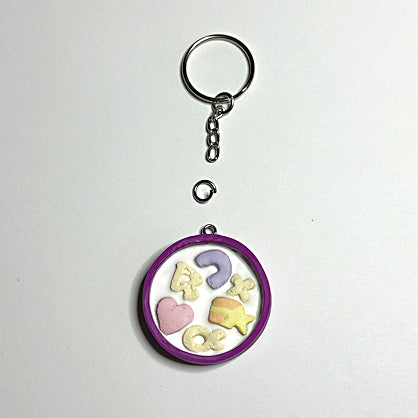
Sculpey Premo™ & Soufflé™ Neons & Pastels Multi-Pack Mini Cereal Keychain
Sculpey Premo™ & Soufflé™ Neons & Pastels Multi-Pack Mini Cereal Keychain
Read More
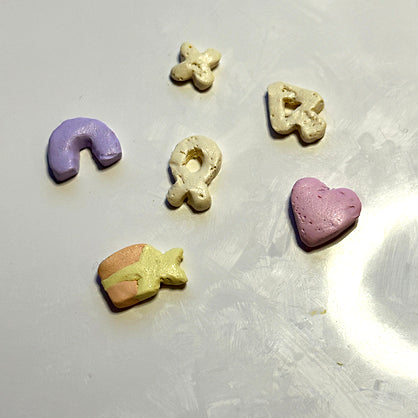
Team up gorgeous Neon and Pastel colors from the Sculpey Premo™ & Soufflé™ Neons & Pastels Multi-Pack to create this whimsical keychain that will garner smiles every time.
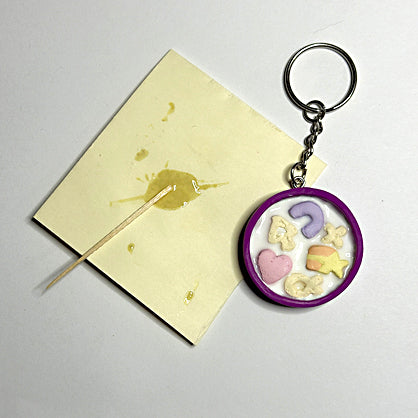
Time to Completion: About 45 mins
Read Less
ADDITIONAL SUPPLIES
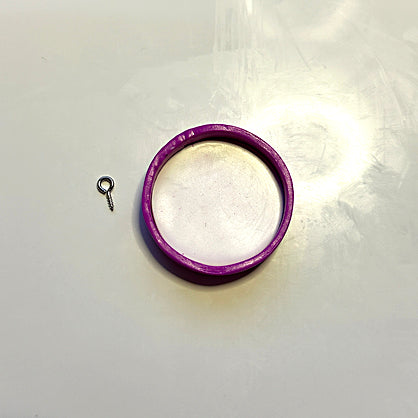
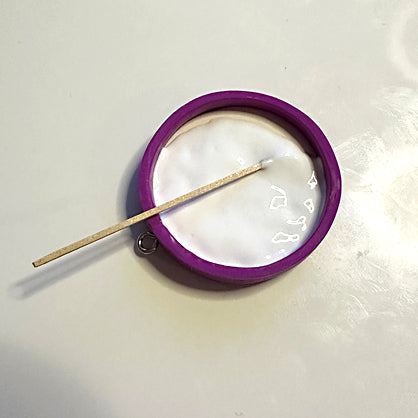
Keychain finding
- Eye pin
- Craft knife
- Tooth pick
- Needle tool
- Small paint brush
- OPTIONAL: Sculpey Gloss Glaze or Gloss Resin
Project Instructions
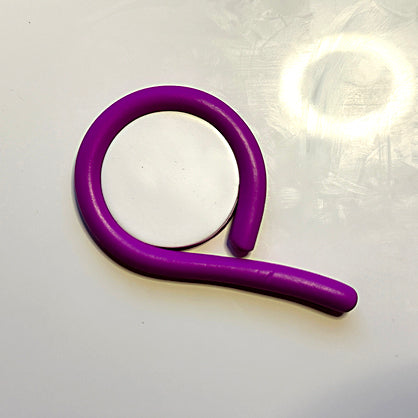
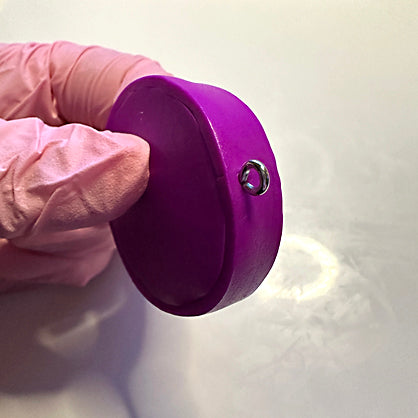
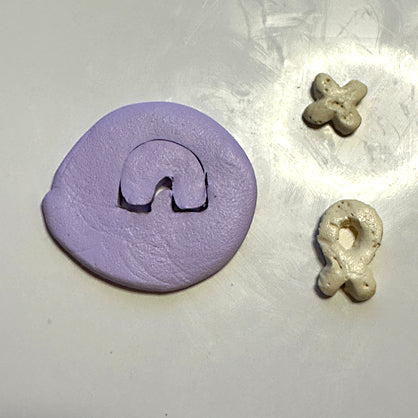
Step 1
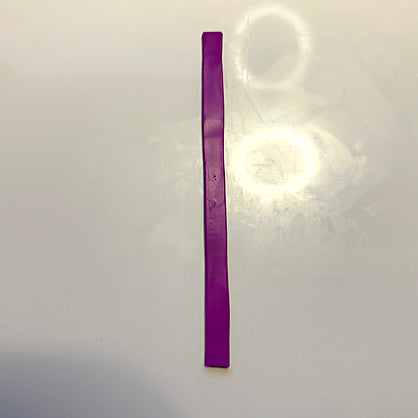
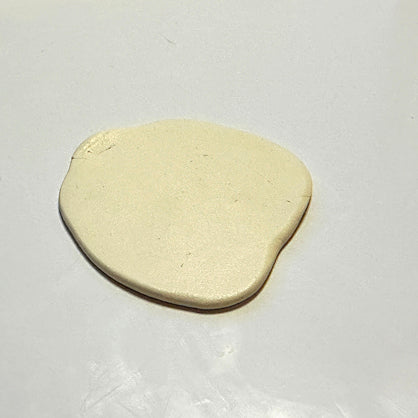
Step 2
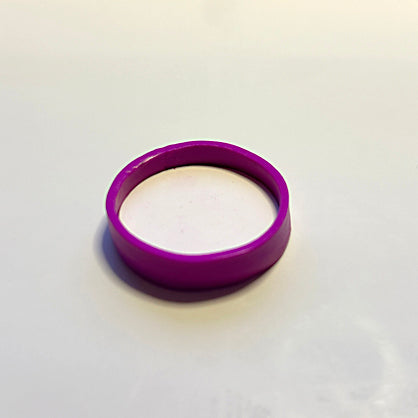
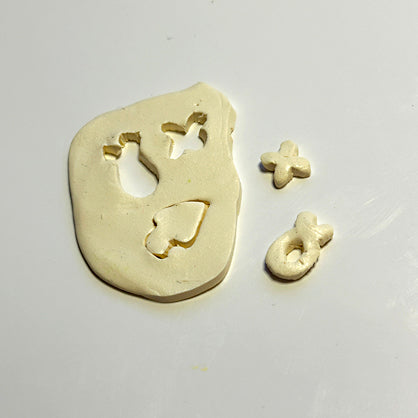
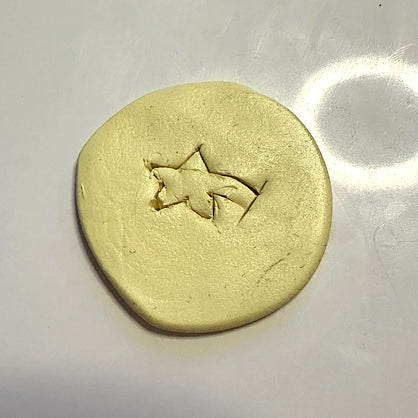
Step 3
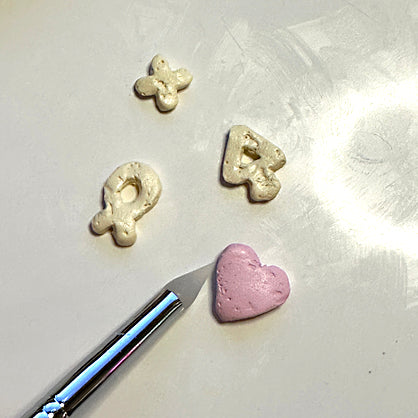
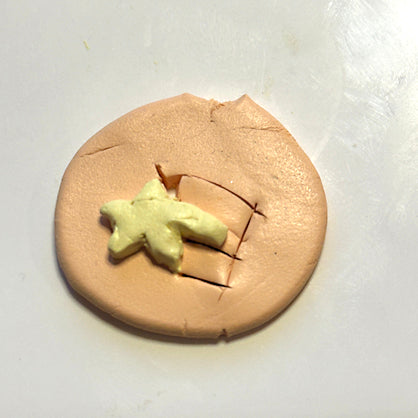
Step 4
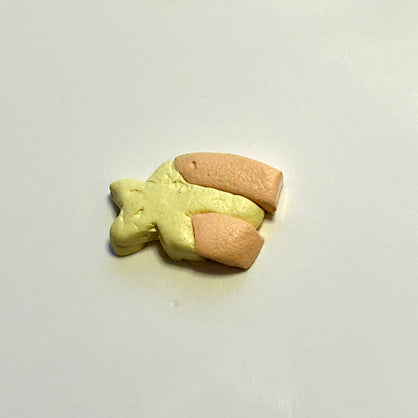
Step 5
Step 6
Step 7
Step 8
Step 9
Step 10
Step 11
Step 12
Step 13
Step 14
Step 15
Step 16
Step 17
Step 18

Step 19
Step 20