

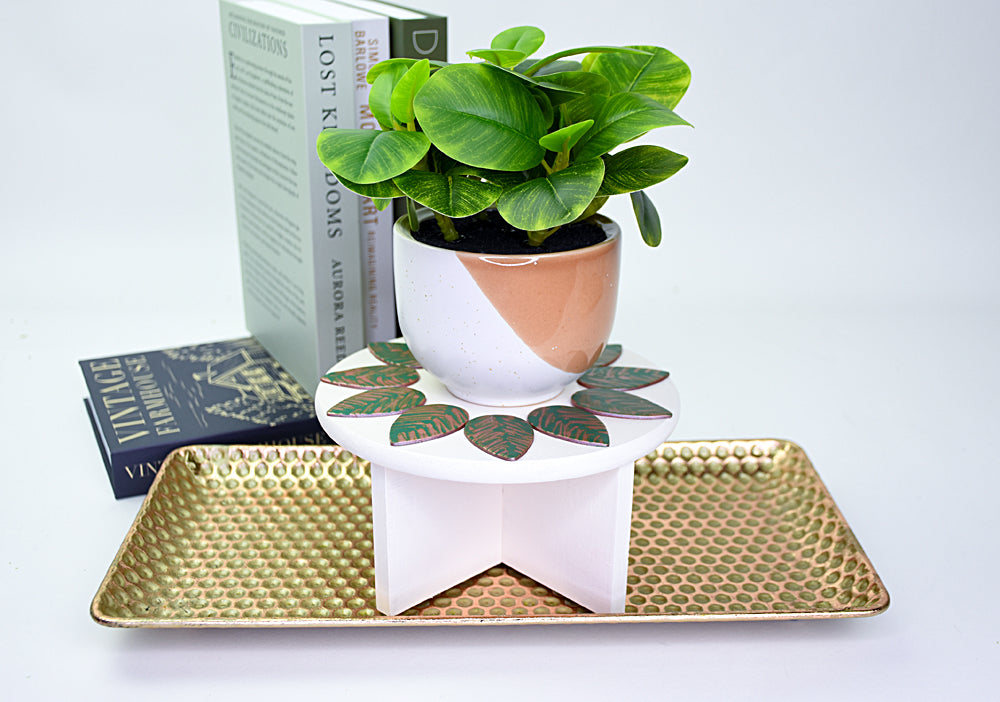
Sculpey Premo™ Rose Gold Leaf Embellished Plant Stand
Sculpey Premo™ Rose Gold Leaf Embellished Plant Stand
Read More
Add a personal touch to a simple plant stand for yourself or a friend by teaming Sculpey Premo™ with a Gelli Plate and some craft paint.
TIME TO COMPLETION:
About 1 hour to make, bake and assemble
Read Less
ADDITIONAL SUPPLIES
·
- Gelli Plate – any size or shape will be sufficient!
- Plant stand to embellish – mine is 10 inches in diameter
- Green tone craft paint – I experimented with several green tones before settling on the darkest one (Folkart Sap Green)
- Kids inexpensive plastic watercolor paint brush
- Baby wipes or damp cloth to clean the plate
- Glue to affix the leaves to the plant stand
- Acrylic roller or clay dedicated pasta machine
Project Instructions
Step 1
Step 2

Step 3

Step 4

Step 5

Step 6

Step 7

Step 8
